Nick William has over two decades of experience in the embroidery digitizing industry, where he has earned 25 awards for his outstanding contributions to the field. As a 3rd generation embroidery expert, Nick’s passion for digitizing began early in life, working alongside his family in their embroidery workshop. Growing up in an environment steeped in craftsmanship, Nick learned the fundamentals of digitizing before computers transformed the process. His early exposure to manual techniques gave him a deep understanding of the craft, which he now combines with cutting-edge technology. Nick has worked with several leading commercial embroidery businesses, where he honed his skills and expanded his expertise. His ability to blend traditional techniques with modern software has made him a respected figure in the industry. Over the years, Nick has guided more than 75,000 home and professional embroiderers, helping them create precise, high-quality designs with ease. As a dedicated author at True Digitizing, Nick is passionate about sharing his knowledge with others. Through his detailed tutorials, expert advice, and hands-on tips, he has become a trusted resource for both beginners and experienced digitizers alike. Whether through written guides or digital content, Nick’s mission is to make embroidery digitizing accessible to all, while maintaining the highest standards of craftsmanship and quality.
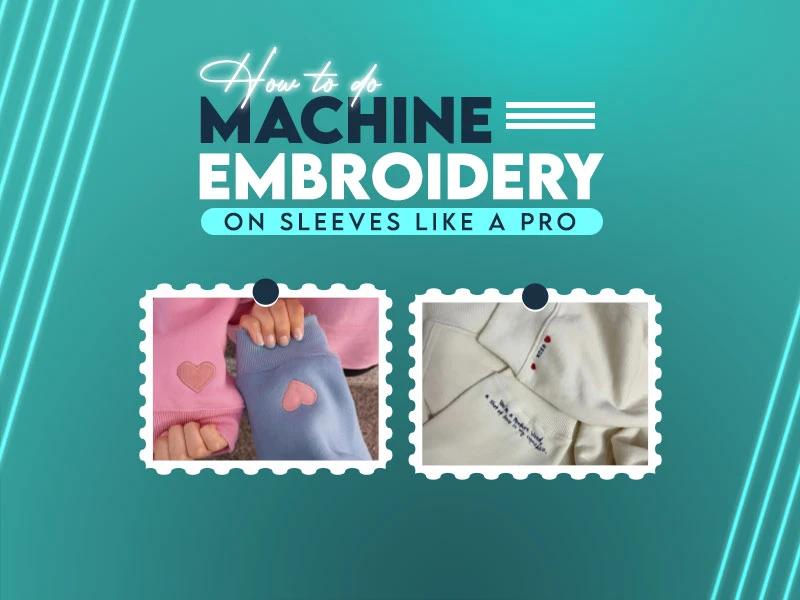
Sleeve embroidery is a little bit different and difficult. You hoop the garment, start the machine and then problems start, because sleeves area is so small and compact, for this raeson sleeves move, curves, stitches pull, hoop alignment out and other stitching issues. Sometimes the fabric puckers so badly that the whole piece looks wasted.
If you face these issues, you aren't alone. Sleeve embroidery needs a different approach. With the right setup, right stabilizer, proper placement, and smart stitching methods, you can embroider sleeves cleanly and confidently.
This blog post explains how to do machine embroidery on sleeves like a pro step by step, using proven techniques that definitely work on garments.
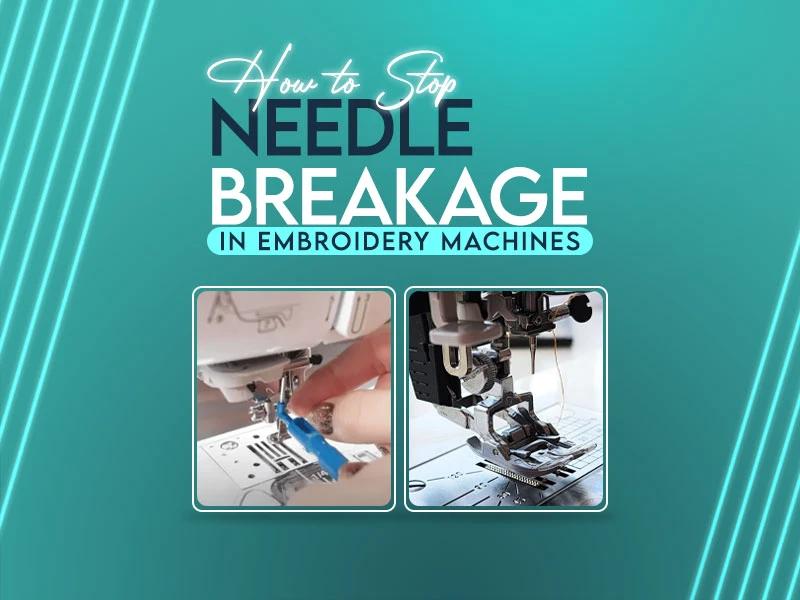
You give your embroidery machine a clean design with fresh fabric. The first few stitches look perfect. Then suddenly snap and the needle breaks. This is a sad moment because needle breakage wastes time, damages fabric, and disturbs your workflow. 70% embroiderers face this problem, even after years of experience. Needle breakage happens for a reason. When you understand the causes and fix them step by step, your machine runs smoothly and your designs stitch cleanly.
This guide explains everything so you can stop needle breakage before it starts
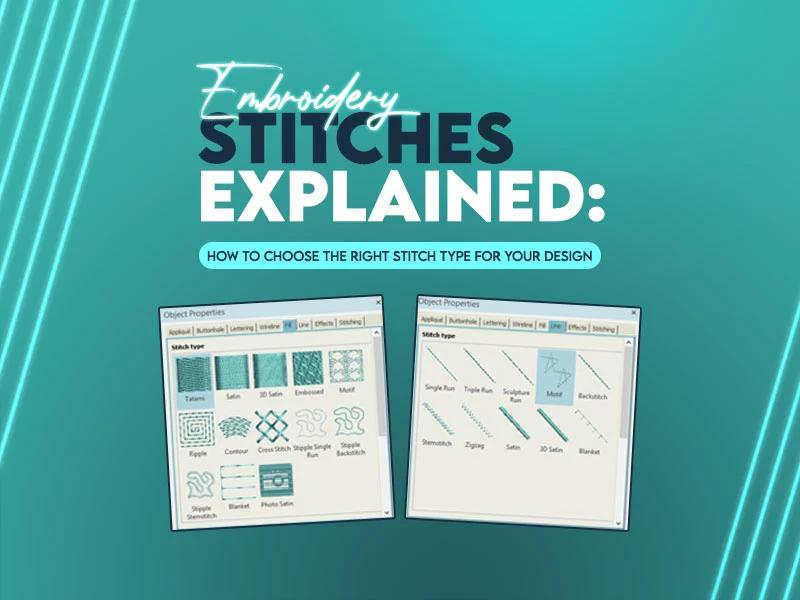
Every clean line, smooth fill, and sharp detail each and everything depends on one important thing and that is stitch type. Mostly beginners & even experienced embroiderers face difficulties here. You pick a stitch because you thought it would look nice, not because it suits your design. This mistake usually gives you loose threads, uneven texture, or designs that lose their stitching after washing.

Buy embroidery machines in 2026 is so confusing for many people. Too many brands, too many features, and every company claims they are the best. Some machines are good for home users who want neat designs on shirts and caps. Others serve commercial shops that run machines all day. The main question arises: which embroidery machine brand actually fits your needs today?
This guide breaks everything down in an easy way. You will learn how the top embroidery machine brands perform, their usage and which brands work best for both home and commercial use. By the end of this guide, you'll understand exactly which machine is actually good for you.
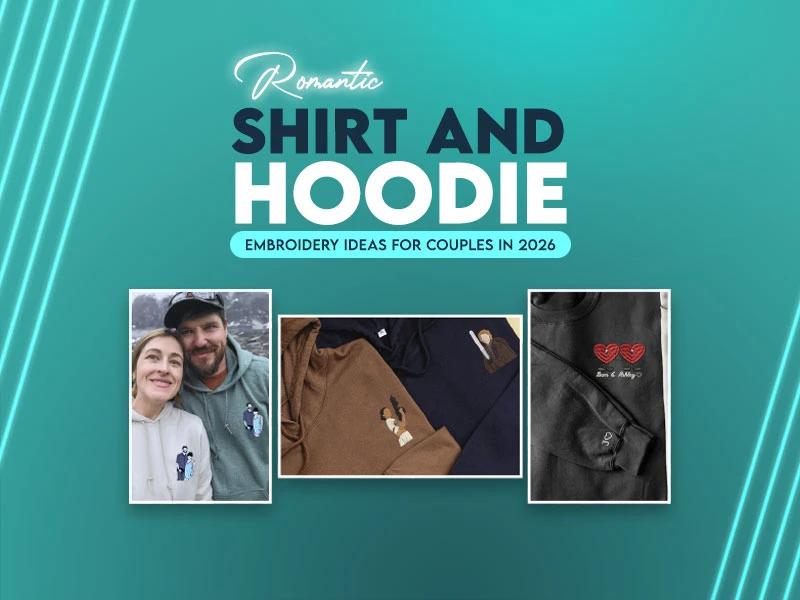
Couple outfits are never outdated, out of fashion or style but embroidery gives them next level creativity to enhance their style. Attractive and attention grabbing embroidery designs that have no match. As we stepped into 2026, couples want more than matching colors. They want something different like embroidery designs that feel personal, emotional, and of course long lasting. Embroidered shirts and hoodies do exactly that. They tell a story, show connection, affection, and turn your simple outfit into attractive and memorable.
People now choose embroidery because it lasts longer, gives you eye catchy look and feels more personal. Whether you plan a gift, a surprise, or matching outfits for daily wear, embroidered couple apparel makes the moment more special.
Below are the most loved, most popular and trending romantic shirt and hoodie embroidery ideas for couples in 2026.
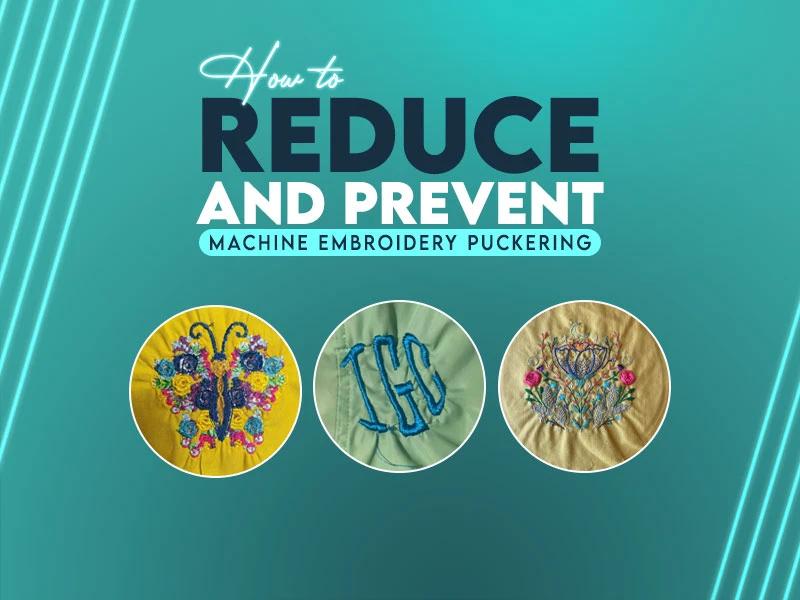
Doing embroidery is simple until puckering occurs and ruins all your hard work or efforts. Even the best machines and threads can’t save your designs but by understanding why it happens and how to prevent it, you control the outcome.
You finish an embroidery design with care and patience. The stitches look neat, the colors look right, and everything looks just perfect. Then you remove thehoop and notice the fabric looks pulled and uneven. This moment hurts you because all your effort feels wasted.
This guide covers practical ways to prevent puckering so your designs stay sharp and professional from the first stitch to the last.
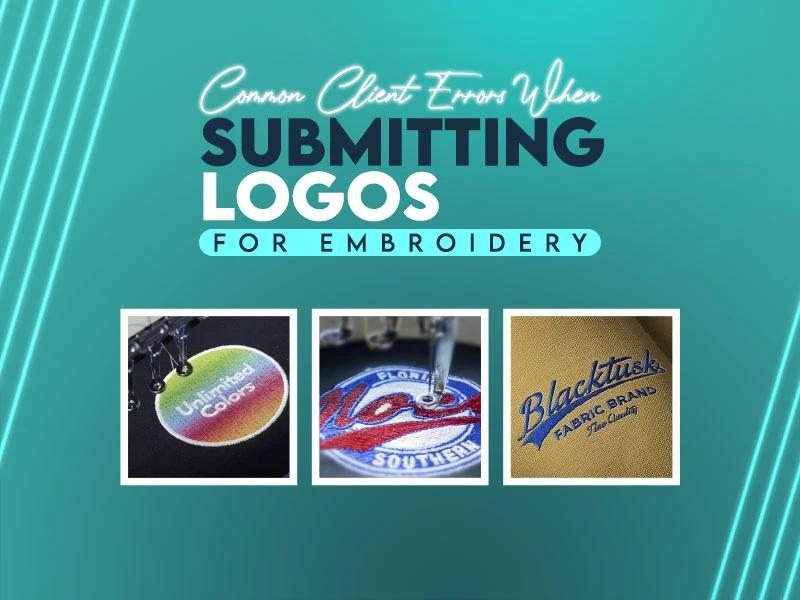
Ah! It is very common when clients send logos for embroidery and they expect perfect stitches, sharp edges, and a professional look but instead of getting perfect results, they receive an output that looks different from what they imagined. Design looks bad, details disappear, or the logo looks uneven. Usually this situation happens and most of the time, the problem doesn't come from the embroidery side. It starts with the logo submission.
Many clients don't even realize that embroidery follows different rules than printing or digital design. When clients submit logos without understanding embroidery basics, errors appear during digitizing and stitching.
This guide specillay for those clients who face these common challenges, you'll understand the most common logo submission errors so next time you can avoid these mistakes and get perfect embroidery results.
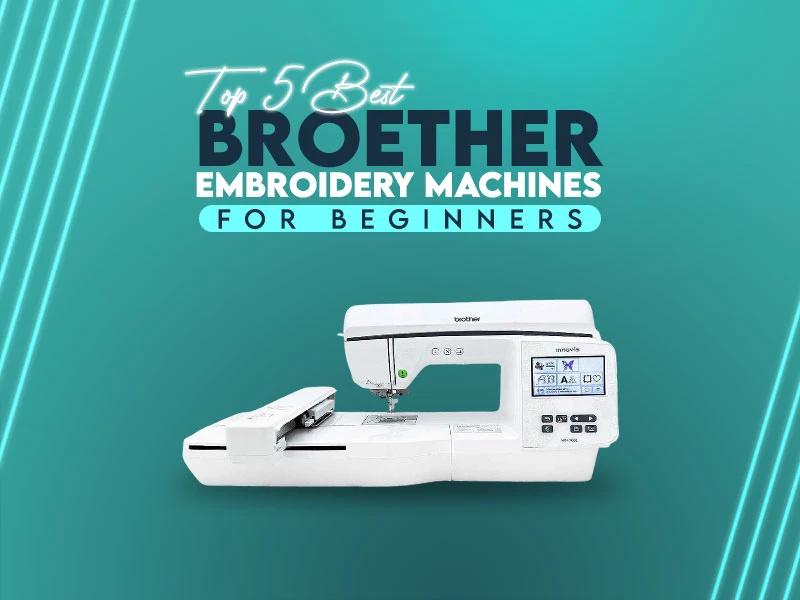
This guide helps people who are starting their journey in embroidery digitizing and want a machine that is simple from the first day. Brother embroidery machines have clear screens, smooth stitching, and easy controls. For this reason, many beginners choose this brand when they want clean results without stress.
Choose the right machine at the initial stage will save time & money. A beginner friendly machine should guide you step by step instead of confusing you with complicated settings.
In this guide, we'll understand the top 5 best Brother embroidery machines for beginners, so you will understand clearly what each model has a purpose & which one is right for your needs.

Happy new year everyone! I’m pretty sure you have some resolutions for 2026 and if you're thinking about launching an apparel brand this year, you probably have many ideas in your mind but if you already run an apparel brand or work in fashion, you’re probably thinking about what’s next. Custom embroidery is getting really popular nowadays. People want outfits that look attractive and unique, last longer and look so much better than printed designs.
In this post, we will discuss custom embroidery trends for 2026 so you can plan your next collection the right way. Let’s start.