Creating your own embroidery designs is not just a rewarding creative endeavor, it's also a way to express your unique style. Whether you're crafting something special for yourself, a loved one, or even a customer, custom embroidery adds a personal touch that machine-made designs can't match.
In this blog post, we will take you step-by-step through how to create your own embroidery designs, whether you're a newbie or an experienced stitcher.
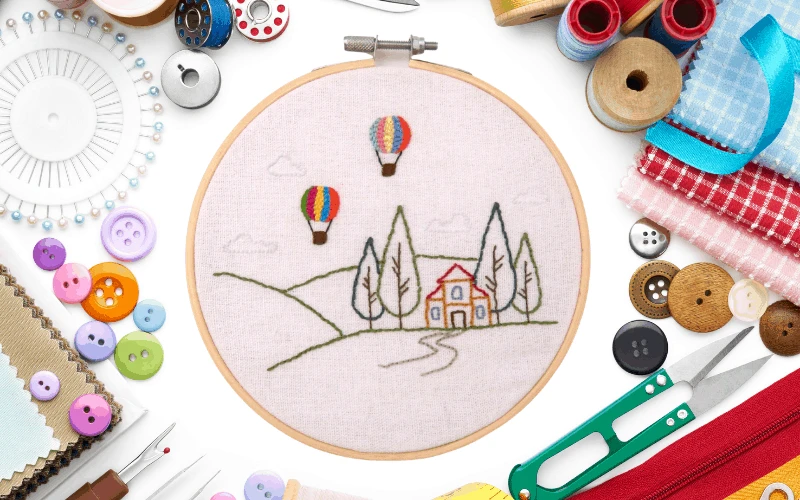
Embroidery is not just a craft, Embroidery is a way to express yourself. Creating your own designs helps you to show your creativity and personalize your projects. Plus, it's a skill that can lead to exciting opportunities, from crafting unique gifts to launching your own embroidery business.
You can tailor each piece to your preferences when you create your own embroidery designs. Whether you're designing a logo, a monogram, or an intricate pattern, the possibilities are endless. Personalization adds value to your work, transforming it into unique objects.
Creating your own designs can also be more cost-effective than purchasing pre-made designs. You have complete control over the complexity and scale of your design, allowing you to manage your budget more effectively.
Custom embroidery designs can set you apart in the market if you want to monetize your hobby. With unique designs that resonate with your target audience, you can offer something that mass-produced items can't authenticity.
Creating your own embroidery designs may seem daunting at first, but it becomes an exciting process with the right approach. Here is an easy step-by-step guide:
Start with a concept or theme. Sketch out your ideas on paper, play with different shapes and designs.
First, decide whether you will use basic designing essentials like pencils and tracing paper or digital tools like embroidery software. Each has its benefits, so choose based on your comfort level and the complexity of your design.
If you’re using digital tools, put your design into embroidery software. This step includes defining stitch types, colors, and other details.
Always test stitch your design on a small piece of fabric. This will allow you to figure out the issues and make the required changes.
Once satisfied with your test, proceed with the final embroidery. Save your design for future projects or variations.
 Before diving into the digital realm, let’s explore some basic design essentials that can help you create your own embroidery designs.
A simple pencil and paper are often the starting points for many great designs. Sketching helps you to play with ideas before committing to a final pattern. Keep a sketchbook handy to jot down inspiration as it strikes.
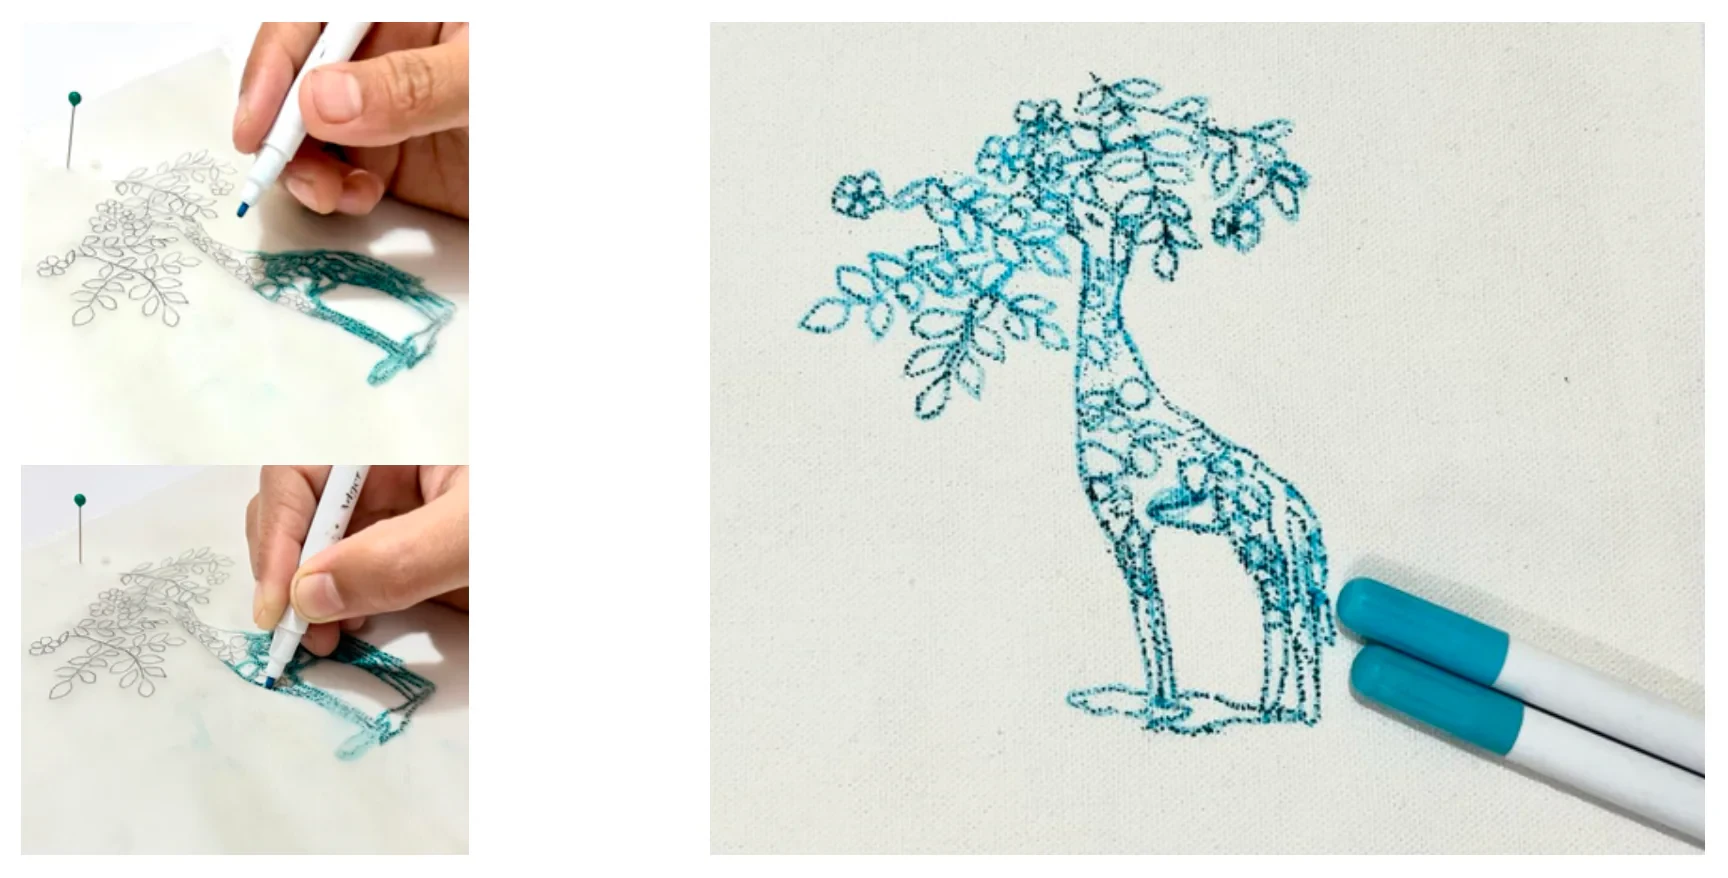
Tracing paper is another essential part of creating embroidery designs. It also allows you to overlay and modify existing patterns or sketch directly onto the fabric, giving you a preview of how your design will look.
Fabric markers are perfect for freehand drawing directly onto your fabric. They give you the freedom to experiment with designs before stitching, and many are washable, so you can easily correct any mistakes.
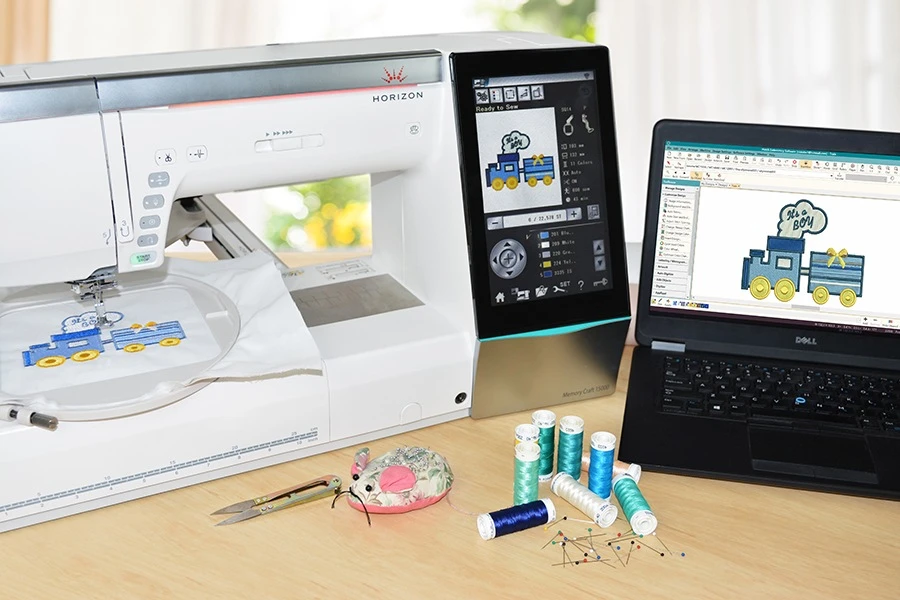
As technology advances, so do the tools available to embroiderers. Embroidery software opens up a world of possibilities, allowing you to create complex designs that would be difficult to achieve by hand drawing.
Embroidery software is invaluable for anyone looking to create detailed and precise designs. Software like Embird, Wilcom, and Brother PE-Design offer a range of features that simplify the design process. Here’s how to get started:
Select software that matches your skill level and needs. Beginners might prefer more user-friendly options like Brother PE-Design, while advanced users may opt for Wilcom for its extensive features.
Many programs offer templates that are used as a base for your design. Choose a template that closely matches your vision, and then customize it to fit your needs.
Use the software’s tools to digitize your design, converting it into a format that your embroidery machine can read. This step involves outlining your design, setting stitch types, and choosing colors.
Before finalizing your design, test it on a small piece of fabric. This helps you to make adjustments to the stitch density, color, and alignment.
Once you’re satisfied with your design, save and export the file in the appropriate format for your embroidery machine.
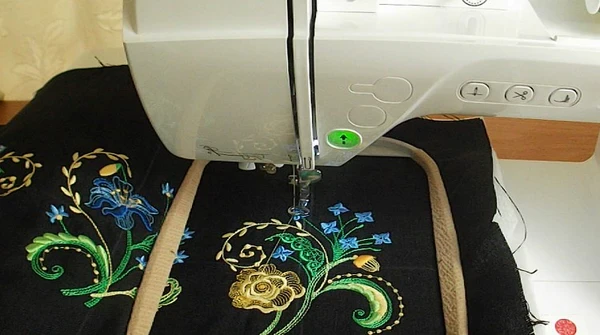
Creating designs specifically for machine embroidery requires careful planning. The software allows you to adjust the stitch type, sequence, and direction to ensure that the machine accurately recreates your design.
True Digitizing offers expert services to convert your hand-drawn or digital designs into machine-ready files, ensuring precision and high quality.
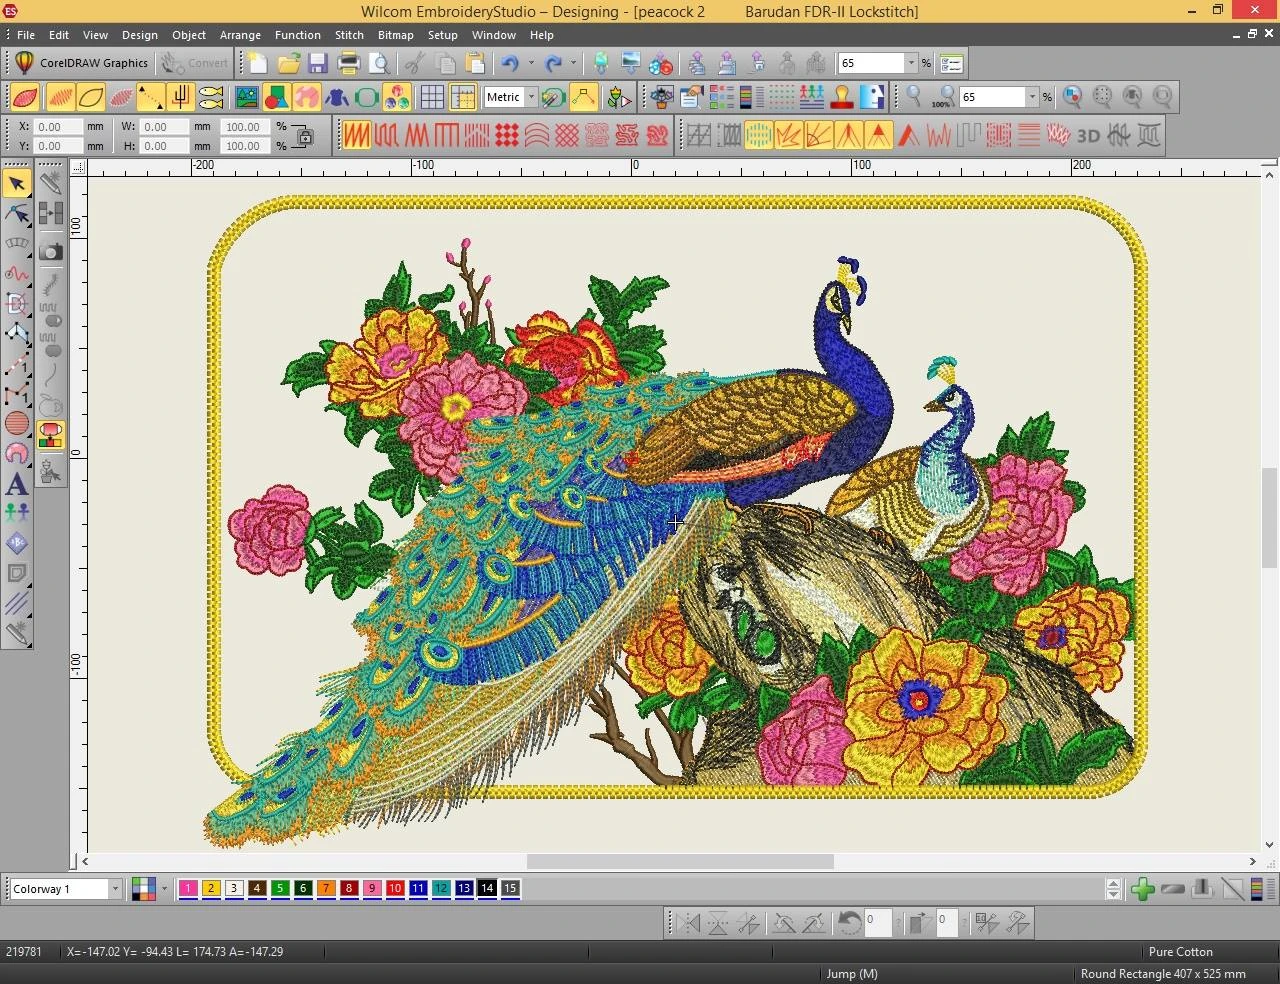
Creating embroidery designs on a computer offers precision and creativity. With software like Canva or Adobe Illustrator, you can create complex designs that can then be digitized for embroidery. These programs allow you to experiment with shapes, lines, and colors.
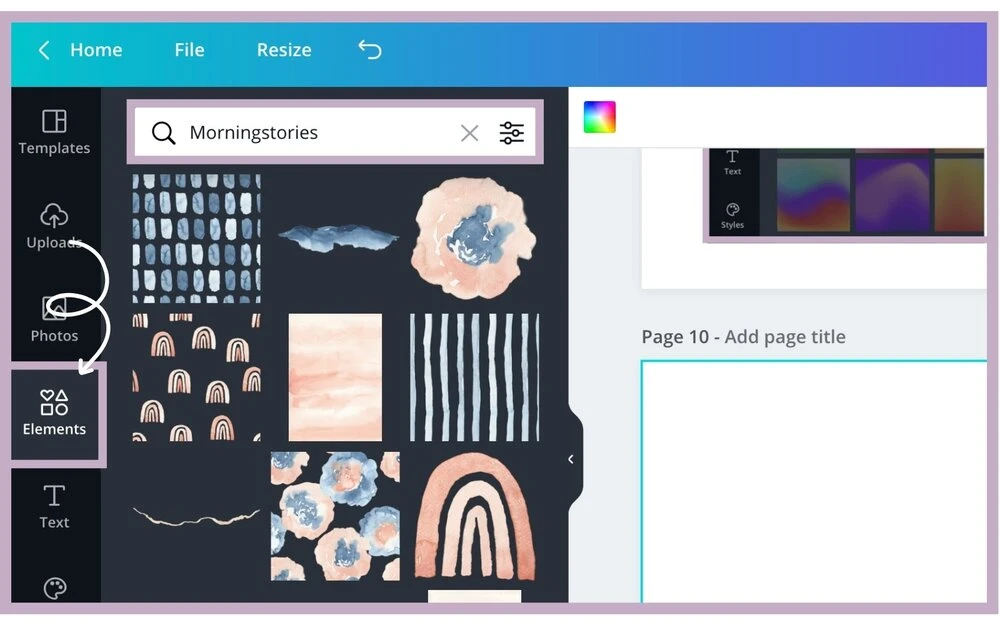
Canva is a user-friendly tool that’s perfect for creating simple embroidery designs. While we can say it’s primarily a graphic design tool, Canva’s vast library of shapes and fonts makes it the best choice for creating basic designs that can be digitized later. Here’s a quick guide:
Set Your Canvas: Start by setting your canvas size to match the dimensions of your fabric.
Create Your Design: You can use Canva for drag and drop to create your design. You can combine text, shapes, and illustrations to create your own designs.
Export the Design: Once your design is complete, export it as a high-resolution JPG or PNG file.
Digitize: Use embroidery software to convert the Canva design into a format that your embroidery machine can understand easily.
Creating embroidery designs doesn’t have to be expensive. There are several free tools and resources available online that can help you bring your ideas to life.
There are several free embroidery software options available that offer a surprising range of features. Such as Ink/Stitch and SewArt are popular choices for those just starting. This software allows you to digitize your designs and experiment with different stitch types without any charges.
In addition to free software, there are also online tools like My Editor and Embrilliance Express that offer basic design capabilities. These platforms are great for beginners who want to try their hand at embroidery design without committing to paid software.
Brother machines are popular among hobbyists and professionals alike. To create a design for a Brother embroidery machine:
Use Brother-Compatible Software: Software like Brother PE-Design is specifically designed for Brother machines, ensuring compatibility and ease of use.
Follow the Machine’s Guidelines: Each Brother machine comes with specific guidelines for stitch types, file formats, and color sequencing. Following these guidelines will help you avoid issues during stitching.
Adjust and Test: Always test your design on a sample fabric before submitting the final piece. This will help you identify any issues with the design or the machine settings.
For other well-known embroidery designing brands like Janome, Bernina, or Singer, similar steps apply. Always check the machine's manual for specific file requirements and settings. True Digitizing helps in converting your designs into the right formats, ensuring the best results regardless of your machine brand.
Creating your own embroidery designs is a fulfilling journey that combines creativity with technical skill. Whether you prefer basic methods or advanced software, The goal is to explore, practice, and improve your skills. By following the steps outlined in this guide, you’ll be well on your way to creating stunning, personalized embroidery designs.
Nick William has been immersed in the world of embroidery digitizing for over 20 years, earning 25 industry awards throughout his career. As a 3rd generation embroidery expert, Nick’s journey started in his family’s workshop, where he learned the art of digitizing before the rise of modern software. He has worked with leading commercial embroidery businesses and has shared his expertise with over 75,000 home and professional embroiderers. As an author at True Digitizing, Nick is passionate about teaching others how to create beautiful, precise designs through easy-to-follow tutorials and expert advice.
Categories
How to Do Machine Embroidery on Sleeves Like a Pro
04-02-2026

Romantic Shirt and Hoodie Embroidery Ideas for Couples in 2026
20-01-2026
How to Reduce and Prevent Machine Embroidery Puckering
17-01-2026
Common Client Errors When Submitting Logos for Embroidery
17-01-2026
Top 5 Best Brother Embroidery Machines For Beginners
09-01-2026

New Year Trends in Custom Embroidery for Apparel Brands 2026
05-01-2026

Manual vs Auto Digitizing for Logos | Why Professionals Prefer Manual
19-12-2025

Winter Themed Embroidery | Snowflakes, Trees, and Cozy Designs
17-12-2025
Top 25 Christmas Machine Embroidery Designs for Holiday Gifts 2025
12-12-2025
Best Multi-Needle Embroidery Machine Comparison | Brother, Tajima, Janome, Barudan & More
09-12-2025