Applique embroidery designs are long sharp borders sewing designs and the use of needle and thread to cut fabrics into multiple designs and shapes of various sizes and then stitch them on a larger base fabric to make different designs and patterns.
Basically, Applique embroidery digitizing consists of three main steps: first designing, second layering, and third stitching. The first step is to create or select a design, which usually changes according to the client's preferences. The design is then digitized using embroidery software like Wilcom and makes sure that every detail is perfect for the applique process.
Once the design is complete, we go for the 2nd step, the embroidery machine uses the digital file to stitch the fabric pieces to the base material. Because the process needs accuracy to perfectly match the fabric layers, ensuring the designs look attractive.

If you want successful applique digitizing, using the right materials is so important.
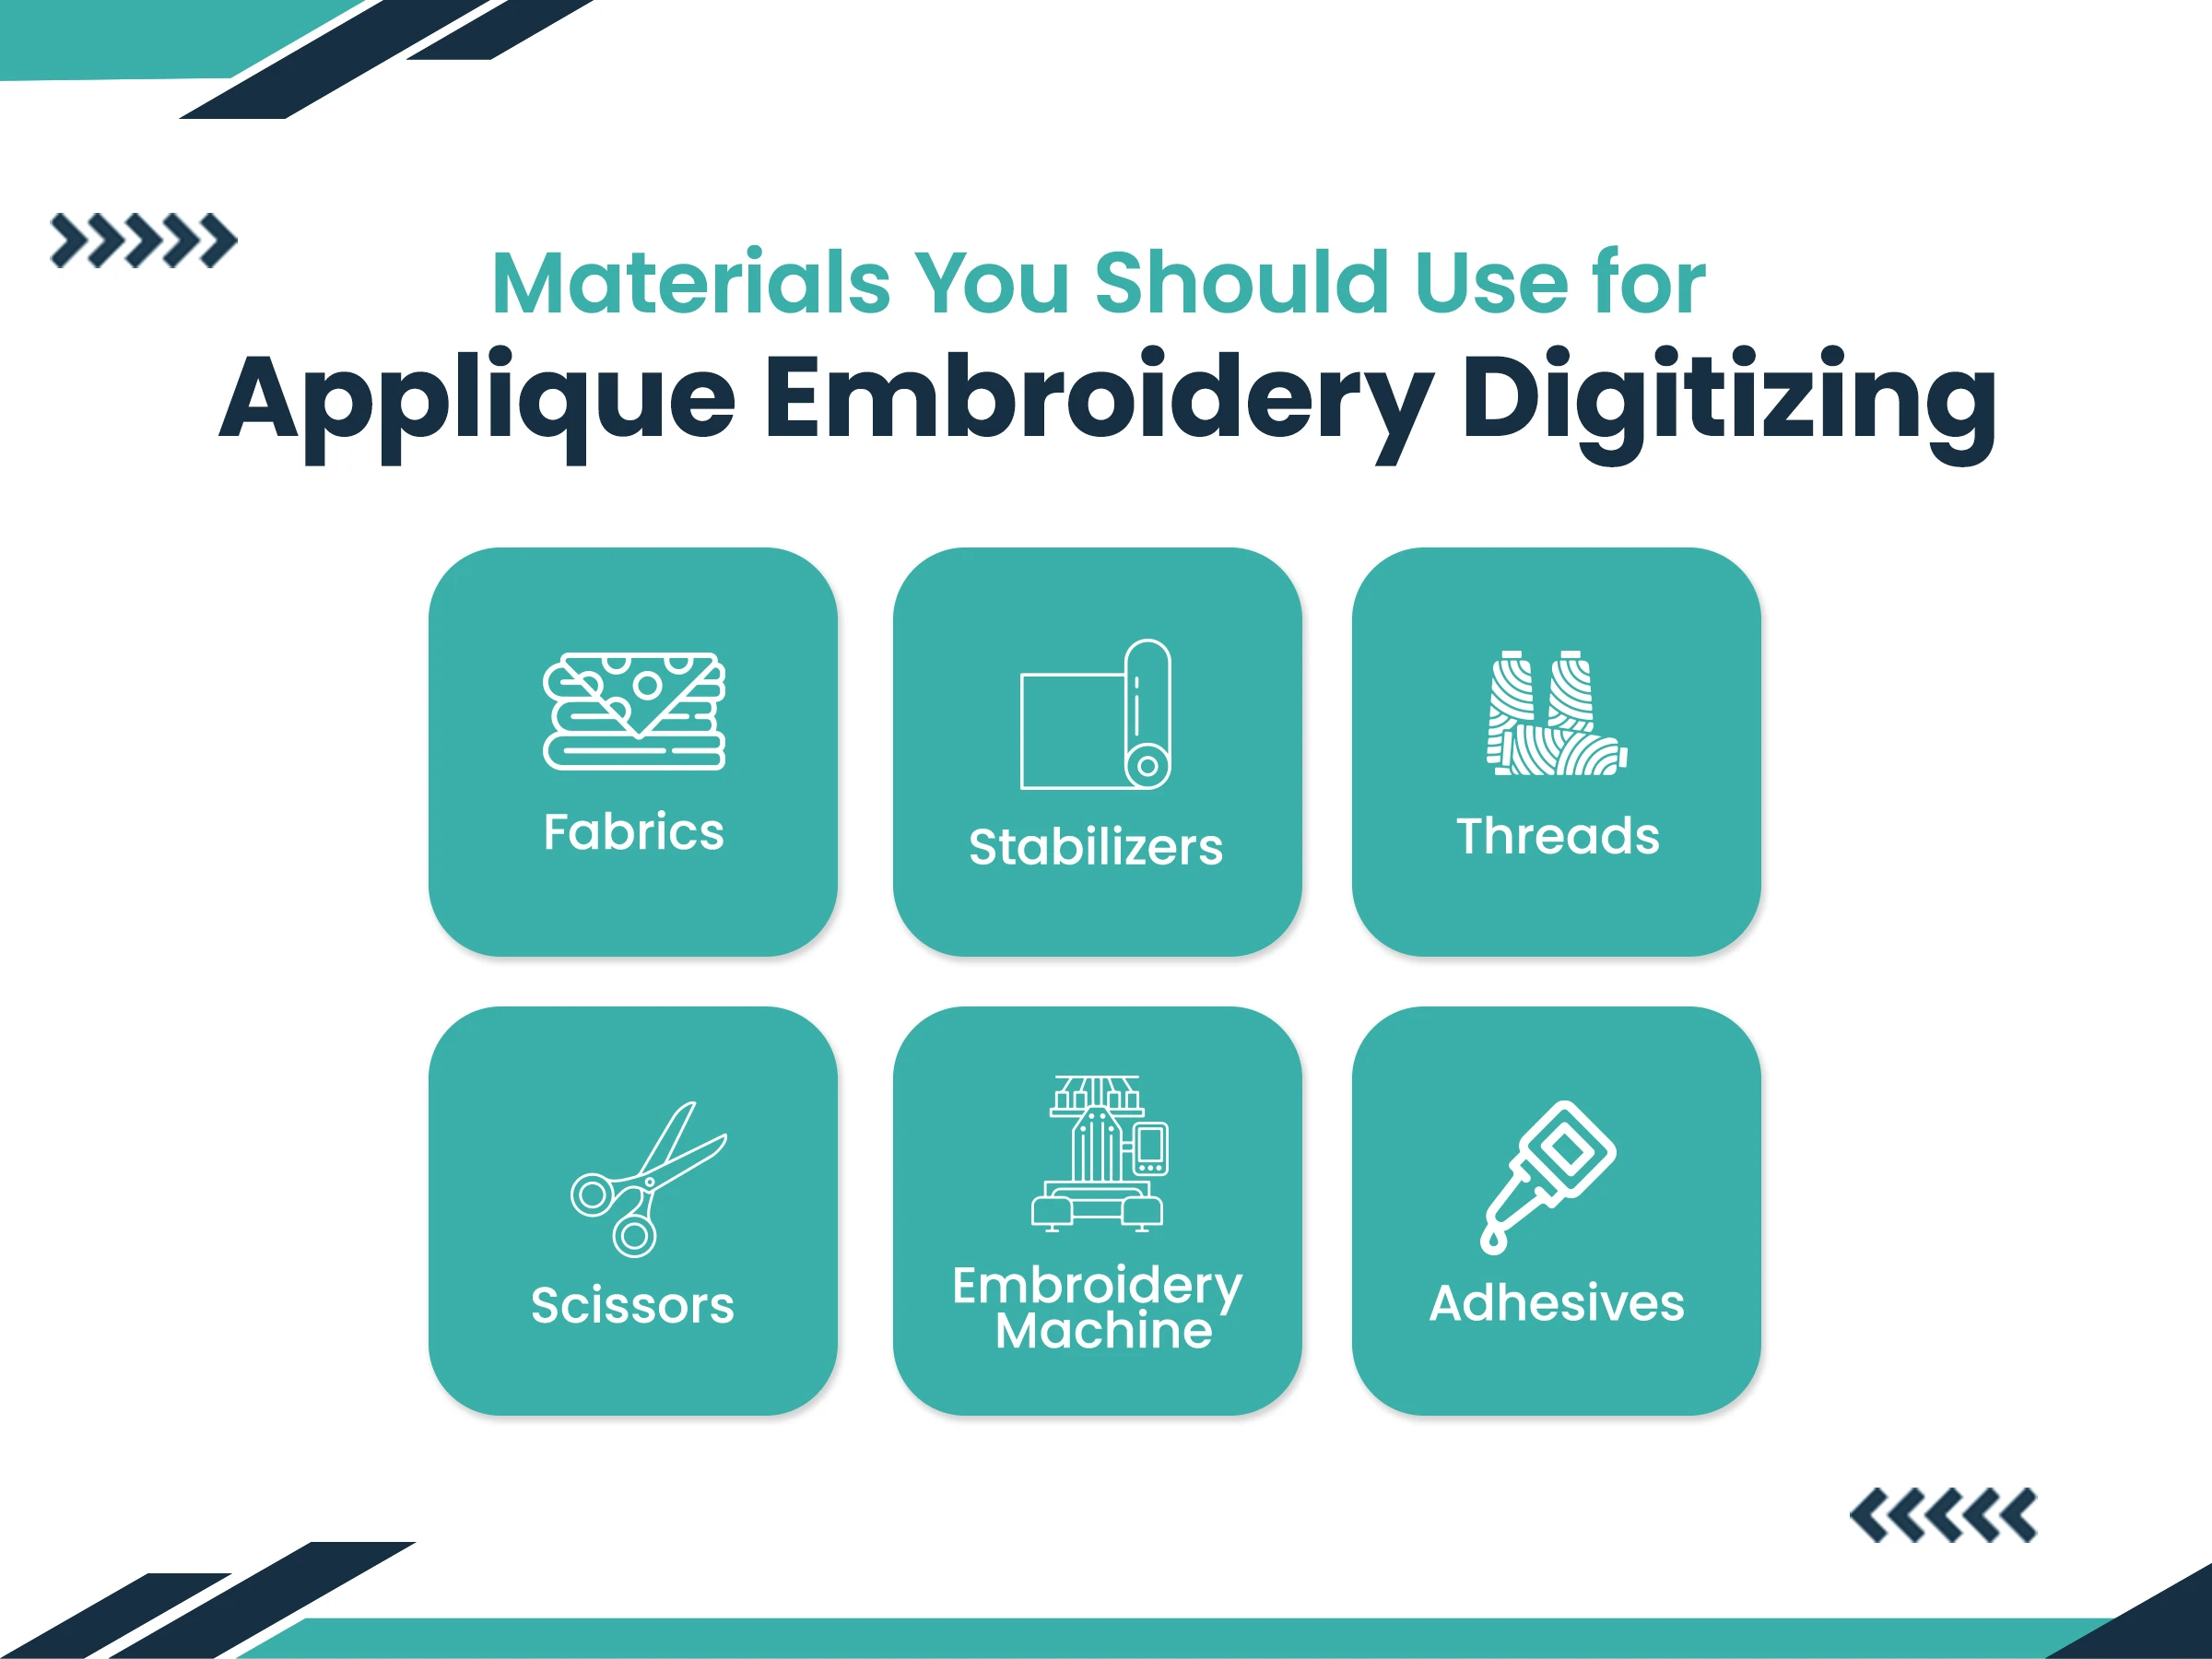
Here are some essential materials you need:
Fabric(lightweight cotton, felt, or polyester)
Stabilizers
Threads
Adhesives
Scissors
Here is a step-by-step guide to help you learn applique embroidery digitizing tips:
Choosing the right design is important for applique embroidery design success. If you are a beginner, you have to focus on designs with simple shapes and clear outlines. Designs with clean geometric shapes, like circles, squares, or hearts, make it easier to position and stitch the applique fabric perfectly.
Digitizing your design is the heart of the applique process. Use professional embroidery software to convert the artwork into a digital file. Ensure the stitch density is appropriate to avoid puckering or stiffness. Pay special attention to the sequence of stitches, starting with placement stitches, followed by tack-down stitches, and ending with the finishing stitches.
Having all the necessary materials ready before you start can save time. Gather fabric for both the base and applique, along with stabilizers suitable for the project’s fabric type. Use high-quality threads, temporary adhesives, and sharp scissors should also be within reach to maintain efficiency and precision throughout the project.
Start by sewing placement stitches with your embroidery machine. These initial stitches outline the area where the applique fabric will be placed.
Position the applique fabric carefully over the placement stitches. Smooth it out to avoid wrinkles or bubbles, which can damage the design’s finish. Use temporary adhesive or fusible webbing to secure the fabric in place, ensuring it remains stable during the next stitching steps.
Tack-down stitches are used to secure the applique fabric firmly to the basic material. Keep in mind that the fabric doesn’t shift or fold during the cutting process. Check the alignment after these stitches and make any adjustments necessary before starting.
Carefully cut the edges of the applique fabric with the help of sharp scissors. Make sure to cut close to the tack-down stitches without cutting into them. Clean trimming is important to get a professional look and ensure the finishing stitches cover the raw edges neatly.
Complete the design with satin or decorative stitches to secure the edges of the applique fabric. These stitches not only secure the fabric but also add an elegant touch, enhancing the overall look of the design.
Working with embroidery machines for applique (brother machines requires specific requirements to get the best results. First, buy a machine with advanced applique features, as this ensures accurate stitching and efficient performance. Always try to use high-quality threads to prevent breakage during the process, which can damage the process and compromise the design.
Adjusting stitch settings is important, set the stitch density and length to achieve clean and smooth edges for your applique.
Regular maintenance of your machine is also important to avoid technical issues and ensure consistent performance.
Before submitting your final project, always test the design on a rough fabric.
For those looking to improve their applique embroidery digitizing, understanding advanced techniques and you will see a major difference. Layering fabrics is one way to create a 3D effect, adding depth and dimension to your designs. You can also experiment with mixed media by incorporating embroidery elements such as sequins or beads, which bring a unique and dynamic flair to your projects.
Complex designs are another good option that will be considered. By using contrasting fabrics and threads, you can create attractive and eye-catching patterns. Additionally, varied stitches like zig-zag or blanket stitches have creative finishing options, letting you customize the look of your applique designs further.

Choosing the right software or tools is important for effective applique embroidery digitizing. Wilcom Embroidery Studio is the right option because it is known for its advanced features and user-friendly interface. Embrilliance Essentials also has amazing features that cater to both beginners and experienced users, providing an excellent balance of functionality and ease of use.
Hatch Embroidery Software is another best choice, it gives you wide customization options that allow for highly personalized applique designs. For those using Brother embroidery machines, Brother PE-Design simplifies the digitizing process with its seamless compatibility and advanced features. This software not only gives you the best digitizing experience but also ensures precision and quality in your applique projects.
Creating applique designs for embroidery machines involves careful planning and execution. Start by choosing a design suitable for applique and digitizing it using professional software. Ensure the stitch sequence includes placement, tack-down, and final stitches. Test the design on the sample fabric to identify any adjustments needed. Once finalized, upload the design onto the embroidery machine and follow the step-by-step process to bring it to life.
Beginners start small simple designs and gradually progress to more complex patterns. Always try to buy user-friendly software and practice on inexpensive fabrics to minimize costs. You can learn from online tutorials and join embroidery communities to gain insights and inspiration.
Applique embroidery digitizing is an easy and satisfying process that allows you to create stunning designs with fabric and thread. By learning the basics, like, the right materials, and leveraging advanced tips and techniques, you can get the best results.
For those who are looking for the best custom embroidery digitizing services, True Digitizing is here for you, we provide top-notch embroidery digitizing services with fast turnaround, flat rates, and unlimited revisions. With a commitment to quality and customer satisfaction, True Digitizing ensures your designs stand out in the competitive embroidery market. So what are you waiting for? Explore our services today and take your applique embroidery to the next level!Nick William has been immersed in the world of embroidery digitizing for over 20 years, earning 25 industry awards throughout his career. As a 3rd generation embroidery expert, Nick’s journey started in his family’s workshop, where he learned the art of digitizing before the rise of modern software. He has worked with leading commercial embroidery businesses and has shared his expertise with over 75,000 home and professional embroiderers. As an author at True Digitizing, Nick is passionate about teaching others how to create beautiful, precise designs through easy-to-follow tutorials and expert advice.
Categories

How to Do Machine Embroidery on Sleeves Like a Pro
04-02-2026

Romantic Shirt and Hoodie Embroidery Ideas for Couples in 2026
20-01-2026

How to Reduce and Prevent Machine Embroidery Puckering
17-01-2026

Common Client Errors When Submitting Logos for Embroidery
17-01-2026

Top 5 Best Brother Embroidery Machines For Beginners
09-01-2026

New Year Trends in Custom Embroidery for Apparel Brands 2026
05-01-2026

Manual vs Auto Digitizing for Logos | Why Professionals Prefer Manual
19-12-2025

Winter Themed Embroidery | Snowflakes, Trees, and Cozy Designs
17-12-2025

Top 25 Christmas Machine Embroidery Designs for Holiday Gifts 2025
12-12-2025

Best Multi-Needle Embroidery Machine Comparison | Brother, Tajima, Janome, Barudan & More
09-12-2025