A digitized logo is a graphic design converted into a digital file that machines can read and understand. Unlike a standard logo file such as JPEG or PNG, a digitized logo includes stitch data for embroidery machines or vector data for precise editing and scaling. These files ensure your embroidery designs or custom embroidery patches are accurately replicated on fabric, maintaining every detail of your original artwork.
Understanding how to digitize a logo for free offers numerous advantages, including:
Cost Savings: Avoid outsourcing costs by handling the digitization yourself.
Creative Control: Customize your embroidery designs and patterns exactly how you like.
Learning a Valuable Skill: Digitizing logos enhances your expertise in design and software.
Quick Adjustments: Easily edit your files when updates or tweaks are needed.
By understanding this process, you’ll gain flexibility and control over your designs while significantly reducing costs.
A physical logo is a static image, often used for websites, print media, or branding materials. Common file formats include JPEG, PNG, and PDF. These are great for display purposes but lack the detailed information required for embroidery machines or scalable designs.
A digitized logo is machine-readable and includes intricate details like stitch types, thread paths, and color stops for embroidery machines. Formats such asDST, PES, and EXP are commonly used in embroidery digitizing. These formats allow embroidery machines to create precise embroidery patterns or patches that match the original design.
When digitizing a new logo, follow these best practices:
Understand the End Use: Will it be used for embroidery, printing, or both? Define your purpose.
Choose the Right Software: Choose free or affordable software suitable for your needs.
Focus on Detail: Simplify complex designs to ensure accurate replication in embroidery.
Test the Output: Always test your digitized file on the intended medium to check for accuracy.
Ensure your logo is in a high-quality format (e.g., PNG or JPEG) with clear details. Remove unnecessary background elements and simplify intricate designs if needed.
Most free embroidery digitizing software requires a vector file. Use tools like Inkscape (a free vector design program) to convert your logo to vector format. Save it as an SVG file.

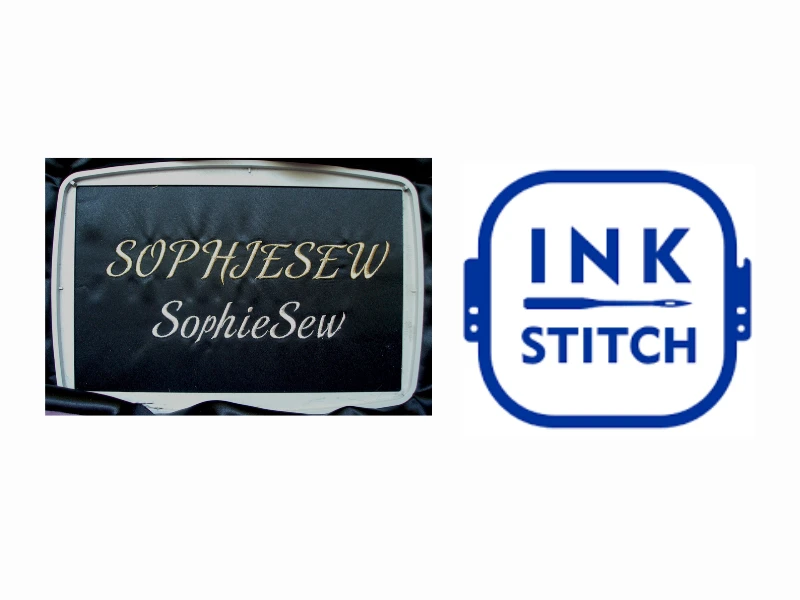
Download free embroidery software like Ink/Stitch or SophieSew, which offer basic digitizing tools for creating embroidery files. These programs are beginner-friendly and excellent for learning the basics.
Open the software and import your vectorized logo file. Ensure the dimensions match your intended output size.
Using the software, assign stitch types like satin, fill, or running stitches to different parts of your design. This step is important for creating embroidery patterns that look professional.
Fine-tune the density and direction of stitches to ensure smooth embroidery. Overlapping areas should be optimized to avoid bulkiness.
Export your finished design in a machine-compatible format such as DST, PES, or EXP. These formats can be directly used by embroidery machines.
Load the file onto your embroidery machine and create a test patch. Make adjustments if necessary to achieve the desired results.
To convert a hand-drawn logo into a vector image:
Scan or Photograph Your Logo: Use a high-resolution scanner or camera to digitize your drawing.
Trace the Image: Import the scanned file into vector software like Adobe Illustrator or Inkscape. Use the trace tool to outline your logo.
Clean Up the Design: Remove imperfections and ensure smooth lines for better scalability.
Save as a Vector File: Export your design as an SVG or EPS file for further digitization.
Several free software tools can help you digitize your logo for embroidery:
Ink/Stitch: A plugin for Inkscape that offers basic embroidery digitizing features.
SophieSew: Perfectfor beginners, this software provides tools for creating embroidery designs from scratch.
Embird (Free Trial): A professional tool with a free trial period, suitable for advanced digitizing projects.
These tools allow you to create professional embroidery designs, embroidery patterns, and even embroidery patches without spending a dime.
Nick William has been immersed in the world of embroidery digitizing for over 20 years, earning 25 industry awards throughout his career. As a 3rd generation embroidery expert, Nick’s journey started in his family’s workshop, where he learned the art of digitizing before the rise of modern software. He has worked with leading commercial embroidery businesses and has shared his expertise with over 75,000 home and professional embroiderers. As an author at True Digitizing, Nick is passionate about teaching others how to create beautiful, precise designs through easy-to-follow tutorials and expert advice.
Categories

How To Create A Vector File: Step-by-Step Guide
15-04-2025

What Is A Vector File? Everything You Need To Know
14-04-2025

Best Janome Embroidery Machines You Need to Check Out in 2025
11-04-2025

Custom Embroidery Digitized Designs For Hoodie Lovers
10-04-2025

Best Embroidery Patches For Your Clothes
10-04-2025

Professional Online Photo Digitizing Services Provided by True Digitizing
09-04-2025

Best Babylock Embroidery Machines For You
09-04-2025

Barudan Embroidery Machines: From Beginners to Professionals
04-04-2025

Custom Sweatshirt Embroidery Digitized Designs By True Digitizing
03-04-2025

Why Brother Embroidery Machines are the Best Choice for Embroiderers?
27-03-2025