
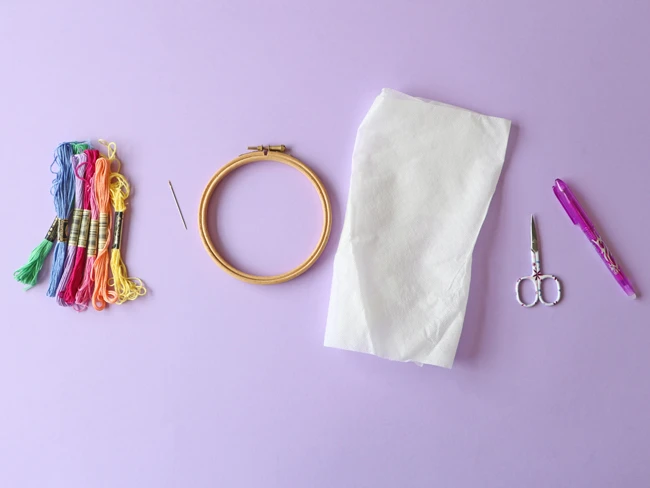
Before you start stitching, ensure you have the right materials. The quality of your tools can make a significant difference in your embroidery projects. Here’s a list to get started:
Fabric: Cotton, linen, or embroidery-specific fabric.
Embroidery Hoop: Keeps your fabric taut for perfection.
Threads: Choose from embroidery floss, silk, or metallic threads for Variety.
Needles: Use embroidery needles with sharp tips and appropriate eye sizes.
Scissors: Small, sharp embroidery scissors for clean cuts.
Transfer Tools: Carbon paper or water-soluble pens for transferring designs.
Free Printable Flower Embroidery Designs: Keep a variety of patterns handy for inspiration.
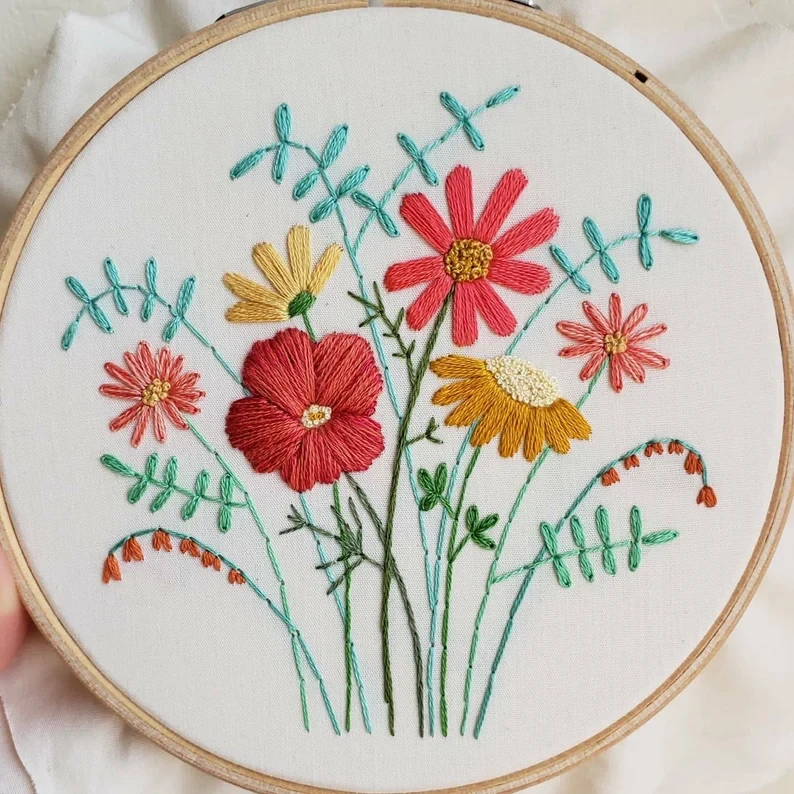
Beginners and experienced stitchers may find free printable embroidery designs to be a valuable resource. They give guidance for making balanced and elaborate flower designs. Websites such as Pinterest and embroidery blogs often share accessible designs suitable for different skill levels. Start by looking for outlines of roses, daisies, and tulips.
If you are looking for customized designs, service providers like True Digitizing transform your ideas into professional embroidery patterns, providing unique and perfect results.
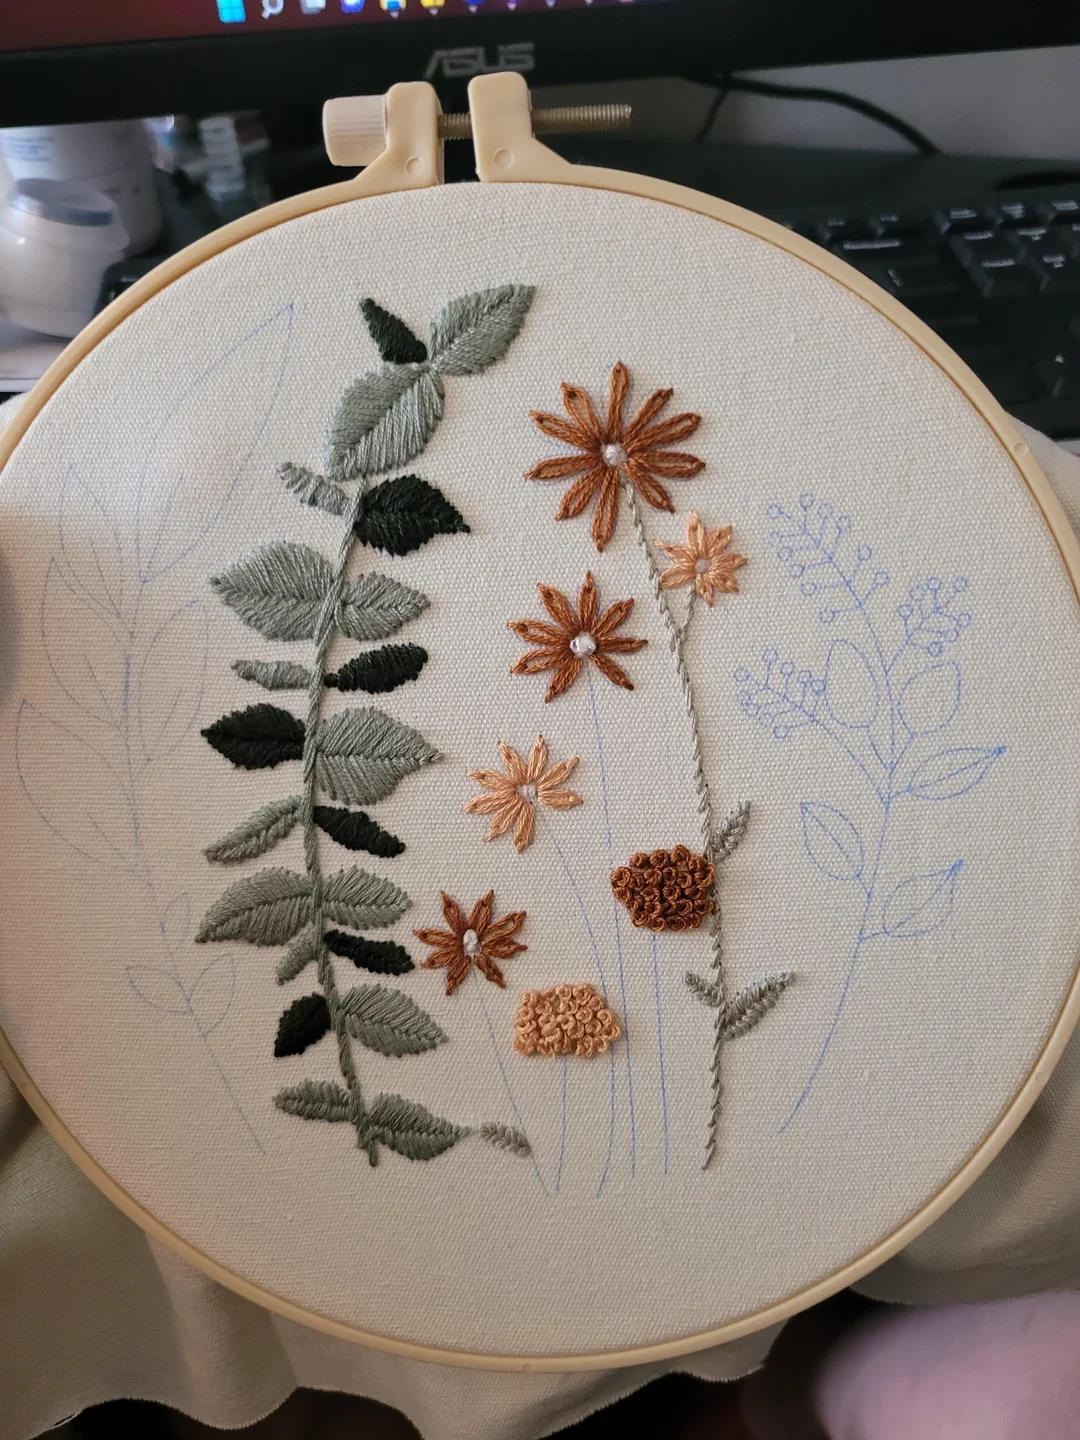
Creating lifelike petals and leaves involves mastering specific stitches. Here are some crazy options:
Lazy Daisy Stitch: Good for petal shapes, this looped stitch length creates a soft and rounded look.
Satin Stitch: Perfect for filling petals with smooth and solid color.
Fly Stitch: Commonly used for leaves, adding texture and dimension.
Back Stitch: Great for outlining petals and stems, giving clean lines.
Stem Stitch: A go-to choice for crafting flower stems, creating a natural flow.
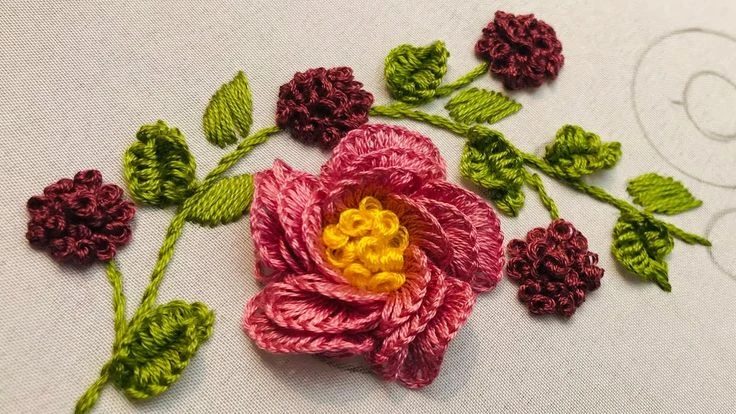
Want to add a 3D effect to your embroidery? These techniques are game-changers.
Bullion Knots: Excellent for creating rounded petals or flower centers.
French Knots: Adds texture to the center of flowers, mimicking pollen.
Woven Rose Stitch: Creates layered petals with a realistic depth.
Detached Chain Stitch: Adds a touch of elevation for petals and leaves.
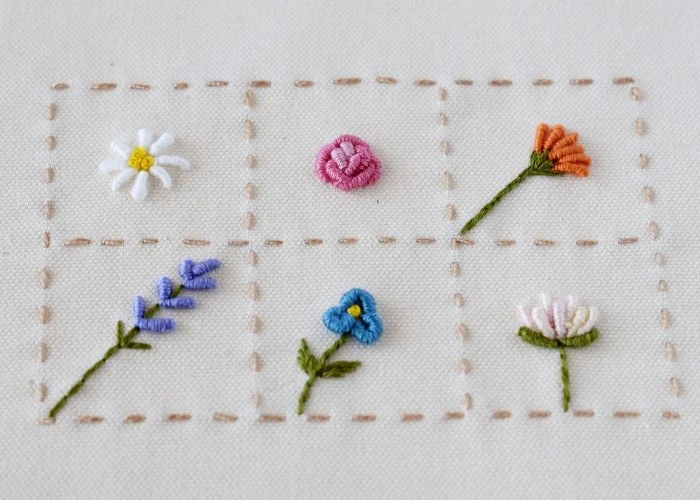
For soft and small embroidery flowers, simplicity is important. Use these stitches for tricky detailing.
Single Chain Stitch: Quick and easy for tiny petals.
Running Stitch: Perfect for minimalist designs.
Seed Stitch: Adds a scattered texture for small floral clusters.
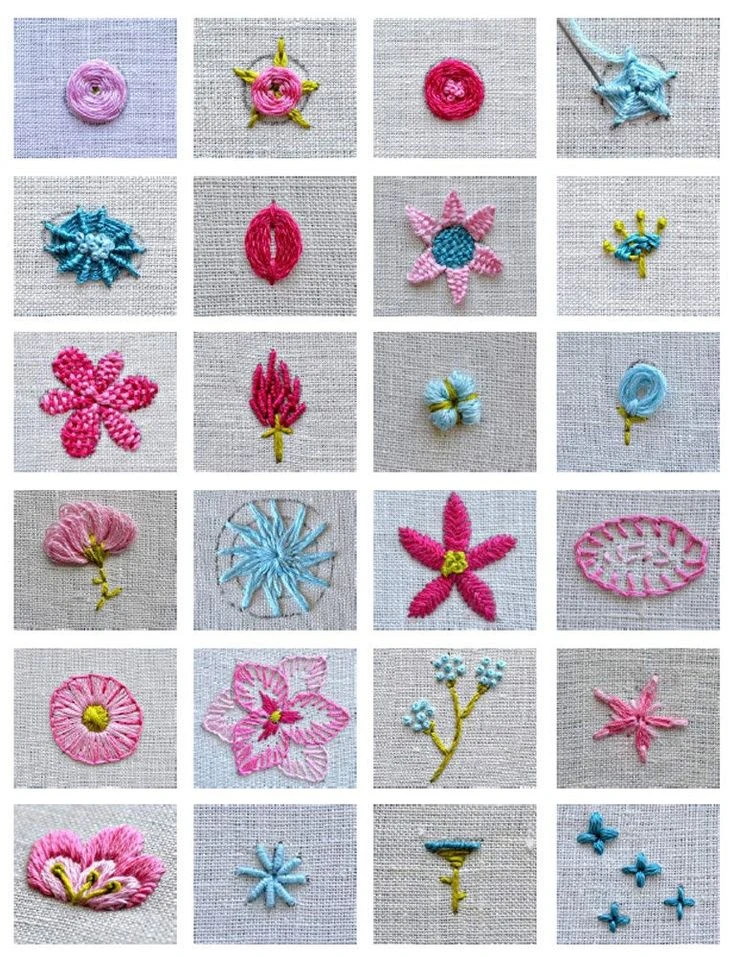
Embroidery might look difficult at first, but these beginner-friendly stitches make it simple to create beautiful flower designs:
This stitch includes weaving thread over a base of straight stitches, creating a layered, round look. It's easy to use and gives your design an attractive touch.
The lazy daisy stitch is an essential stitch for flower embroidery. A single loop is used to create each petal, which is secured with a small stitch at the base. It's basic but important.
Experiment with 3D techniques like bullion and French knots for better texture. These stitches give your flowers a natural look.
The blanket stitch is good for creating borders of large flower petals. It's easy to use and perfect for large designs.
The satin stitch helps you to cover large areas with smooth and colorful thread, making it great for colorful flower petals.
Read more about the basic embroidery stitches for beginners
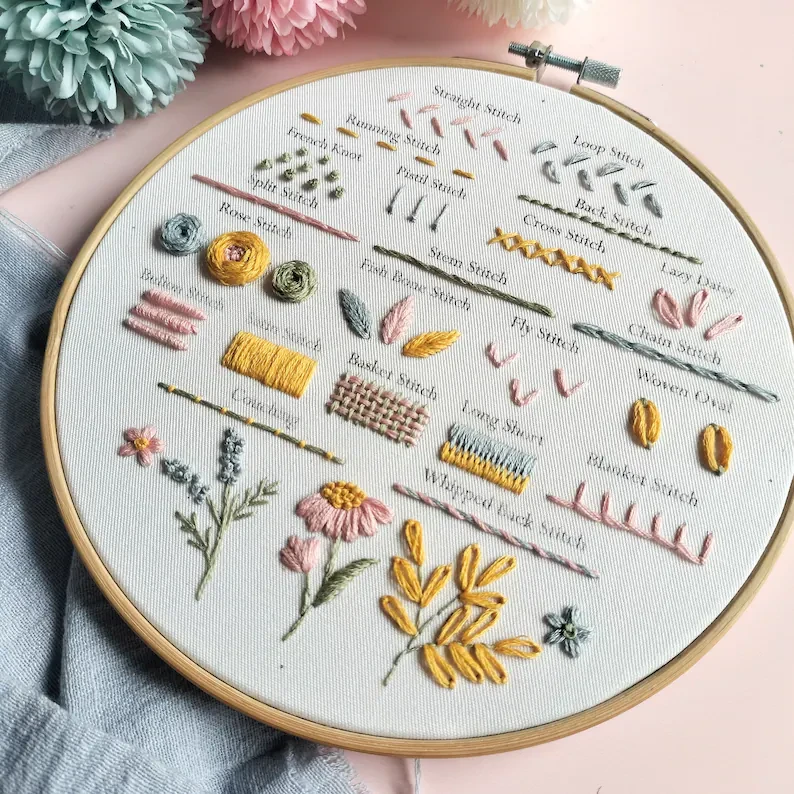
Hand stitching is an ancient art that helps you to express your creativity with a needle, thread, and fabric. Whether you're pulling the thread to create complicated designs or learning how to make a simple flower, this art form is quite satisfying. There are different ways of embroidering flowers, each with a distinct set of expertise that will set your work apart.
If you are new to hand stitching and want to learn, start with simple stitches such as the split stitch. It’s easy to learn and perfect for outlining flower shapes. As you pull the needle through the fabric, you will see your designs bloom, adding a unique touch to your work.
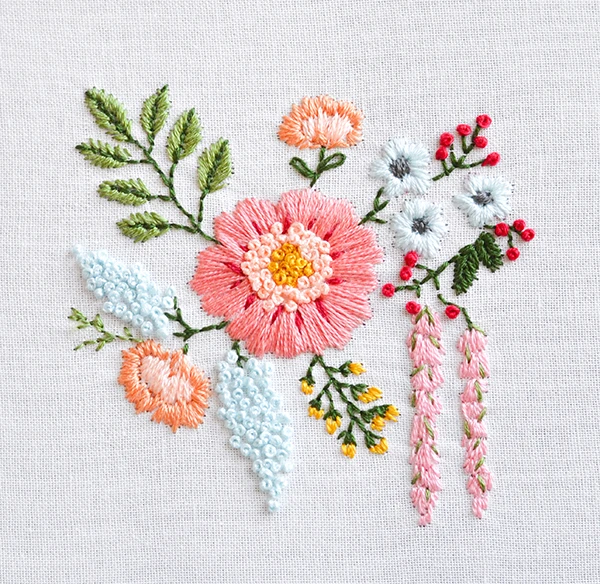
Embroidered flowers bring nature to life on fabrics. Flowers such as roses and daisies are durable and could be used to use in clothing, accessories, or home decor. When you understand the basic concepts, the process is simple, start a stitch, follow the design, and bring the flower's center to life with techniques such as the French knot.
When you learn how to embroider flowers, you get a chance to create stunning designs that can mimic real-life blooming or abstract ideas. For newbies, starting with flowers like roses is the perfect way to learn layering techniques and create depth in your designs.
The stem stitch is a flexible technique that is commonly used to outline floral designs or create stems for embroidered flowers. Pulling the needle into the fabric and overlapping stitches slightly, creates a smooth, rope-like appearance.
This stitch is good for shaping perfect curves on flower stems or outlining petals. The stem stitch, whether used on its own or combined with other stitches, gives your embroidery an elegant look. With expertise, you can make even complex designs such as flowers.
The French knot is an ancient way of adding texture and depth to stitched flowers. This stitch is typically used for the center of a flower or to make small buds. To form a French knot, pull the thread through the fabric, twist it around the needle, and then reinsert it near its starting point.
Learning this stitch is necessary for everyone looking to add dimension to their embroidery. The knot's adaptability makes it perfect for decorating floral embroidery, adding a professional elegant touch.
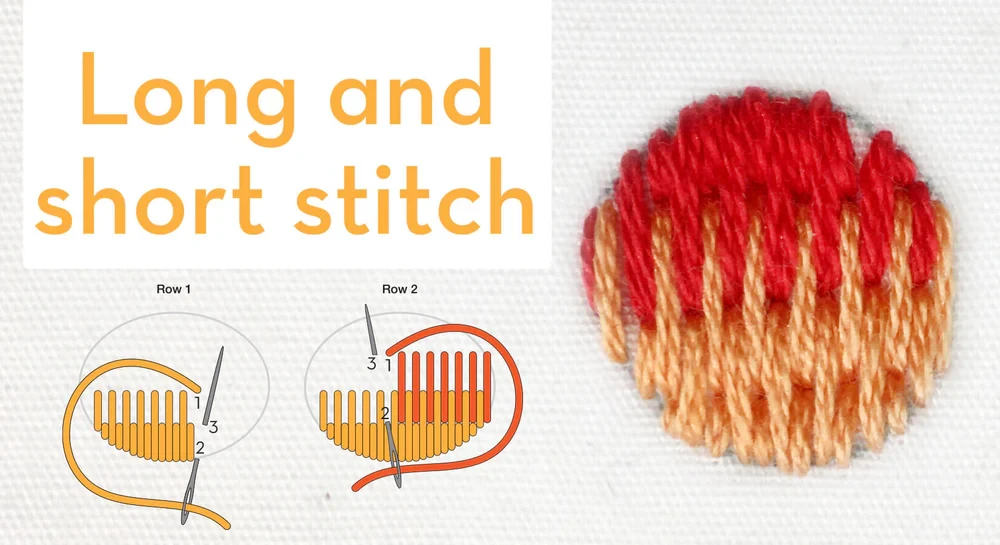
The long and short stitch is ideal for creating gradient effects in petals and leaves. By varying the length of your stitches, you can mimic the natural shading found in flowers like roses or tulips.
When you pull the needle through the fabric and alternate stitch lengths, the result is a smooth, blended appearance. It’s perfect for embroidering flowers that require a realistic look. As you master this stitch, you’ll find it becomes a staple in your floral embroidery toolkit.
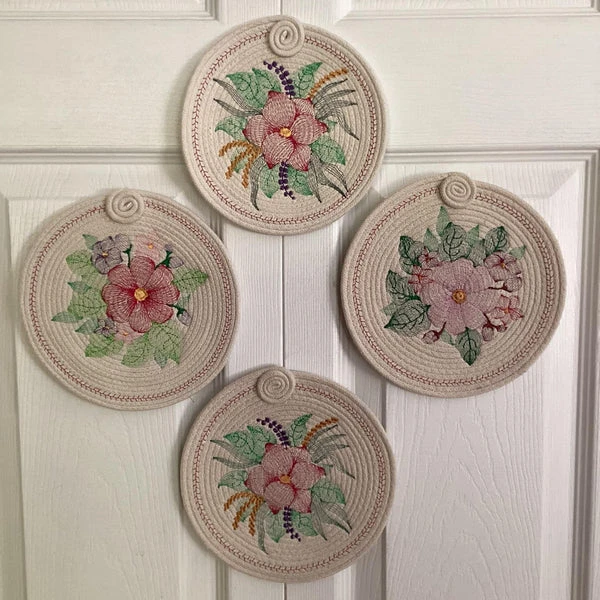
Floral embroidery is a beloved craft that combines artistry with skill. Whether you want to learn how to embroider flowers for personal projects or create professional-grade designs, the possibilities are endless.
For beginners, it’s helpful to focus on simple stitches like the split stitch or French knot. As you gain confidence, you can experiment with more complex techniques, such as creating layered flowers like roses. Remember, there are different ways to embroider flowers, and each offers a unique result.
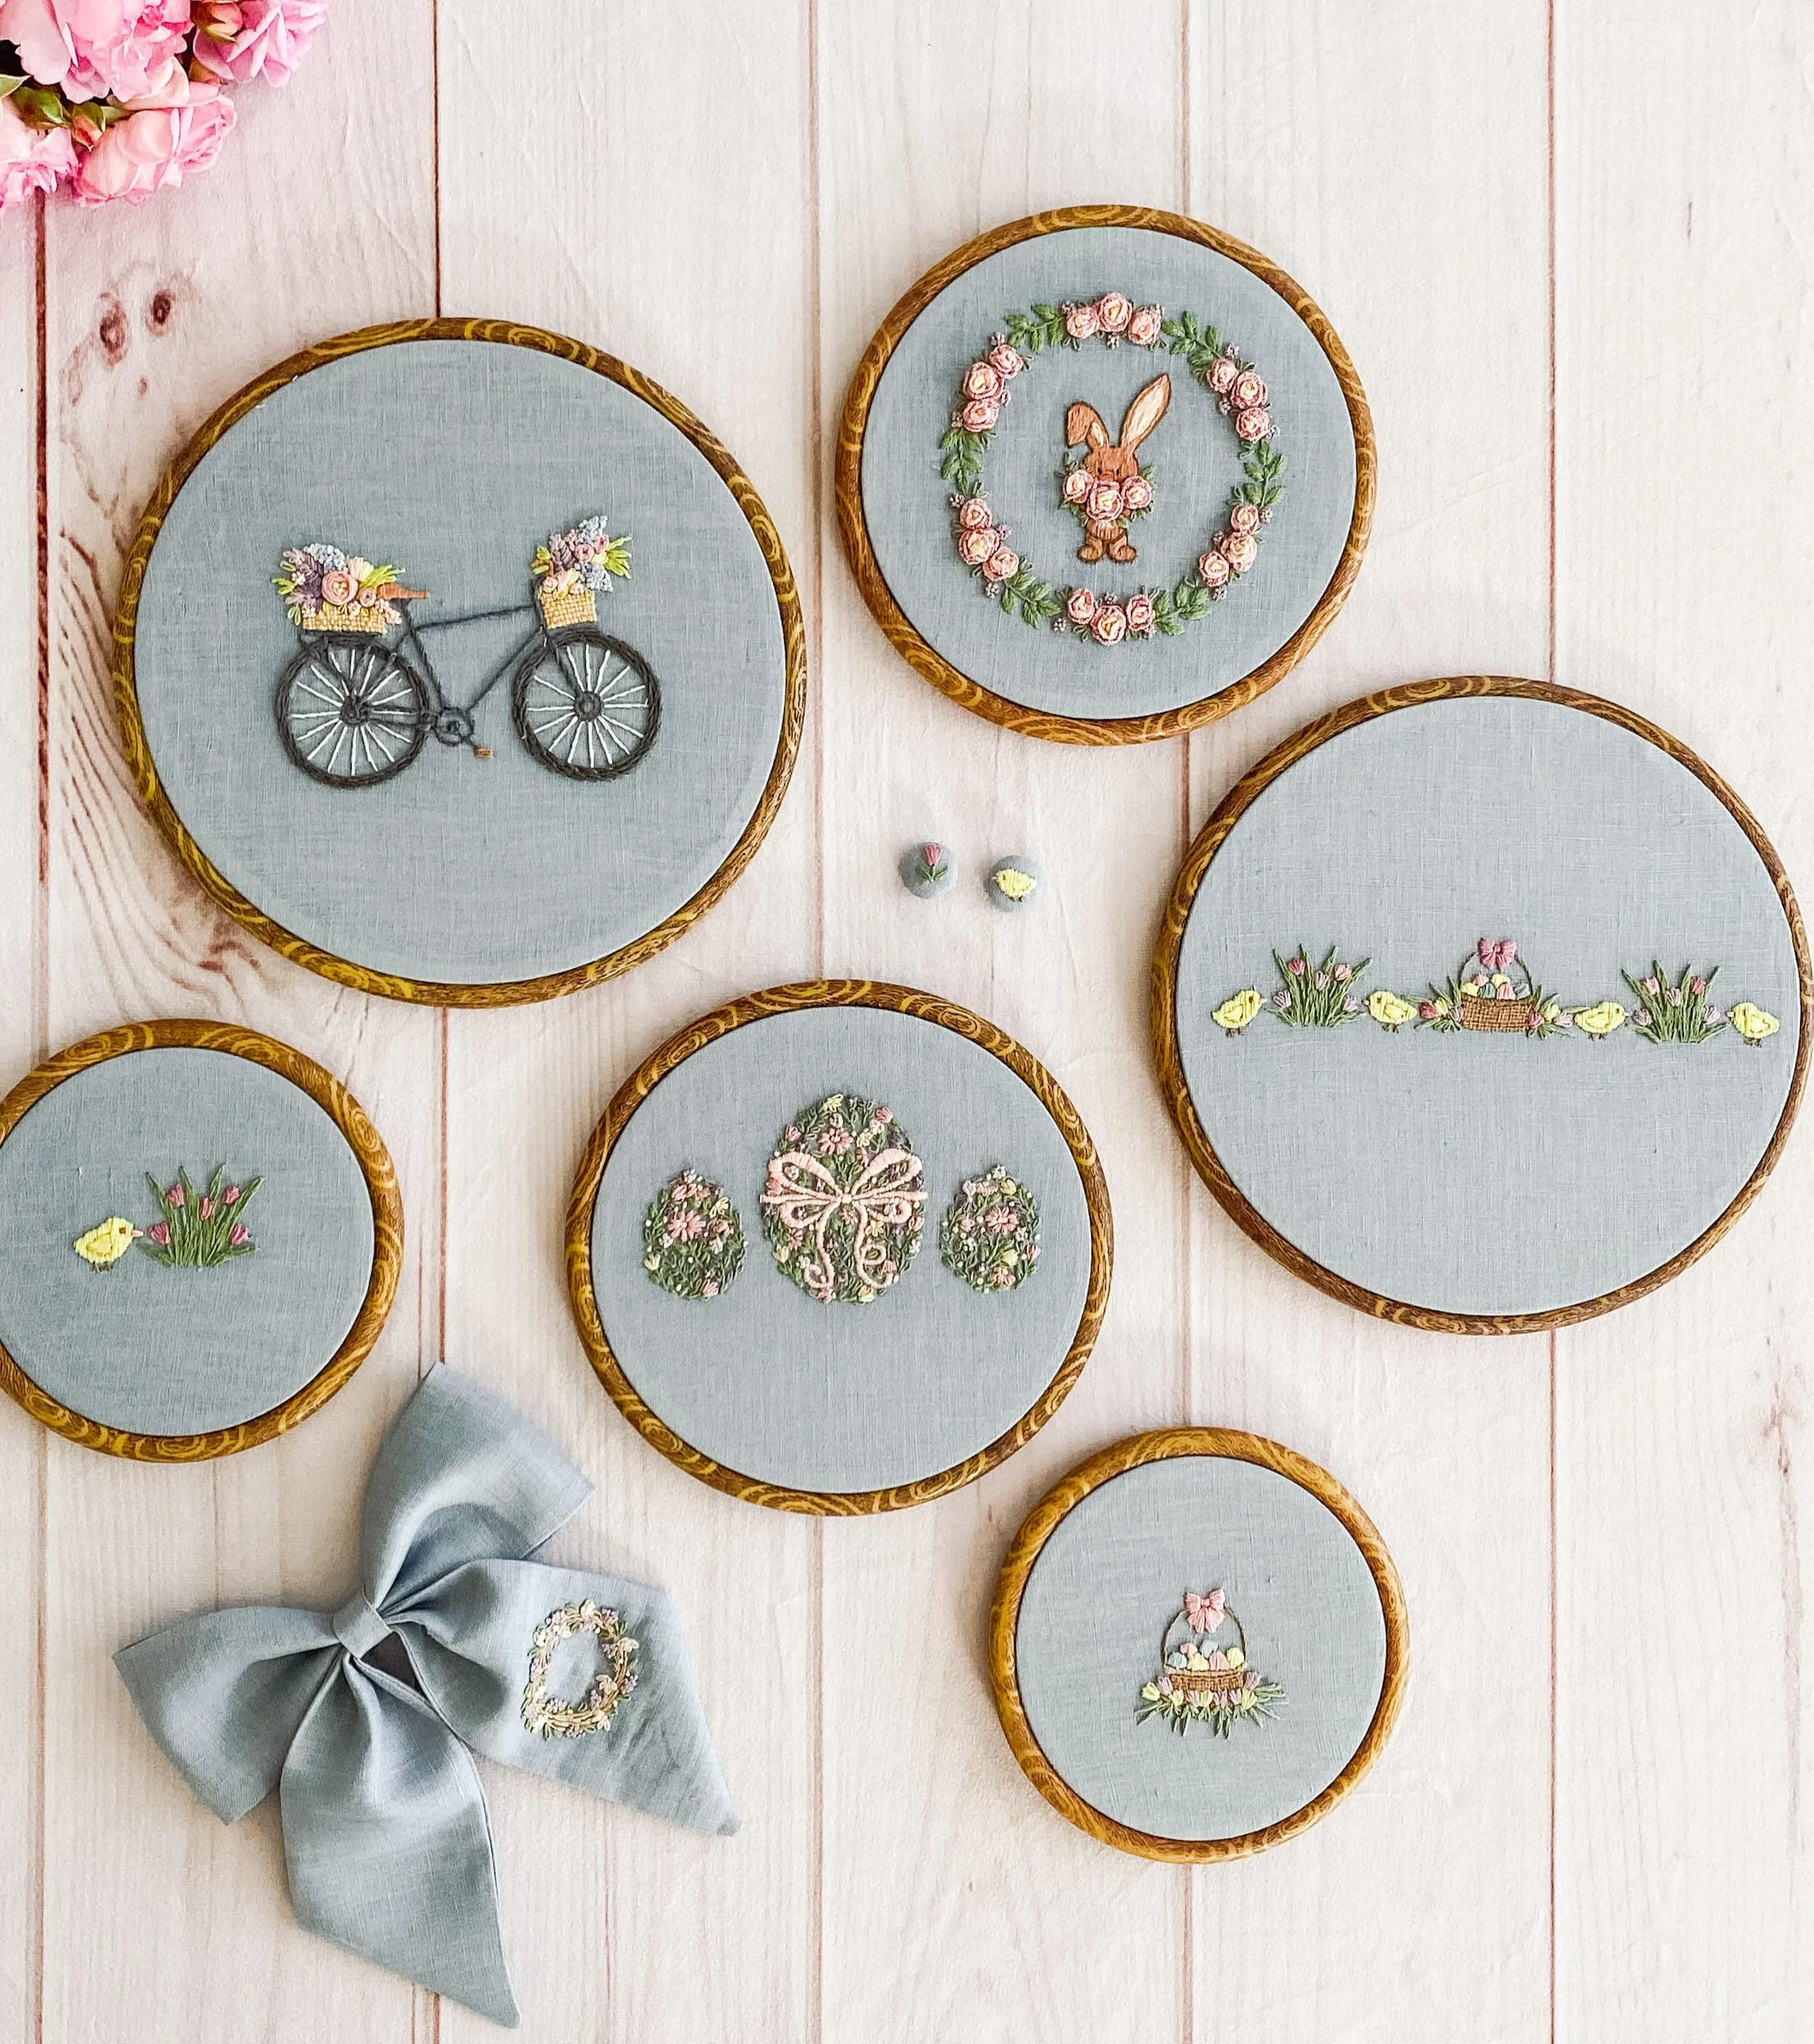
Embroidery patterns serve as blueprints for your creations, guiding you through each step of the design. Patterns featuring flowers like daisies, tulips, and roses are especially popular for floral embroidery.
When working with a pattern, start by transferring the design onto your fabric and deciding on the stitches to use. For example, use a stem stitch for outlines, long and short stitches for shading, and French knots for the flower's center. As you pull the thread and follow the pattern, you’ll bring your embroidery to life.
Want to learn more advanced techniques? Experiment with split stitches for intricate outlines or layering to add depth to your work. With practice, you can transform simple patterns into stunning artwork.
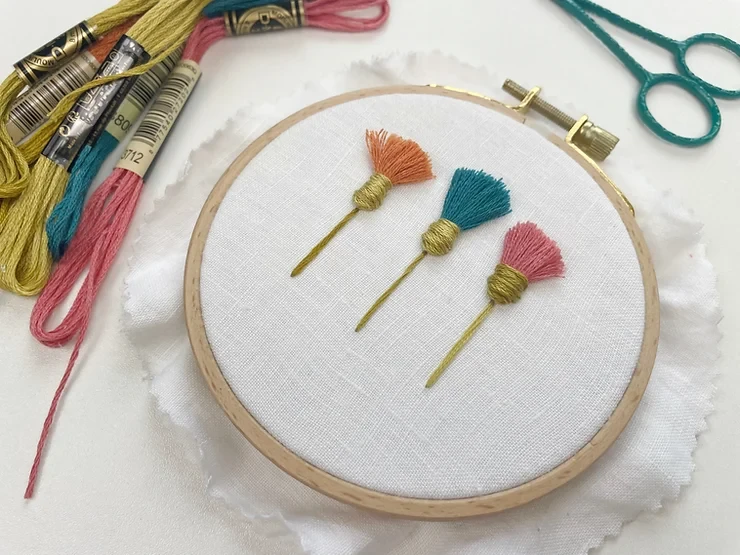
Flower embroidery stitches aren’t just for decoration; they have practical applications too. Here are a few ideas:
Decorative Linens: Add floral embroidery designs to napkins, tablecloths, or pillowcases.
Clothing Customization: Personalize jeans, jackets, or tote bags with embroidered flowers.
Gift Ideas: Create handmade gifts like embroidered bookmarks or framed artwork.
Home Decor: Use embroidery to embellish curtains, cushions, or wall hangings.
At True Digitizing, we offer quick turnaround times, guaranteed quality, and the option to preview your design before making a payment. We ensure you get exactly what you need. We are committed to delivering the best results every time. What are you waiting for? Contact True Digitizing today and experience the difference in quality and service.
Flower embroidery stitches are an art form that blends creativity and technique. If you're making broad blossoms or attractive petals, understanding the right stitches will enhance your embroidery designs.True digitizing gives the best digitizing services to our customers who want to transform their ideas into professional-quality embroidery. Let your creativity grow as you explore the ideas.
With the right materials, skills, and a little effort, you can transform your embroidered creations into stunning artwork.
Nick William has been immersed in the world of embroidery digitizing for over 20 years, earning 25 industry awards throughout his career. As a 3rd generation embroidery expert, Nick’s journey started in his family’s workshop, where he learned the art of digitizing before the rise of modern software. He has worked with leading commercial embroidery businesses and has shared his expertise with over 75,000 home and professional embroiderers. As an author at True Digitizing, Nick is passionate about teaching others how to create beautiful, precise designs through easy-to-follow tutorials and expert advice.
Categories

How To Create A Vector File: Step-by-Step Guide
15-04-2025

What Is A Vector File? Everything You Need To Know
14-04-2025

Best Janome Embroidery Machines You Need to Check Out in 2025
11-04-2025

Custom Embroidery Digitized Designs For Hoodie Lovers
10-04-2025

Best Embroidery Patches For Your Clothes
10-04-2025

Professional Online Photo Digitizing Services Provided by True Digitizing
09-04-2025

Best Babylock Embroidery Machines For You
09-04-2025

Barudan Embroidery Machines: From Beginners to Professionals
04-04-2025

Custom Sweatshirt Embroidery Digitized Designs By True Digitizing
03-04-2025

Why Brother Embroidery Machines are the Best Choice for Embroiderers?
27-03-2025