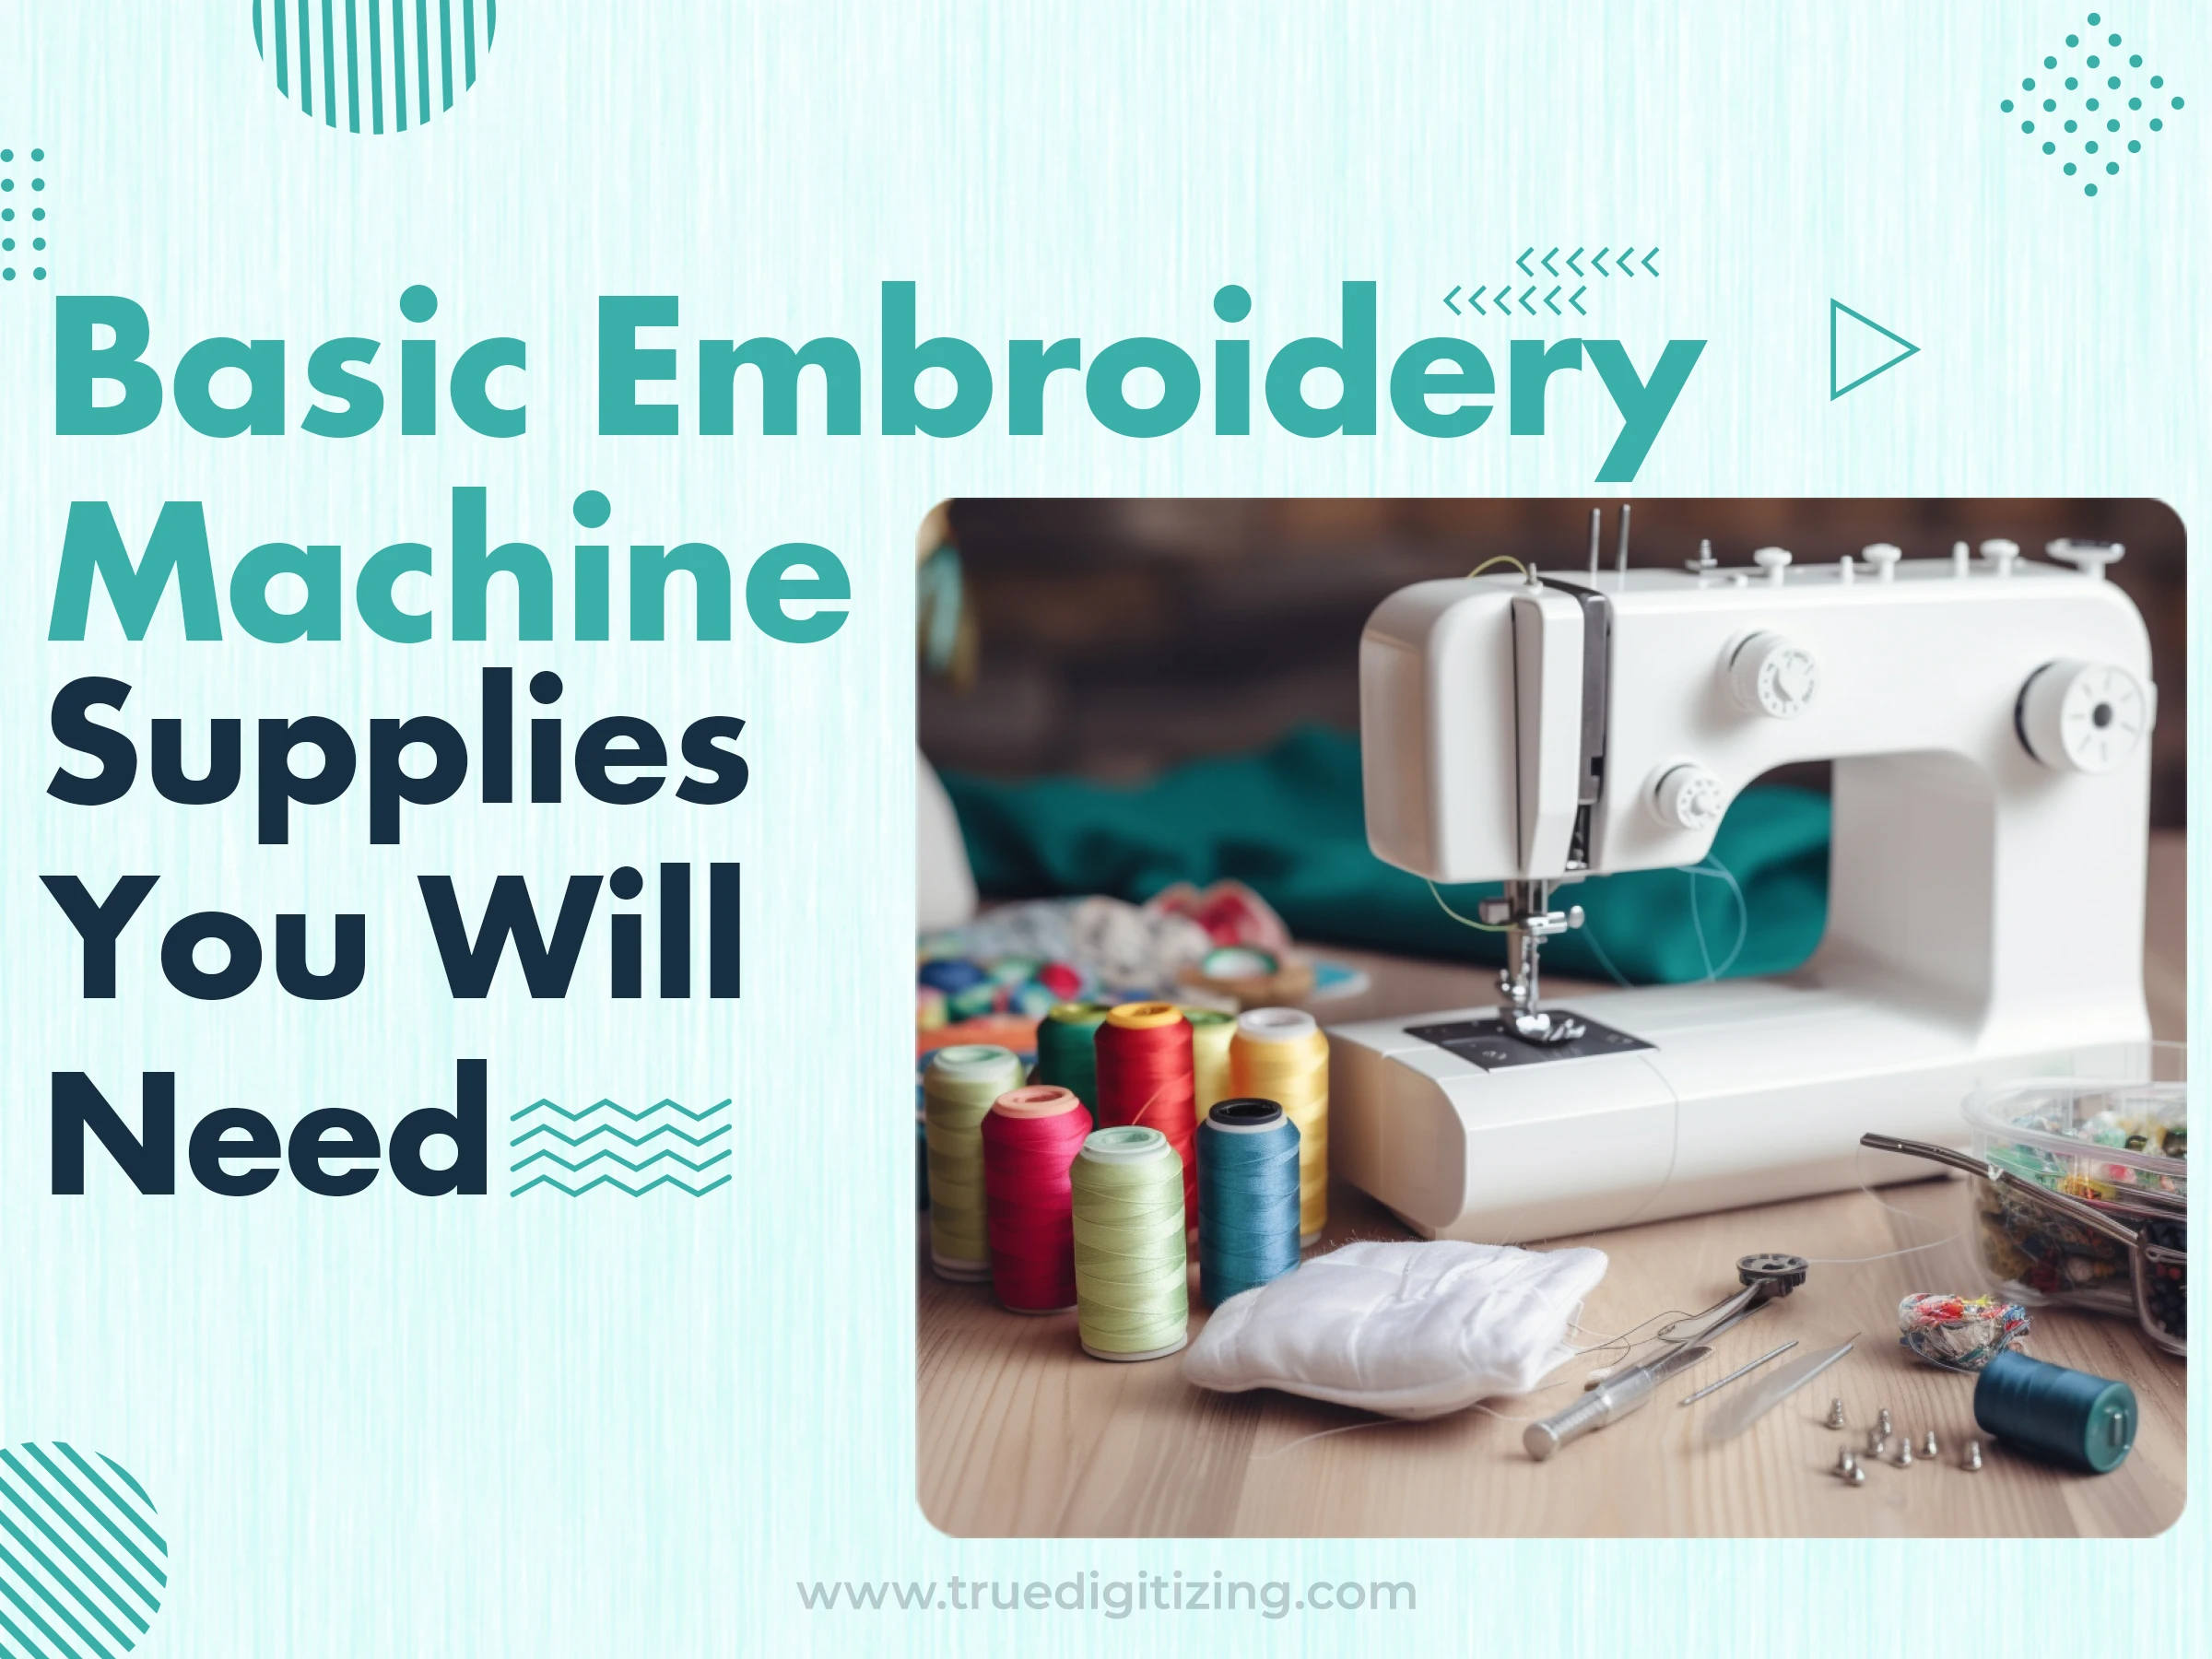
Before we jump in, let’s talk about what you’ll need. I’ve learned over the years that having the right essentials makes everything so much easier. Here’s the rundown.
Embroidery Machine
This is your main supply. I’ve used brands like Brother and Janome, and they’re great for beginners because they’re simple to figure out. Look for one with a USB port if you can; it’s a lifesaver for adding your own designs later.
Embroidery Designs
You can’t stitch without a design, right? Most machines come with some built-in ones, like hearts or stars, which are perfect to start with. When I started, I stuck to easy stuff like flowers.
Thread
Don’t use regular sewing thread, embroidery thread is different. Go for polyester or rayon, usually 40-weight, because it works best. Pick colors you love, but here’s a tip: skip the cheap stuf because it snapped every five minutes.
Stabilizers
These little sheets keep your fabric from wiggling around while you stitch. There’s tear-away for stuff like cotton, cut-away for stretchy things like t-shirts, and wash-away for delicate fabrics.
Embroidery Tools
You’ll want small scissors to snip threads, a seam ripper, and tweezers for those tiny stray threads. The hoop’s a must. It holds everything in place. Your machine probably came with one, but I’ve picked up extra sizes for bigger designs.
How to Use an Embroidery Machine? Step-by-Step Guide
Okay, let’s get stitching! I’m breaking this down into super easy steps so you can follow along without feeling lost. Ready? Here’s how I do it.
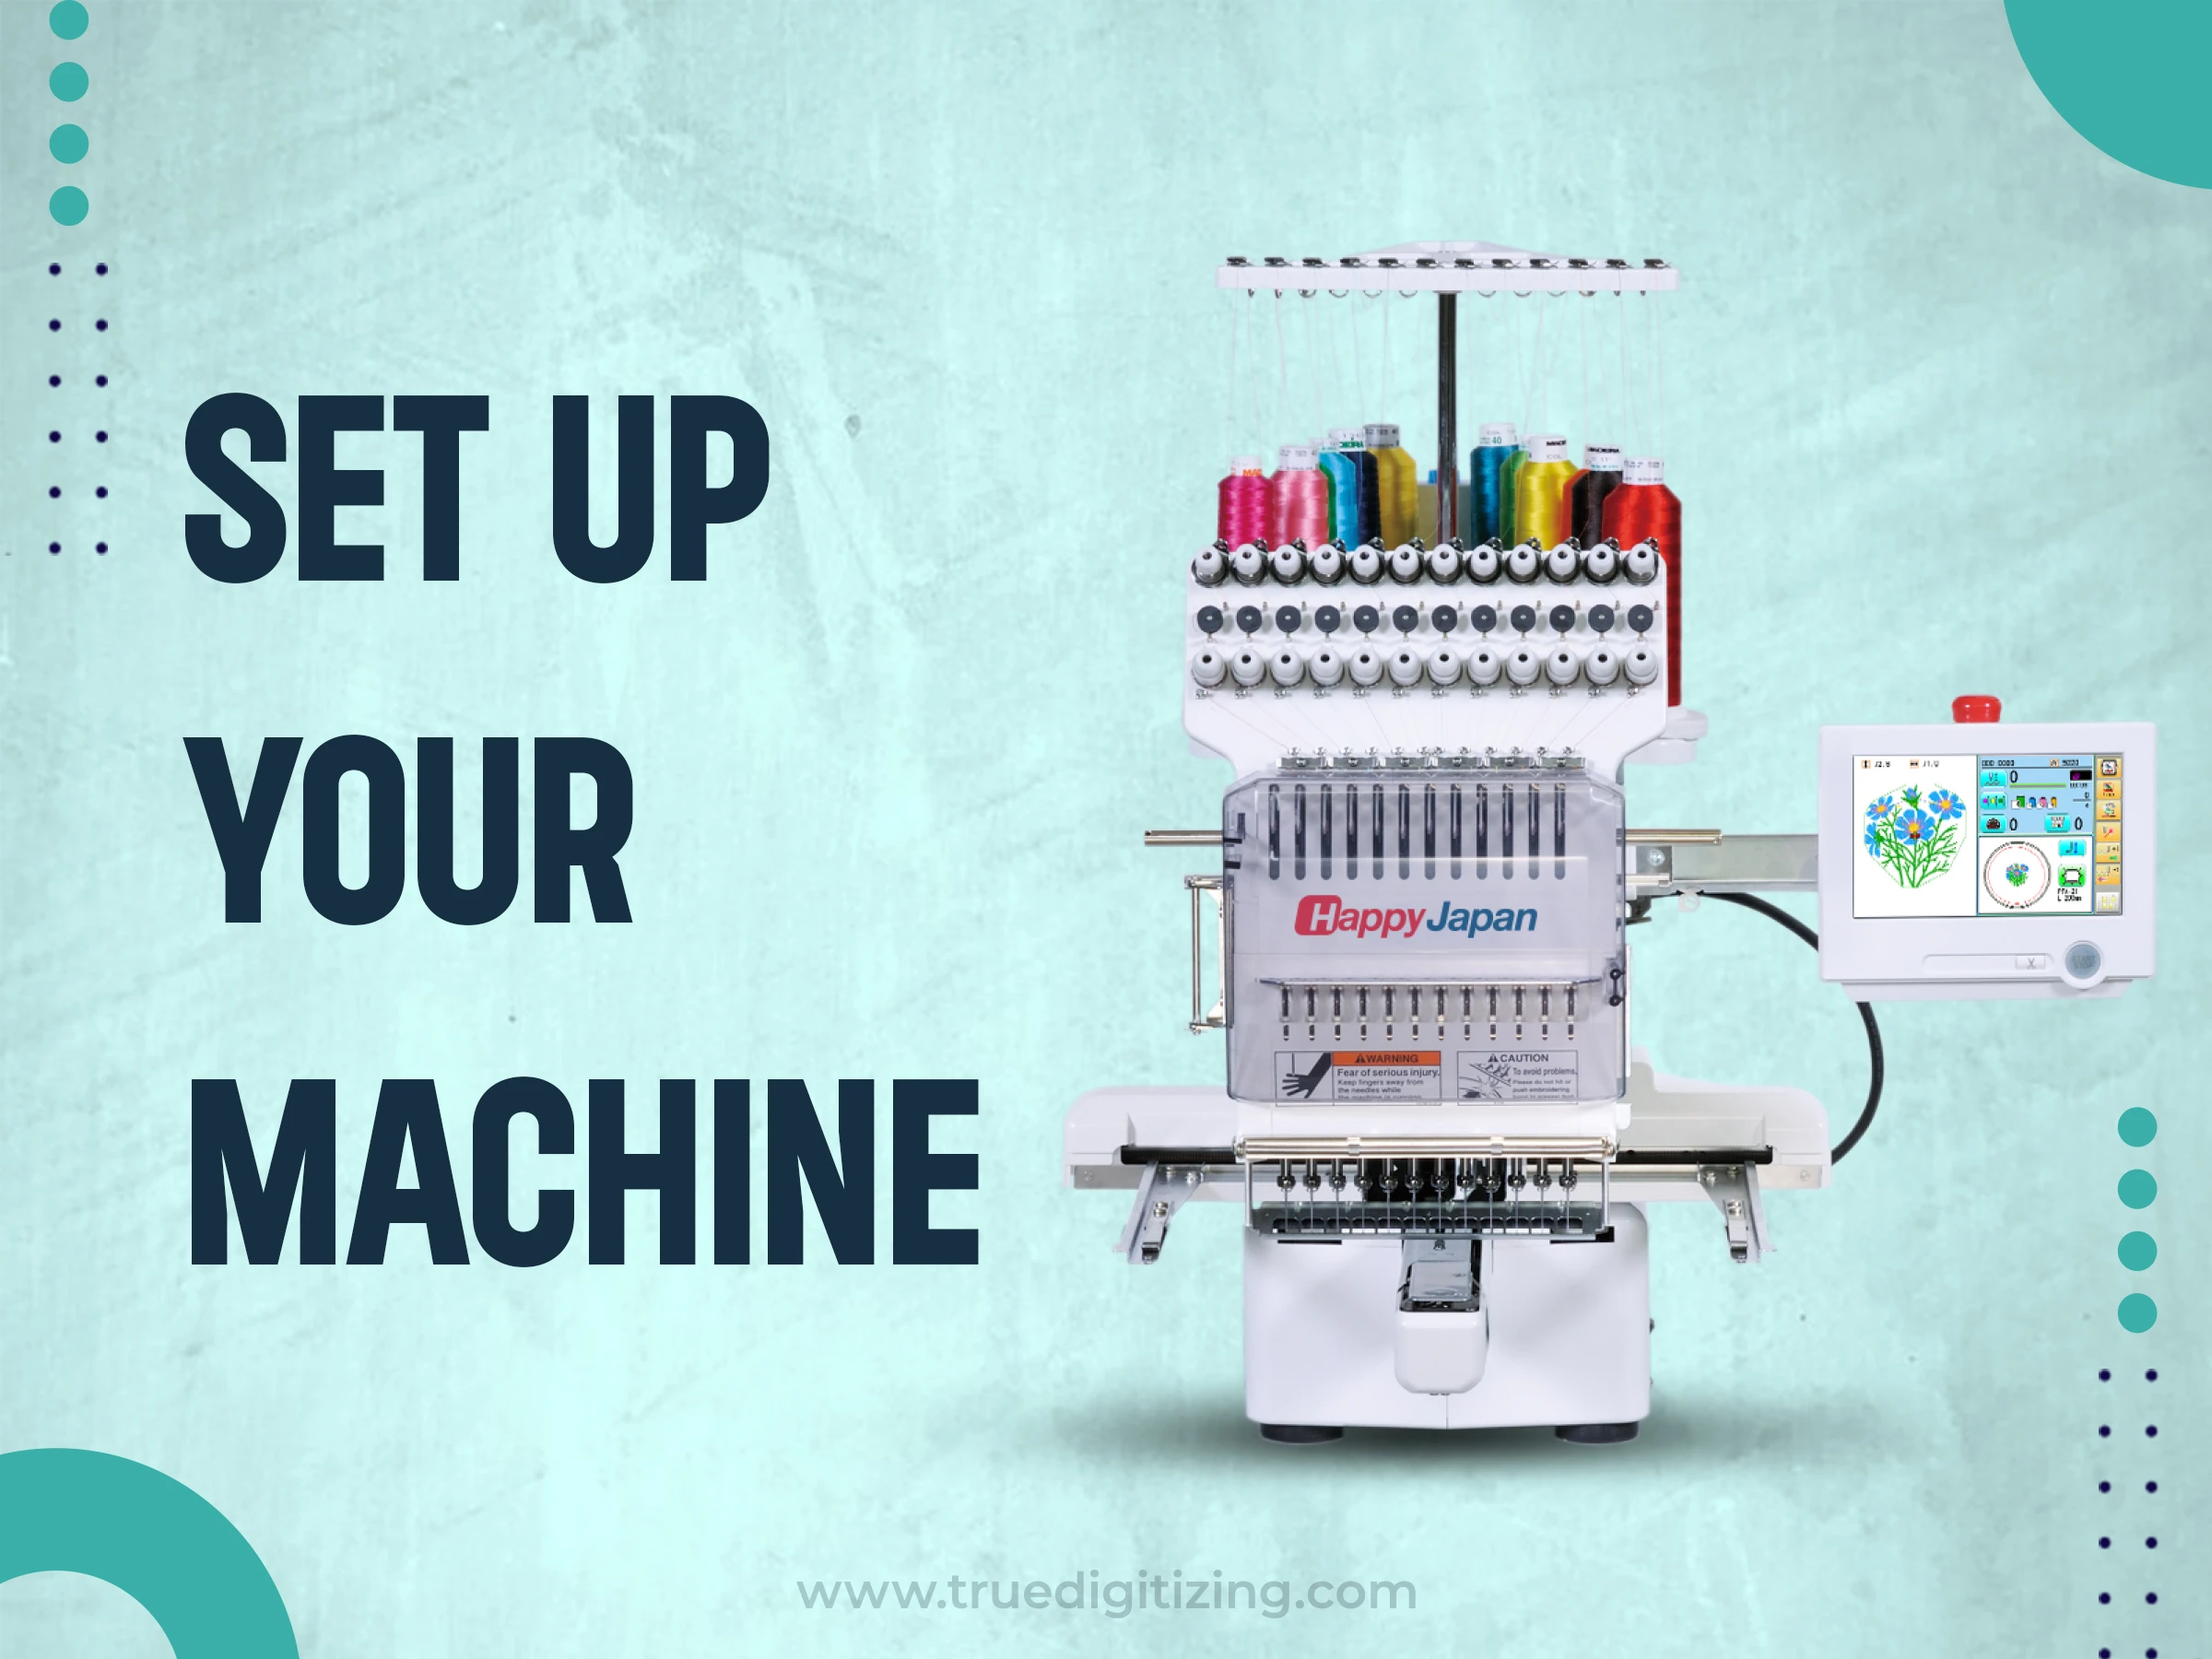
Set Up Your Machine
Plug it in, flip the switch, and let’s get it ready. Pop a bobbin in. I wind mine with the same thread as the top. Then thread the needle. Your manual will show you how, and trust me, don’t skip this part.
Choose a Design
Scroll through your machine’s designs or plug in a USB with one you downloaded. If it’s got a screen, play with the size or move it around. I’d start with something small, like a 4 " x 4 " design. It’s less overwhelming.
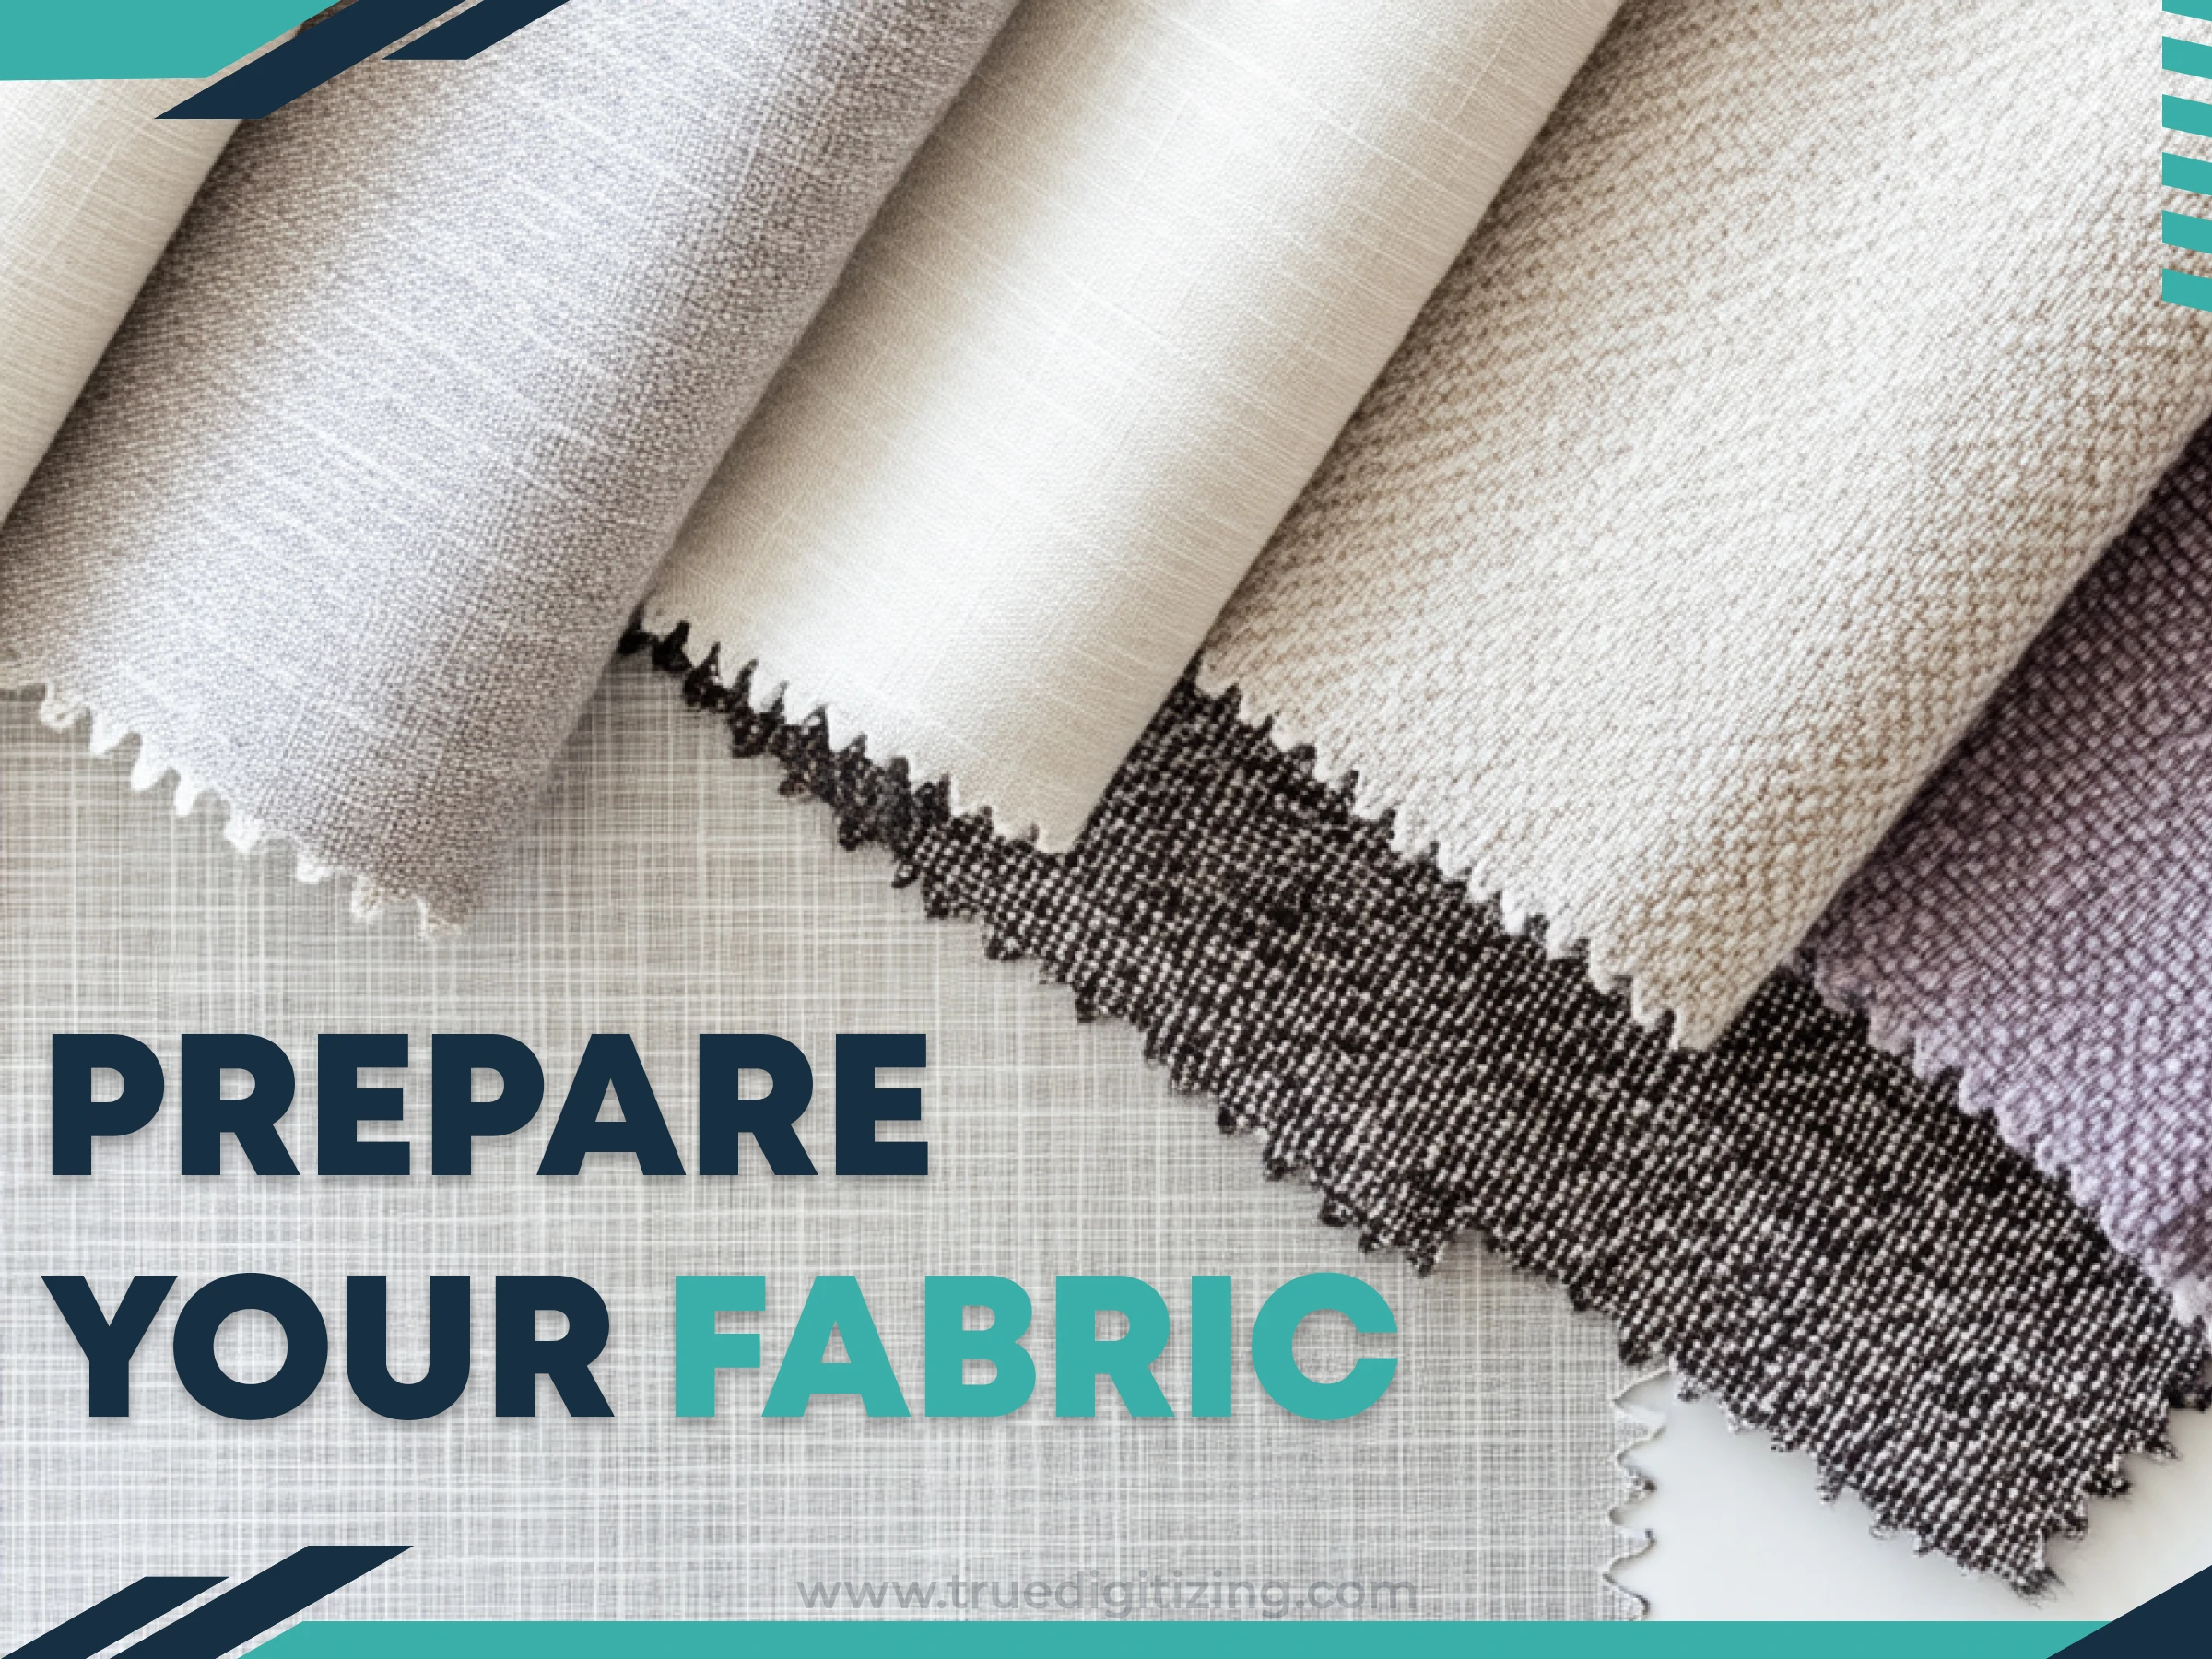
Prepare Your Fabric
Take a piece of fabric that is a bit bigger than your hoop. Lay a stabilizer under it; tear-away’s fine for most stuff. Sandwich them together, slide them into the hoop, and tighten the screw. Not too tight, though, you don’t want to stretch it out.
Hoop It Up
Snap the hoop onto your machine. Make sure it’s locked in, wobbly hoops mess everything up. Use the controls to line up the needle where the design starts.
Press that start button, and watch it go! Stay close, though. Sometimes, the thread snaps or the bobbin runs out. My first try stopped halfway because I forgot to check.
Finish and Trim
When it’s done, take the hoop off and pull out your fabric. Rip off the stabilizer (so satisfying!) and trim any loose threads with your scissors. Step back and look. You just made something cool!
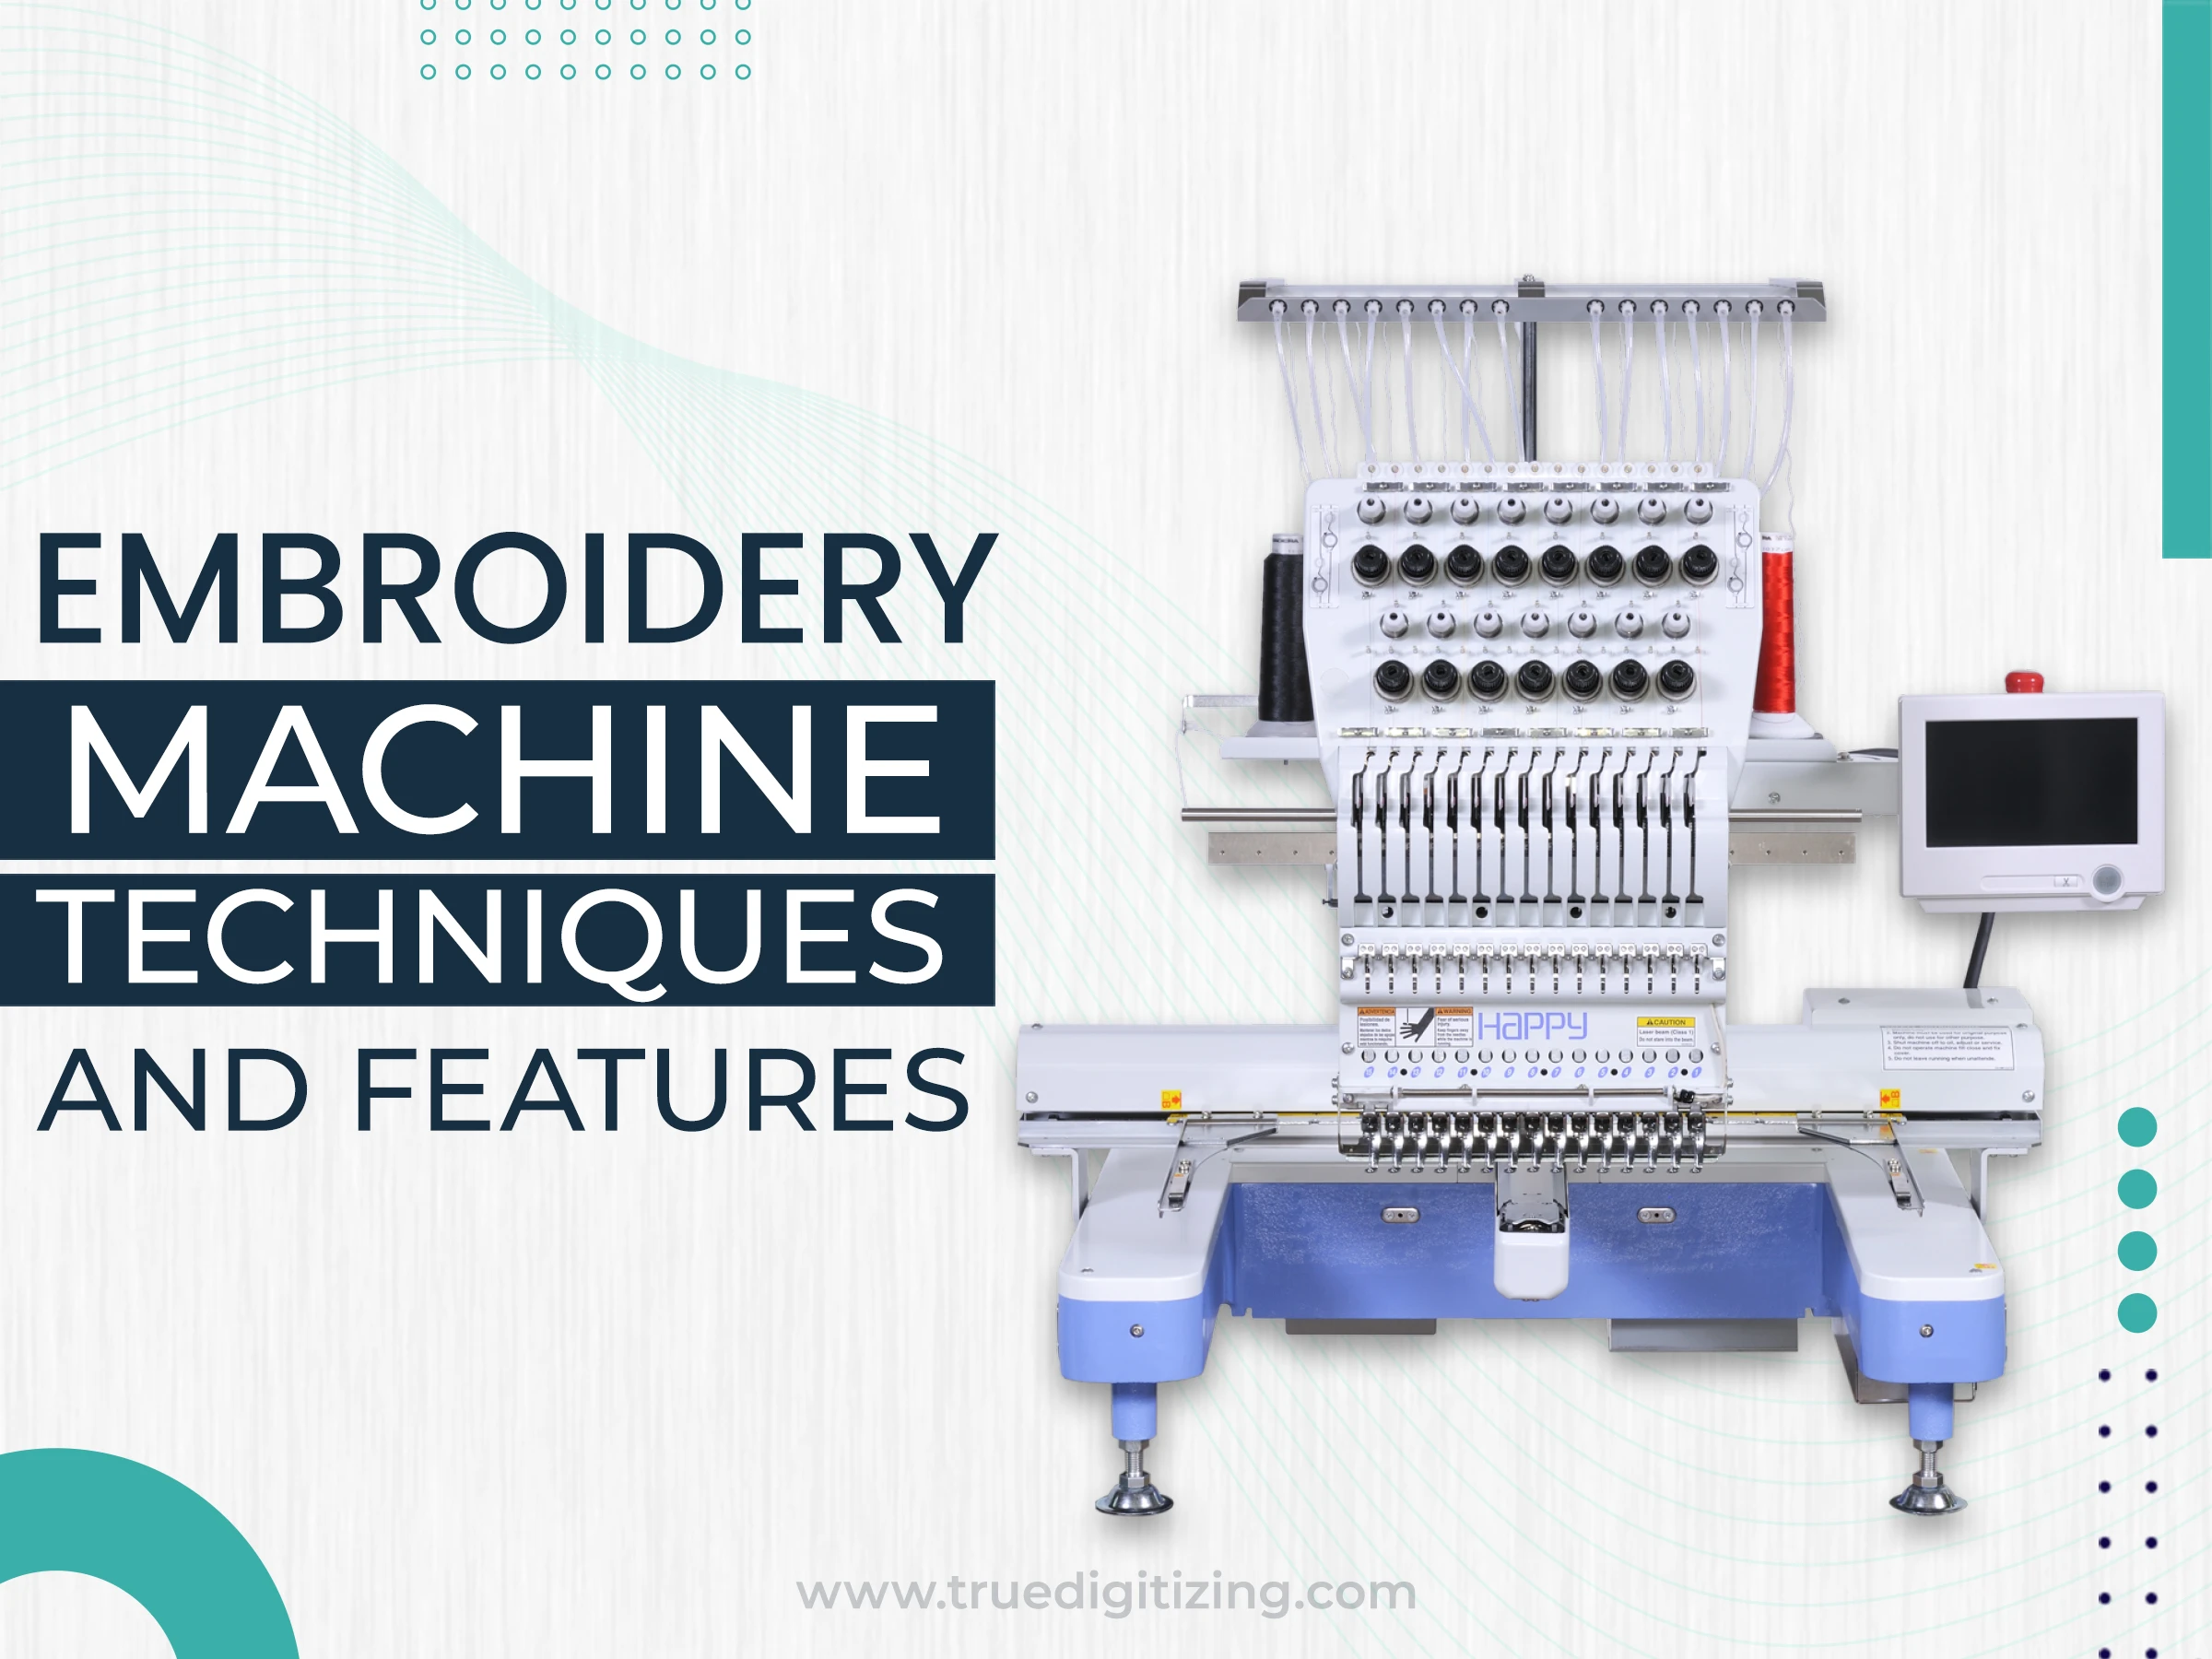
Embroidery Machine Techniques and Features
Embroidery machines have many cool features that make stitching way more fun and less of a chore. Take the automatic needle threader. It’s a total game-changer, saving you from fumbling with small needle holes. Some machines even handle multiple colors without making you stop to re-thread, which is awesome for those bold, detailed designs.
You can also tweak the speed to match your comfort level. Go slow when you’re perfecting tricky spots, or crank it up for bigger projects. Plus, with built-in screens, you can play around with designs right there, resizing or shifting them until they’re just right. All these tricks make embroidery something anyone can jump into, whether you’re new to the game or a seasoned stitcher.
Basic Rules for Using an Embroidery Machine
A few things I’ve picked up over the years:
Read the Manual: Every machine has quirks; know yours.
Test First: Stitch on scrap fabric to avoid ruining your favorite fabric.
Match Thread and Needle: Use a size 75/11 or 90/14 needle with standard thread.
Keep It Clean: Dust and lint build up fast; brush it out after every project.
Don’t Force It: If something jams, stop and troubleshoot gently.
Stuff happens, but don’t worry. I’ve got you covered with fixes and upkeep tips.
Cleaning and Maintaining Your Machine
Things can go wrong, but don’t panic. Here’s how to fix common issues and keep your machine humming.
Oiling: Check your manual. Some machines need a drop of sewing machine oil every few months. I oil mine quarterly, and it runs like a dream.
Greasing: Not all models need grease, but if yours does, use a tiny bit on the gears.
Dust Off: Use a small brush (most machines include one) to clean lint from the bobbin area.
Store Safely. Cover it when not in use to avoid dust.
Quick Fixes
Thread snapping? Re-thread it and tweak the tension a bit.
Design off-center? Double-check your hoop’s tight.
Machine stuck? Turn it off, take the hoop out, and gently untangle it.
Get Your Favorite Embroidery Digitizing Services by True Digitizing
If you’re dreaming of custom designs but don’t want to fuss with making them, check out True Digitizing. We turn your ideas into files your machine can read. Whether you want to digitize the design on your hats, shirts, jackets, and others. We cover everything, so don't waste your time and reach out to us today. Our team will contact you in a few hours.
Conclusion
Using an embroidery machine isn’t as tricky as it looks and as you think. Take your embroidery supplies, follow these steps, and give it a whirl. The more you play with it, you’ll get the better results. Keep it clean, start simple, and soon you’ll be stitching stuff that makes everyone say, “Wow, you made that?” So, what are you waiting for? Let’s get that machine humming!