
Machine embroidery is the art of using a sewing machine to create decorative patterns and designs on fabric. This can be done with a specialized embroidery machine or a regular sewing machine with the right attachments and settings. The process involves using embroidery threads, stabilizers, and a hoop to keep the fabric taut while stitching.
Machine embroidery involves stitching designs onto fabric using a sewing machine or an embroidery machine. Unlike hand embroidery, which can be time-consuming, machine embroidery offers speed and precision, making it ideal for large projects or complex designs
Using a machine for embroidery has several advantages:
Speed and Efficiency:Machine embroidery is significantly faster than hand embroidery, allowing for quicker completion of projects.
Precision:Machines can replicate intricate designs with a level of precision that is difficult to achieve by hand.
Versatility: With the right setup, you can embroider on a wide range of textiles, including cotton, polyester, and even denim.
Before you start embroidering, you'll need to gather some essential supplies and tools. Here’s what you’ll need:
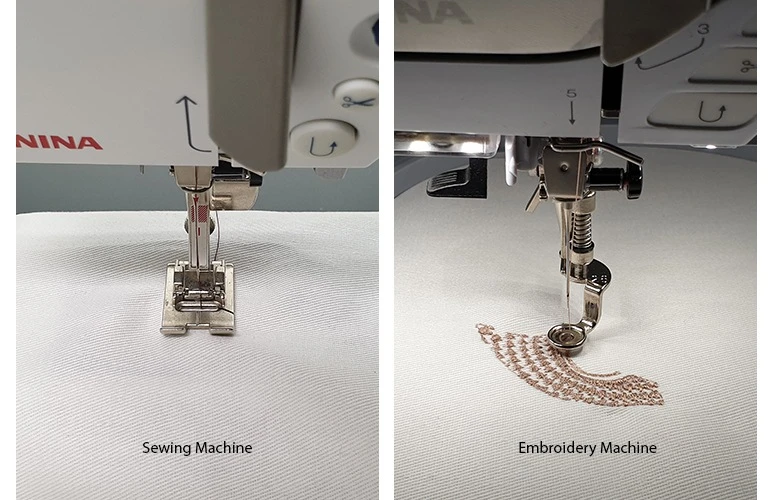
To get started, you can use a regular sewing machine or an embroidery machine. If you’re using a regular sewing machine, ensure it has a free-motion foot and the capability to drop the feed dogs. This setup helps you to move the fabric freely under the needle, which is essential for creating embroidery designs.
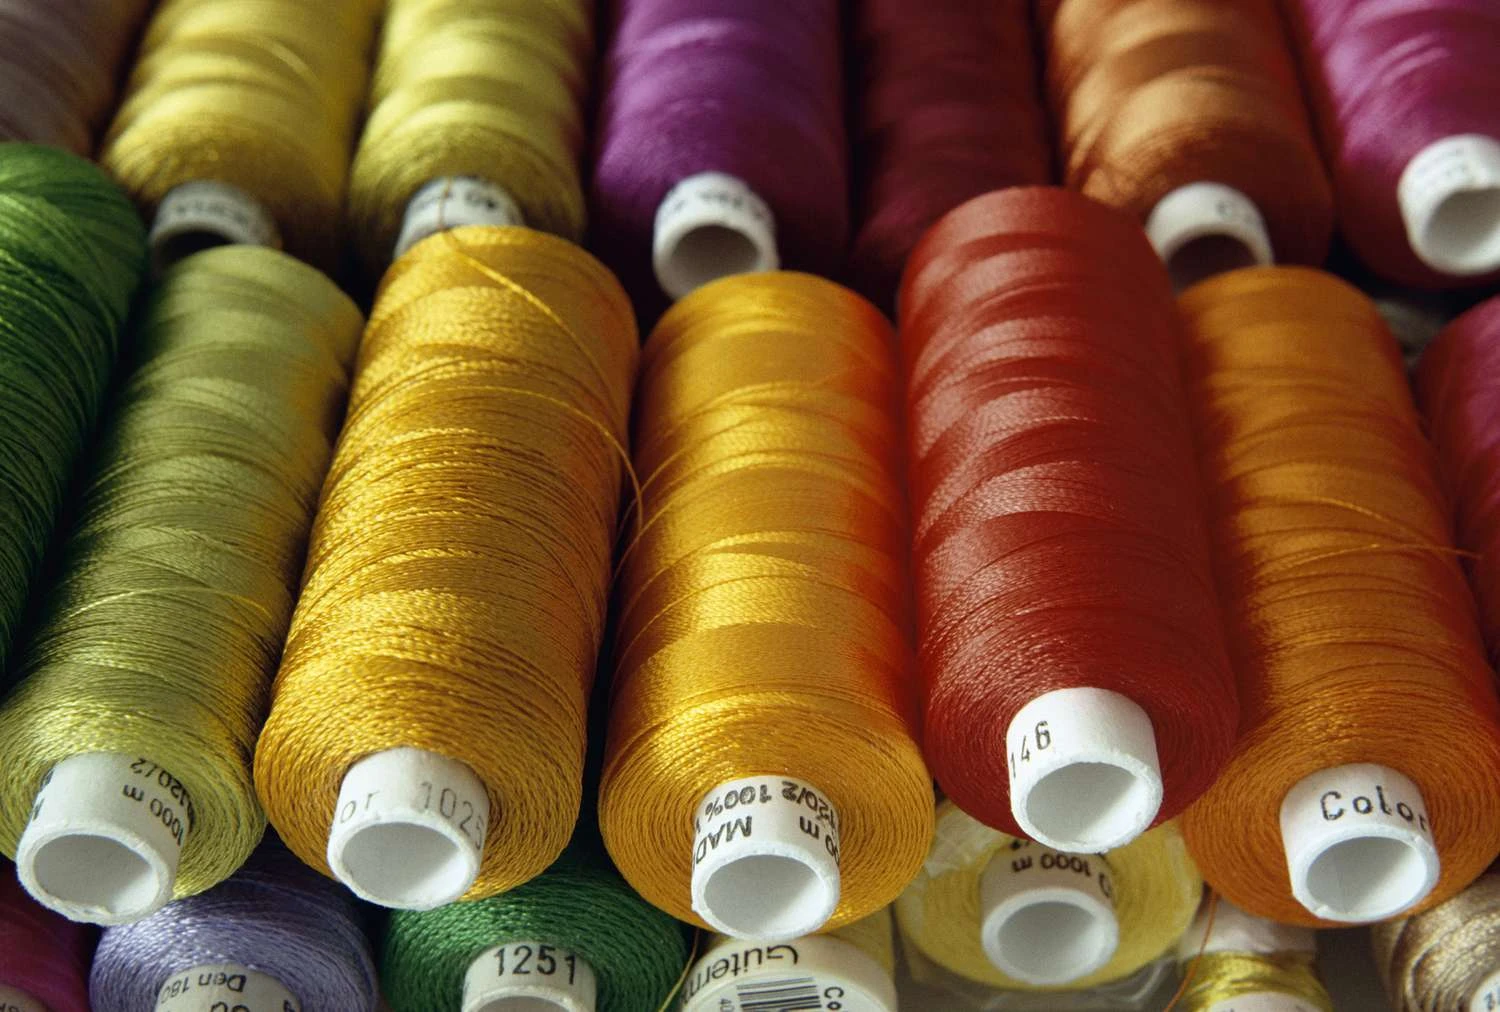
Embroidery threads are designed to withstand the high speeds and friction involved in machine embroidery. Choose polyester or rayon threads for their durability and sheen. You will also need bobbin thread, which is finer and helps prevent bulky seams.
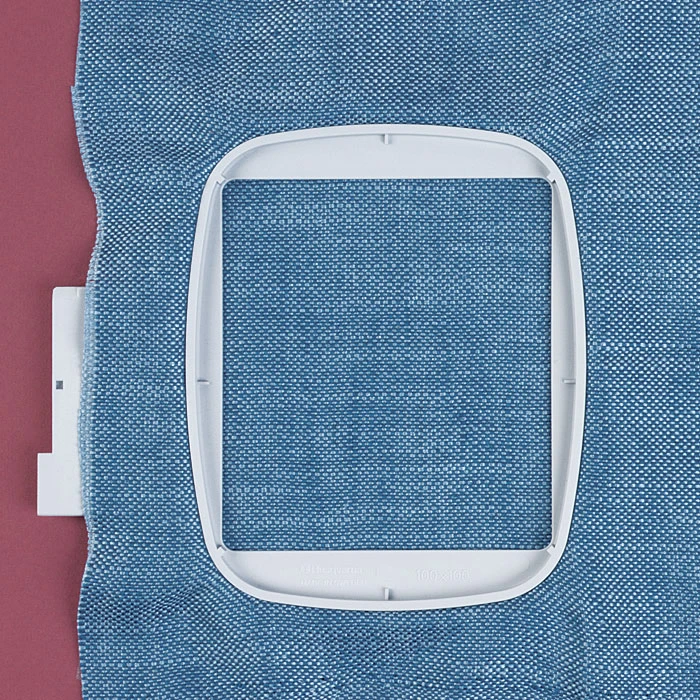
Stabilizers are used to support the fabric during embroidery, preventing it from puckering or stretching. Depending on your project, you might use tear-away, water-soluble, or cut-away stabilizers.
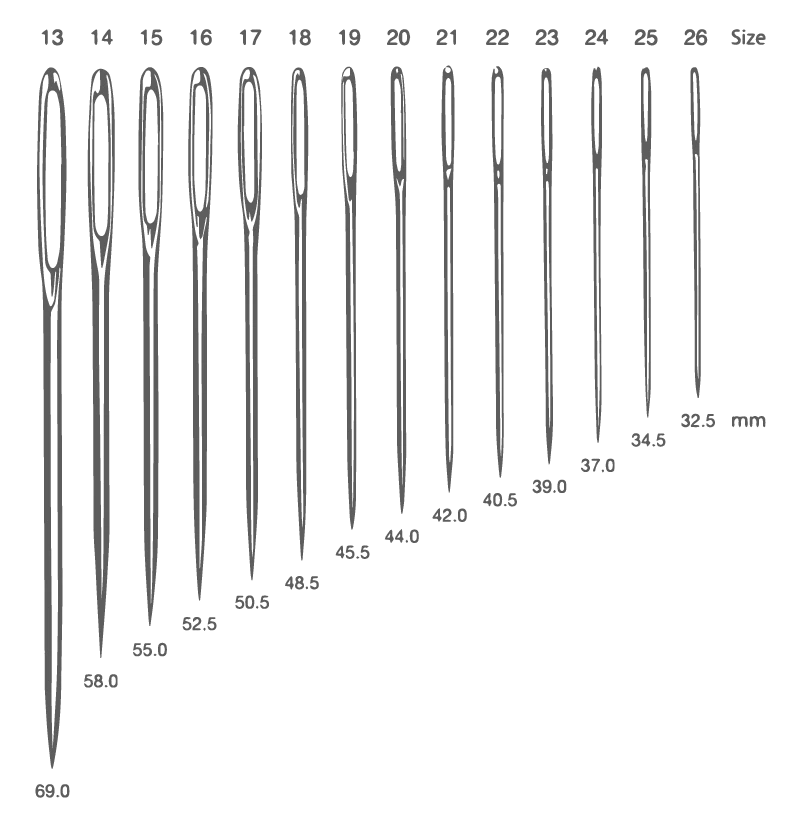
Embroidery needles have a larger eye to accommodate the thicker embroidery threads. Make sure to use the right machine needle for your fabric type to avoid skipped stitches or damage.
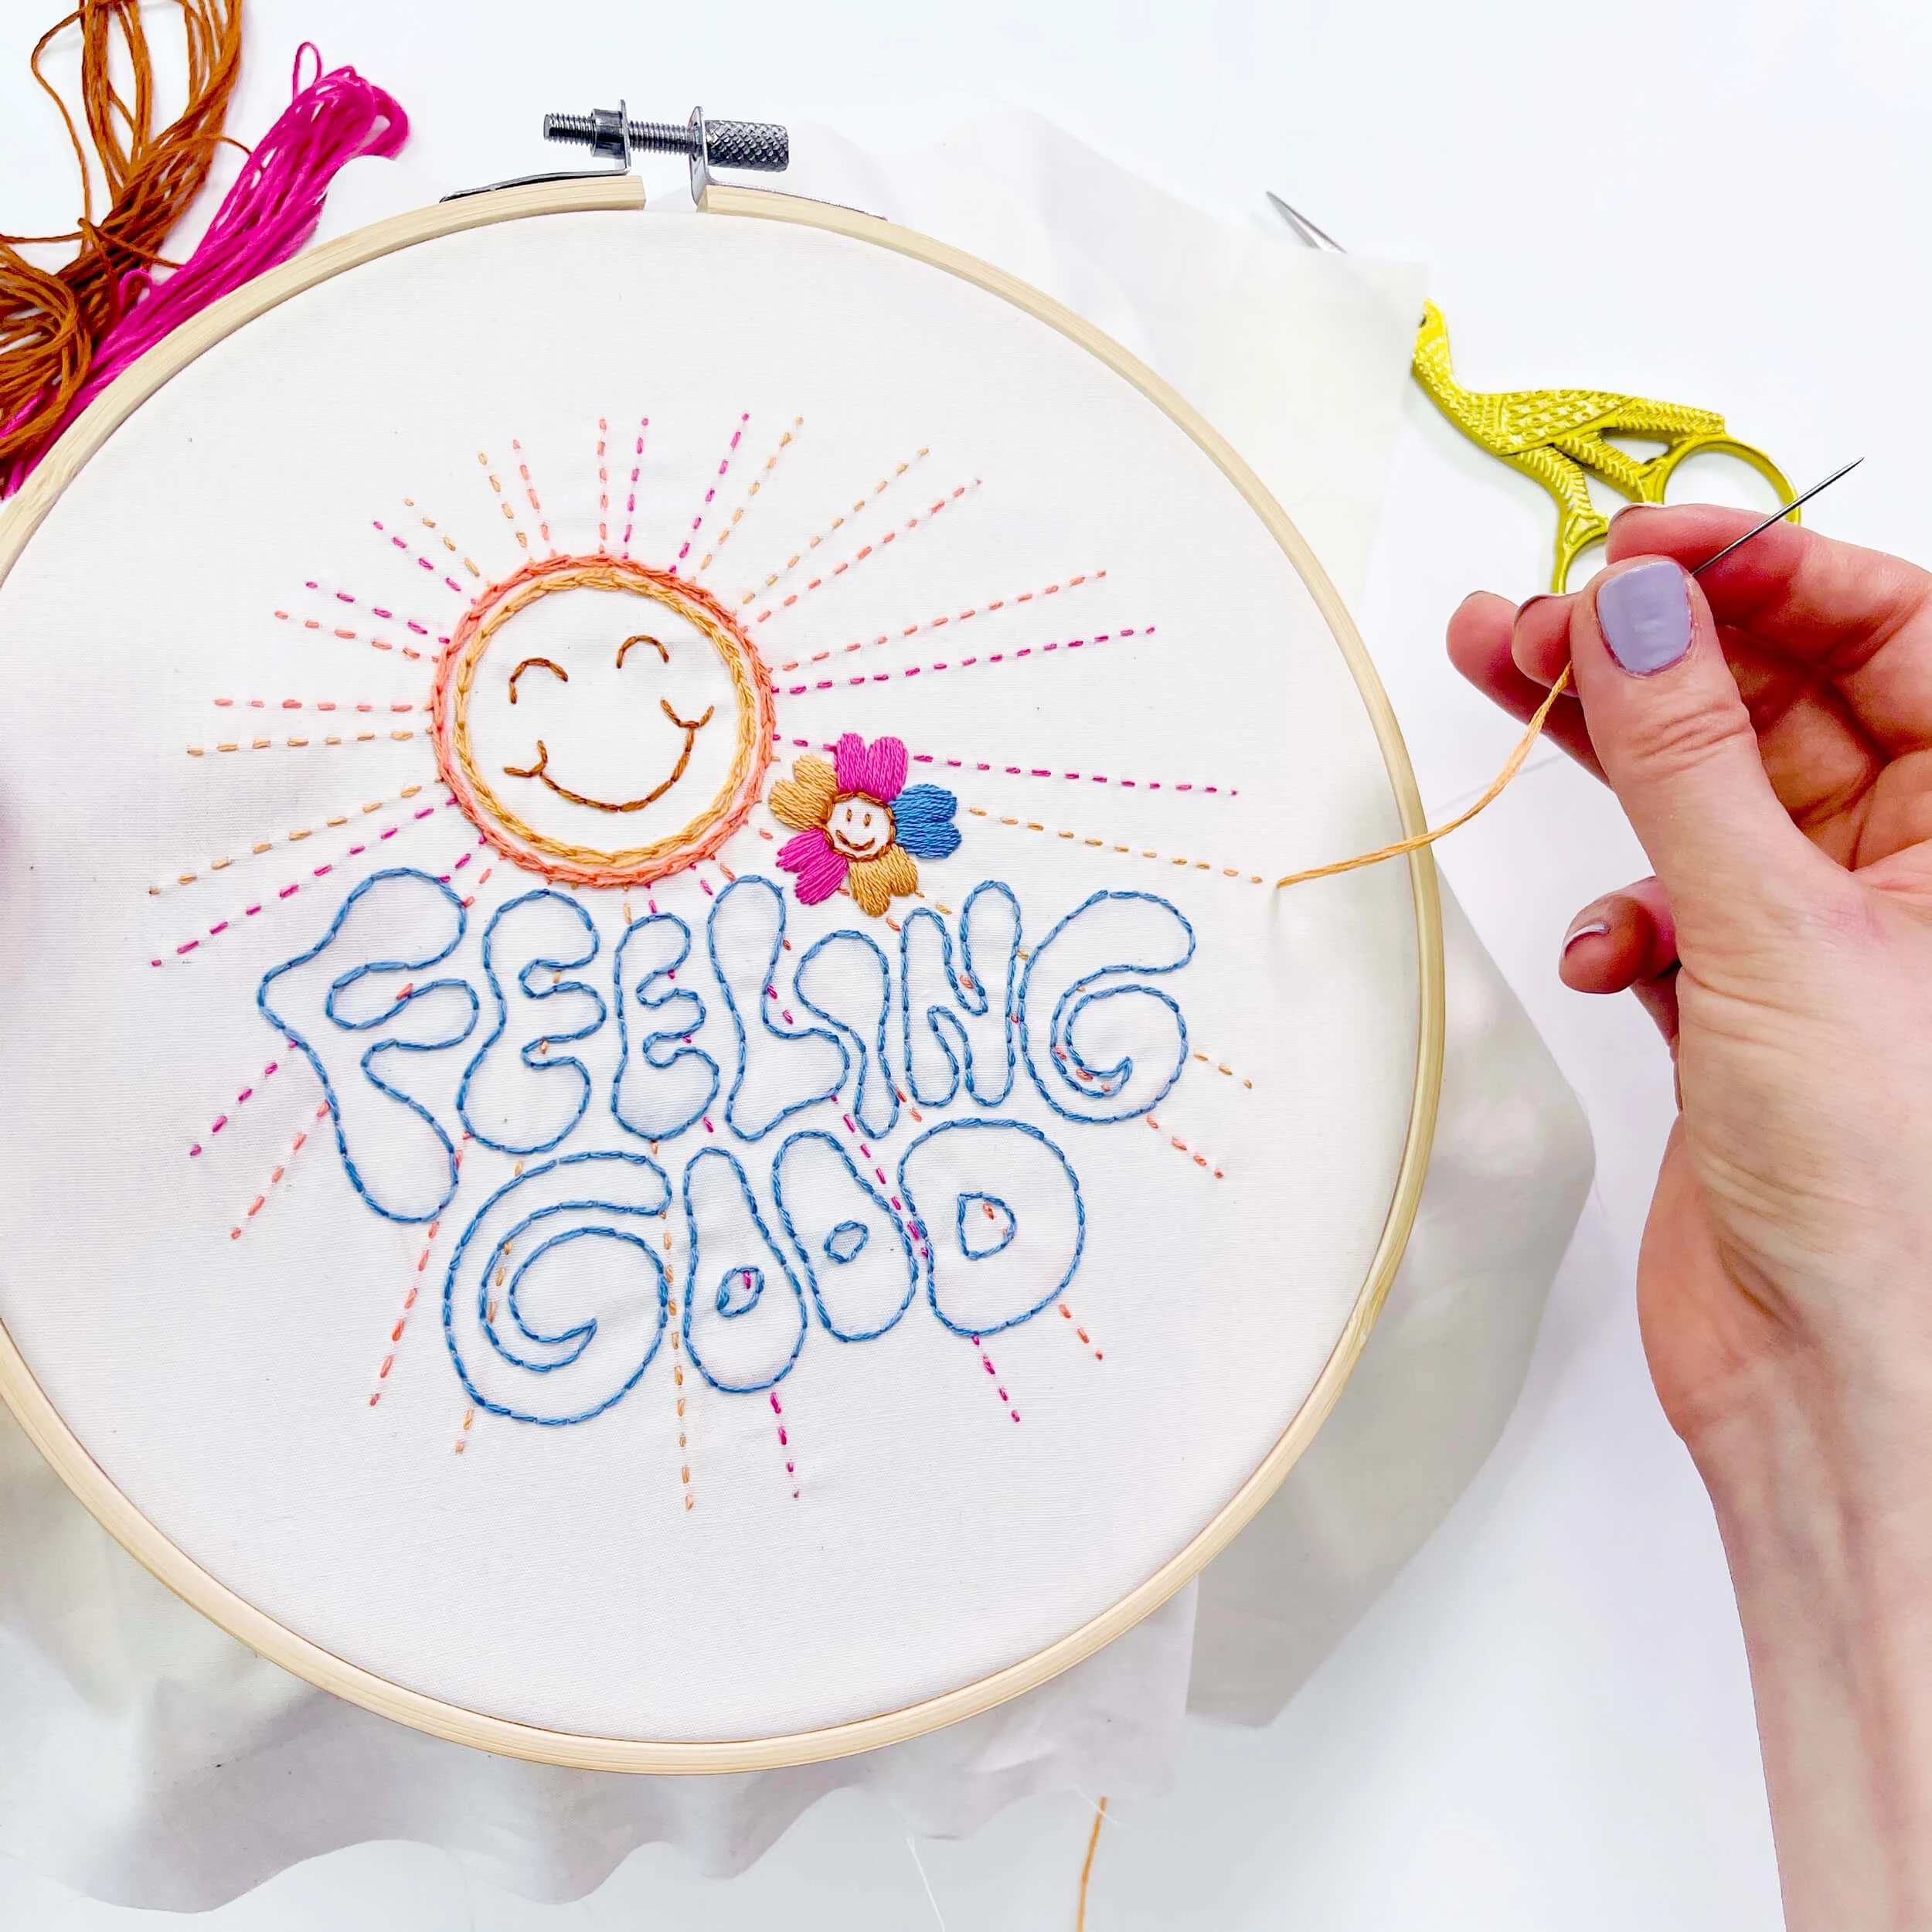
Before you begin stitching, it’s important to prepare your embroidery design and transfer it to your fabric.
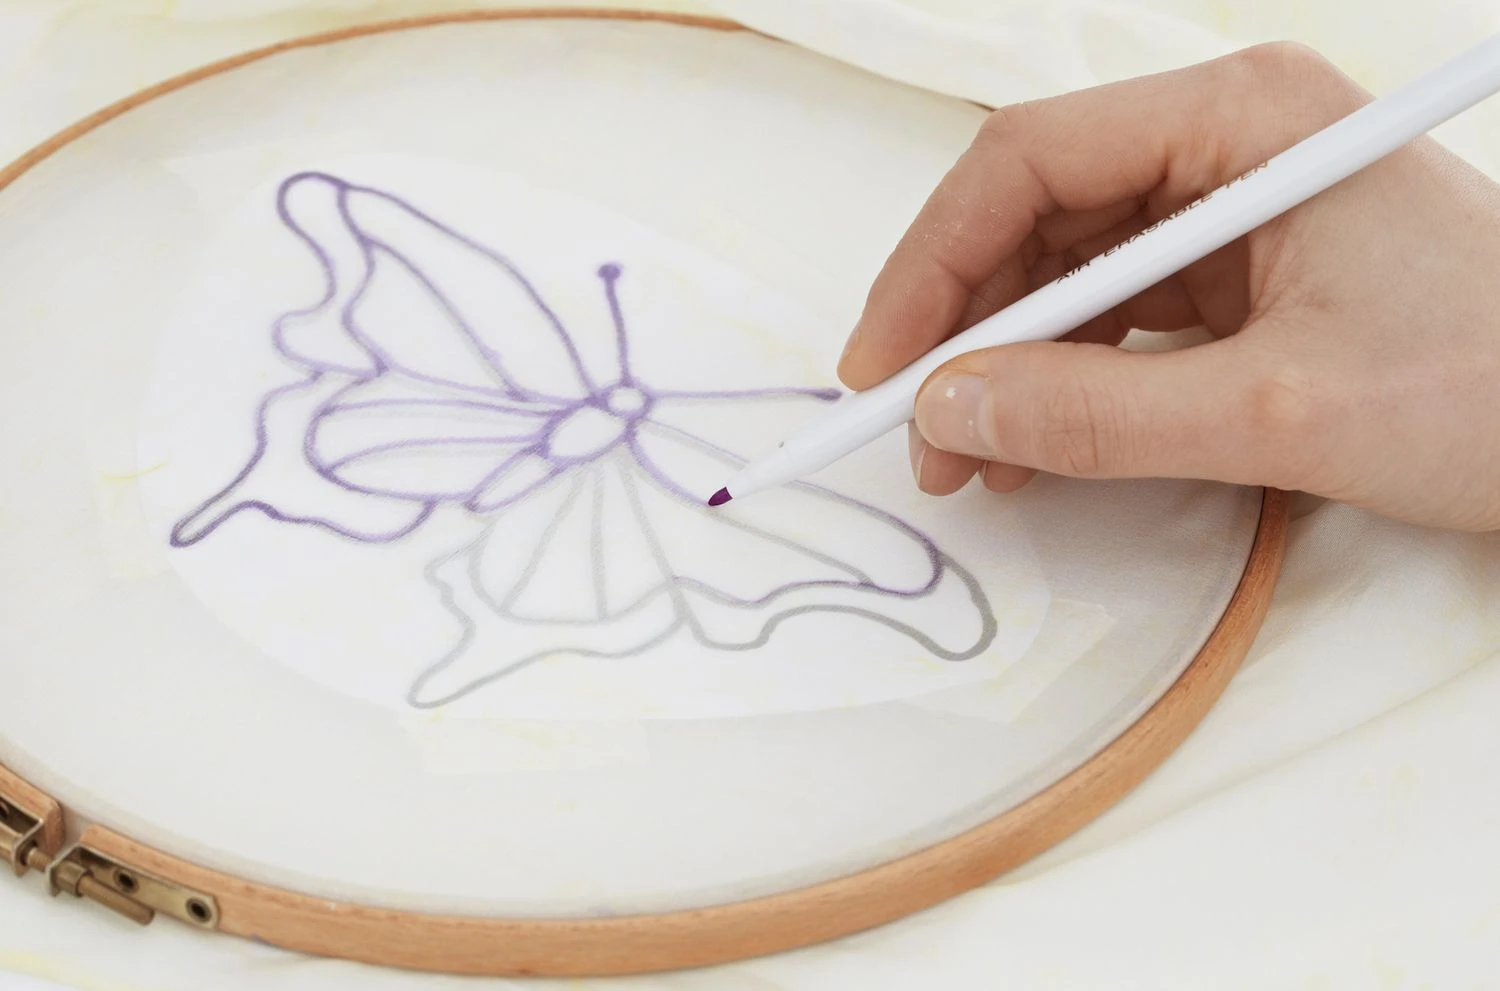
Start by sketching your embroidery design on paper. This will give you a clear idea of what you want to achieve and help you choose the right stitches.
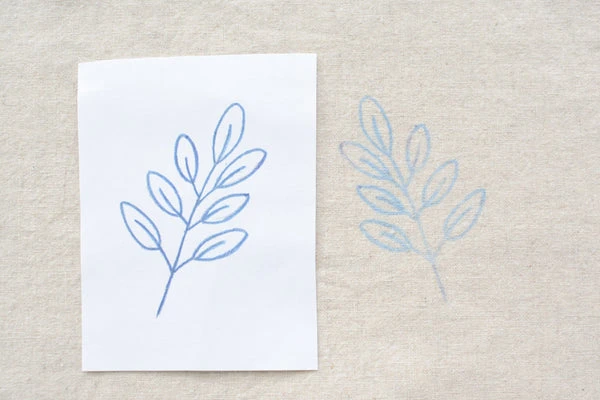
Once your design is ready, transfer it to your fabric using a transfer pen or tracing paper. If you’re using an embroidery machine, you can upload your embroidery design via USB or choose from pre-installed patterns.
Now that you’re prepared, let’s discuss the embroidery process step by step.
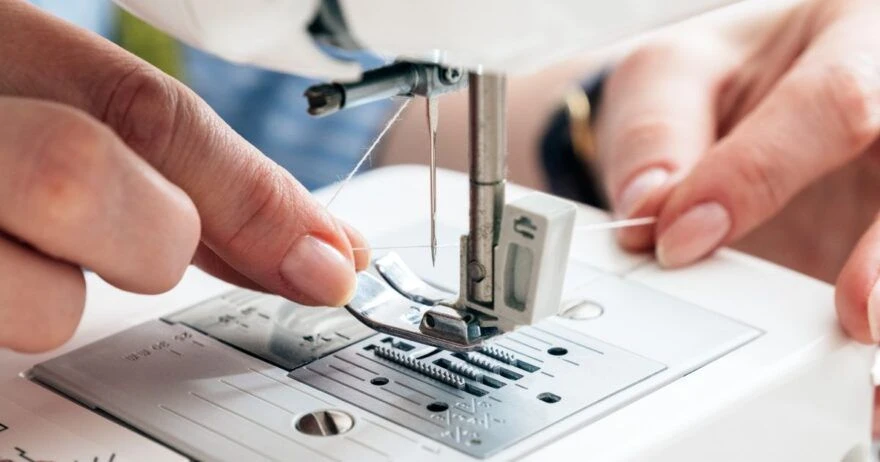
To set up your sewing machine for embroidery, first attach the free-motion foot and lower the feed dogs. This allows you to move the fabric freely as you sew. Insert your embroidery thread and bobbin thread, and adjust the stitch length and width according to your embroidery design.
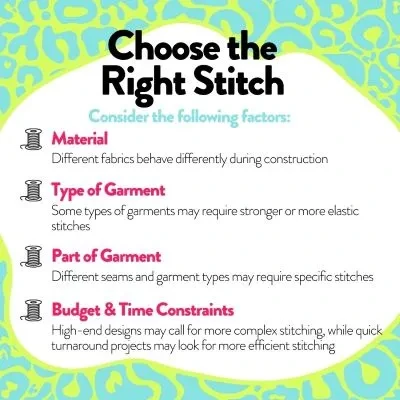 Image Source
For most machine embroidery work, a straight stitch or zig-zag stitch works best. These stitches are versatile and can be adjusted to suit different design elements, such as outlines or filling.
Hand-Guided Machine Embroidery
If you’re using a regular sewing machine, you’ll be guiding the fabric by hand. This technique, known as free-motion embroidery, allows for greater creative control. Start by positioning the fabric under the needle, then slowly guide it in the direction of your embroidery design, adjusting your speed as needed.
Even with the right tools and setup, machine embroidery can present challenges. Here are some tips to ensure your success:
Incorrect Tension: Make sure your thread tension is properly adjusted to avoid puckering or loose stitches.
Improper Hooping: Make sure your fabric is tightly secured in the hoop to prevent shifting during embroidery.
Skimping on Stabilizers: Always use the right stabilizer for your fabric to avoid stretching or distortion.
Free motion embroidery allows for greater creative freedom, as you control the movement of the fabric. Experiment with different stitches and speeds to achieve various textures and effects.
Adding letters to your embroidery designs can personalize any project. Use a regular sewing machine or an embroidery machine to stitch names, initials, or phrases onto fabric. For best results, practice on scrap fabric before moving to your final project.
For more complex embroidery designs or professional results, consider using digitizing services like True Digitizing. We offer expert services to convert your designs into machine-readable formats, ensuring flawless execution every time.
True Digitizing offers high-quality digitizing services tailored to your embroidery needs. Whether you’re working on a small personal project or a large commercial order, their team provides precision and detail that will make your designs stand out.
From simple monograms to intricate logos, True Digitizing handles any design. Our services include custom embroidery digitizing, design editing, and providing ready-to-use embroidery files compatible with your machine.
Embroidery on a sewing machine opens up a world of creative possibilities. With practice and the right tools, you can create stunning embroidery designs on a variety of fabrics. Whether you’re embroidering letters on a quilt or stitching an intricate pattern on a shirt, machine embroidery is a skill worth mastering.
Ready to take your embroidery projects to the next level? Consider trying True Digitizing services for professional results. Visit their website today to learn more and get started on your next embroidery masterpiece.
Nick William has been immersed in the world of embroidery digitizing for over 20 years, earning 25 industry awards throughout his career. As a 3rd generation embroidery expert, Nick’s journey started in his family’s workshop, where he learned the art of digitizing before the rise of modern software. He has worked with leading commercial embroidery businesses and has shared his expertise with over 75,000 home and professional embroiderers. As an author at True Digitizing, Nick is passionate about teaching others how to create beautiful, precise designs through easy-to-follow tutorials and expert advice.
Categories

Understanding Popular Machine Embroidery File Formats
23-04-2025

Is SVG A Vector File? Here’s the Shocking Truth Everyone Should Know
17-04-2025

6 Popular Types of Vector Files 2025
16-04-2025

How To Create A Vector File: Step-by-Step Guide
15-04-2025

What Is A Vector File? Everything You Need To Know
14-04-2025

Best Janome Embroidery Machines You Need to Check Out in 2025
11-04-2025

Custom Embroidery Digitized Designs For Hoodie Lovers
10-04-2025

Best Embroidery Patches For Your Clothes
10-04-2025

Professional Online Photo Digitizing Services Provided by True Digitizing
09-04-2025

Best Babylock Embroidery Machines For You
09-04-2025