The most common image type on the web is a PNG, or Portable Network Graphics file. It works well because it supports transparent (PNG) backgrounds and maintains the attractive appearance of images without occupying a lot of space. You can imagine a logo on a website that’s often a PNG. But here is the problem: PNGs are raster files, meaning they’re made of small pixels. Zoom in or blow them up for a big project, and they turn pixelated and messy.
What is a Vector File?
Vector files, like SVG, EPS, or AI, are totally different. Instead of pixels, they use math-based paths to draw shapes. This makes them infinitely scalable, blow them up to billboard size or shrink them for embroidery, and they still look clear. They’re the go-to for professional work, especially in embroidery digitizing, where every stitch needs to be perfect. You’ll often save vectors asSVGfor online use or EPS for printing.
Why Convert PNG to Vector?
So, why bother converting a PNG to a vector? Here’s why it’s worth the effort:
No Quality Loss: Vectors look great at any size, unlike PNGs that get fuzzy when enlarged.
Easy to Edit: Need to change a color or tweak a shape? Vectors make it easy in design software.
For embroidery digitizing, vectors are a must. They let you create smooth, precisedesigns that stitch out beautifully on fabric.
How to Convert PNG to a Vector File?
There are two ways of converting a PNG to a vector: The first one is manual conversion, and 2nd is automated conversion. Let's explore each to see its benefits.
Manual Conversion
Manual conversion means tracing the PNG yourself to make a vector. It takes time and a bit of know-how, but the results are super precise. Tools like Adobe Illustrator orInkscape are your best options.
Step-by-Step Guide for Manual Conversion
Pros and Cons of Manual Conversion
Pros:
Cons:
Automatic Tools
If you’re short on time or new to design, automatic tools can do the heavy lifting. These use algorithms to trace your PNG and spit out a vector. Here’s a rundown of the best options.
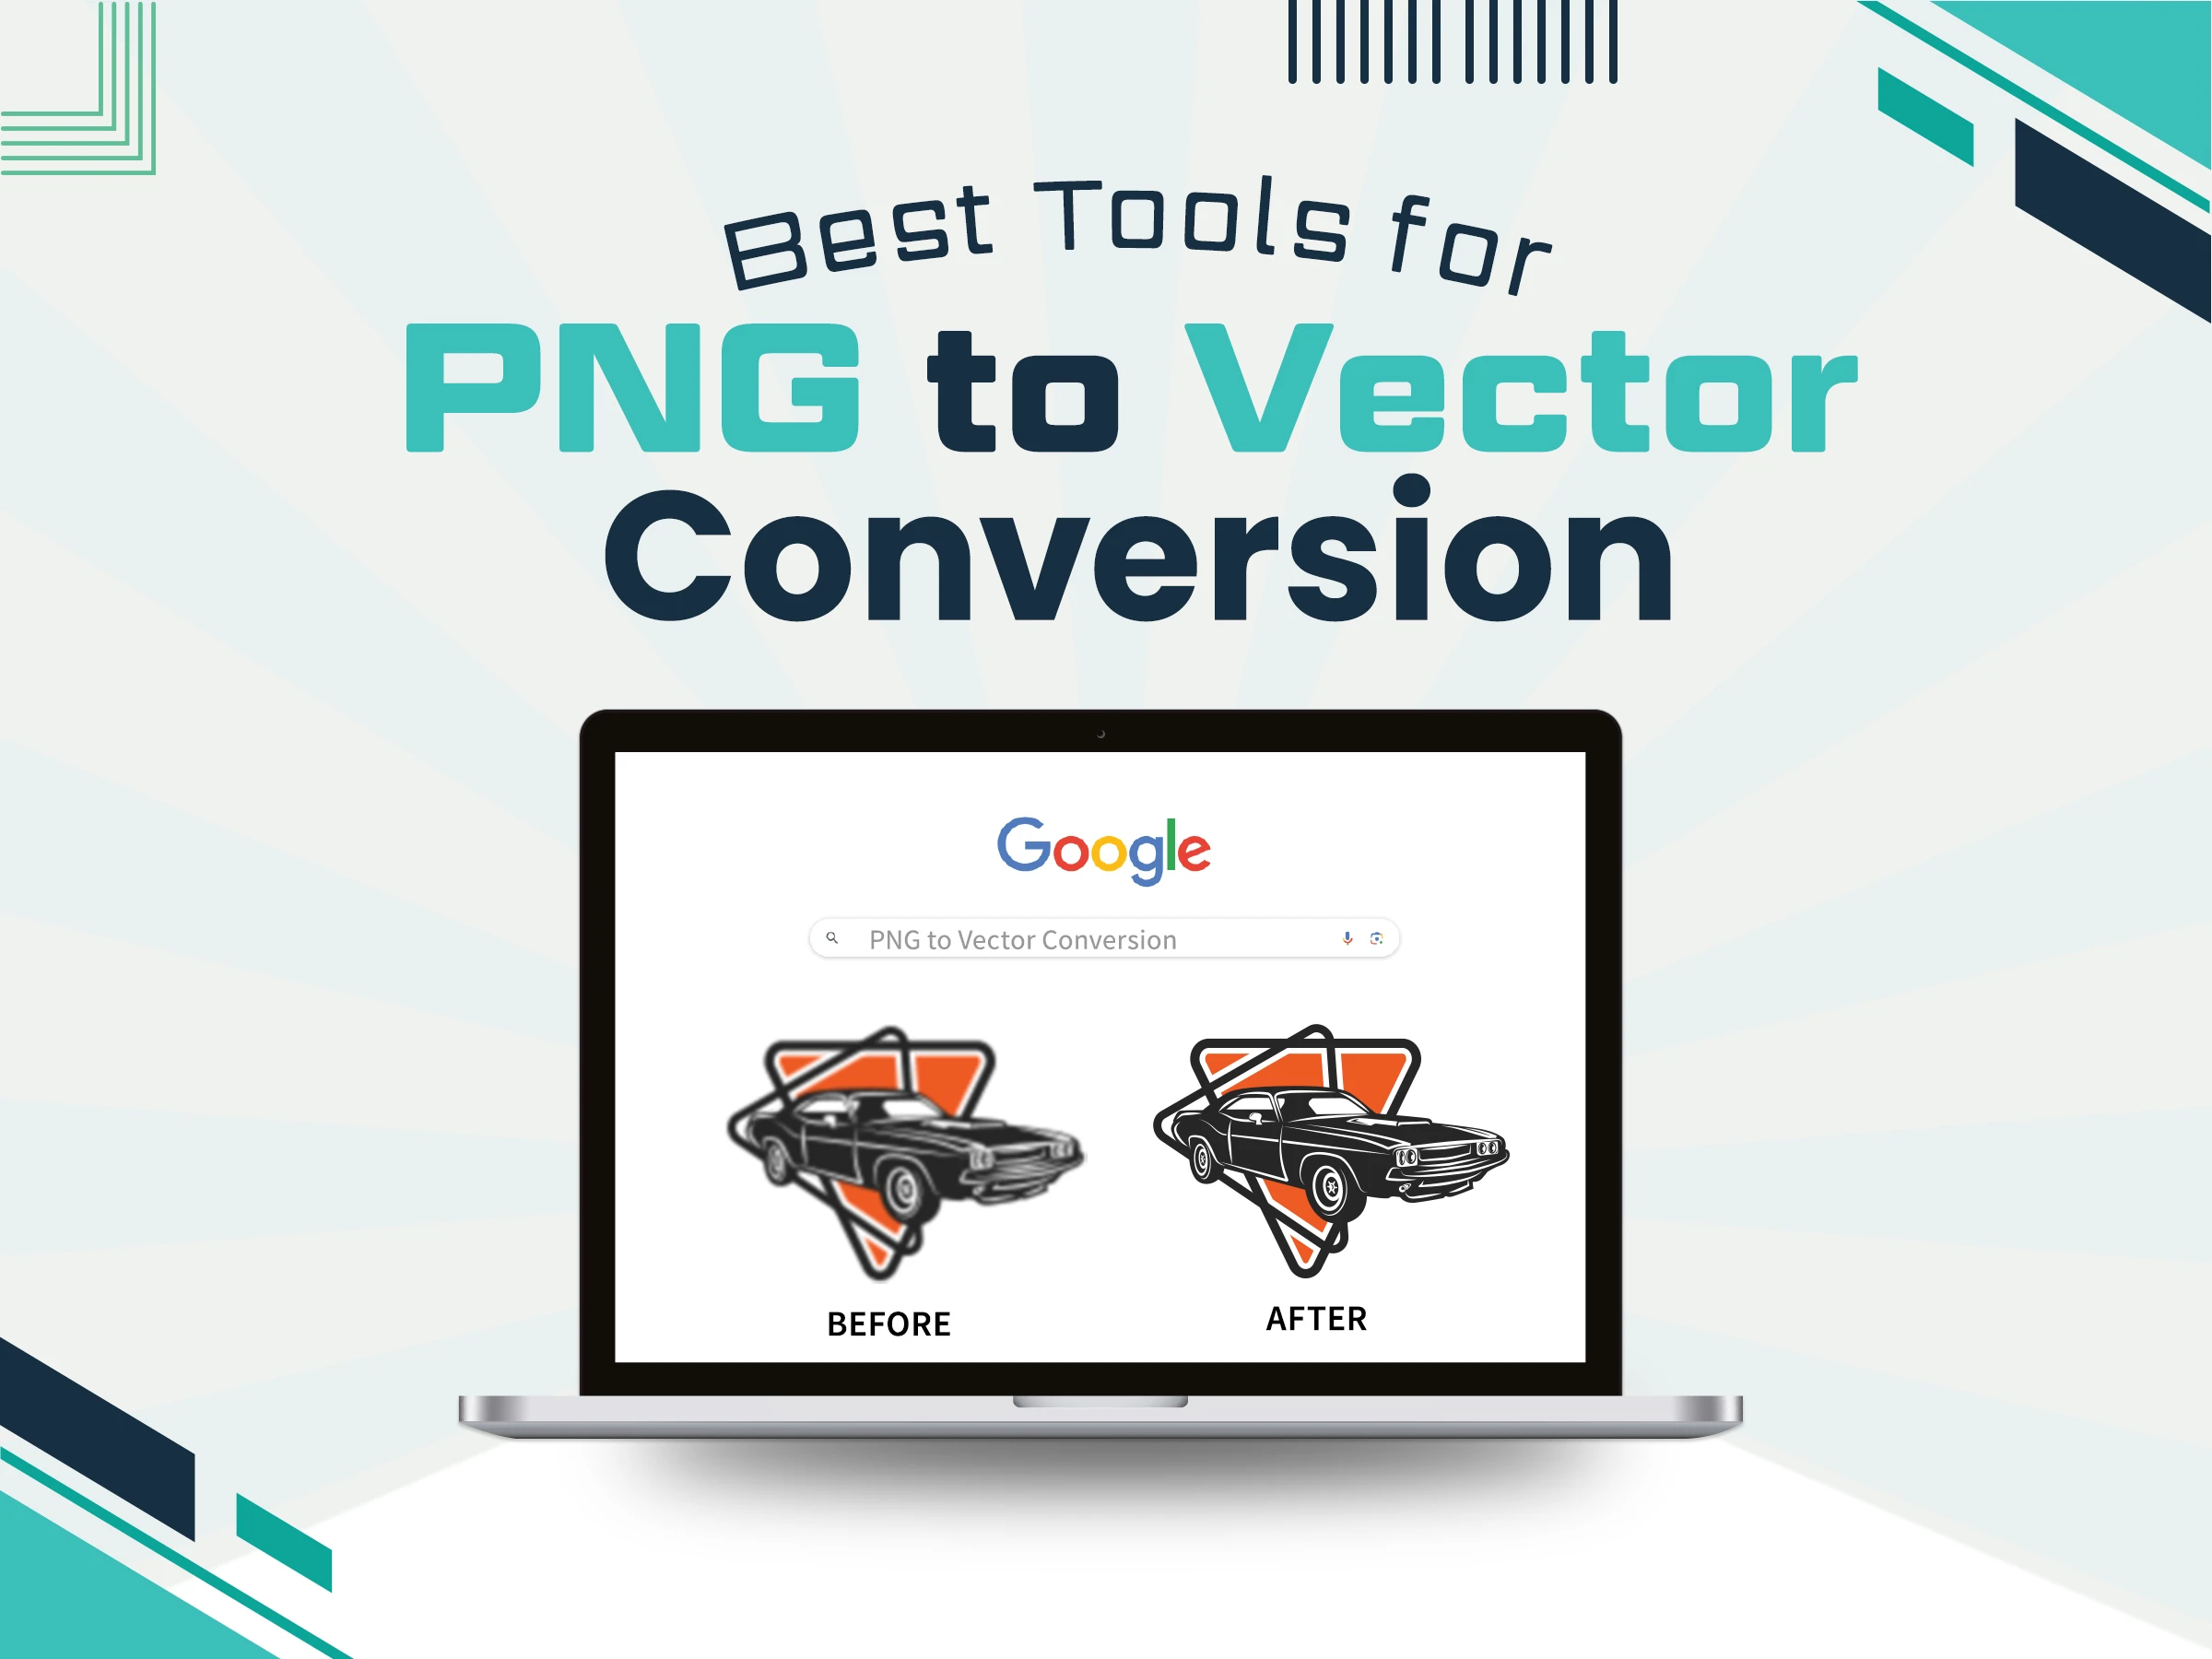
Best Tools for PNG to Vector Conversion
Adobe Illustrator
How to Use: Import your PNG, select it, and hit Image Trace. Play with presets like “High Fidelity Photo” for detailed images or “Black and White Logo” for simple ones. Tweak settings, click Expand, and save as SVG or EPS.
Best For: Designers who want top-notch results.
Inkscape (Free)
How to Use: Import the PNG, go to Path > Trace Bitmap, and choose settings like Brightness Cutoff for simple images. Hit OK, then save as SVG or EPS.
CorelDRAW
What It Does: Another pro tool with a Quick Trace feature for vectorizing.
How to Use: Import your PNG, select it, and use Quick Trace or PowerTRACE for more control. Adjust settings and save as a vector.
Best For: Users already using Corel’s software.
Online Converters
Vectorizer.ai: This web tool uses AI to convert PNGs to SVG with impressive accuracy. Upload your image, wait for it to process, and download the vector. It’s free in beta as of April 2025, but paid plans might come later.
Autotracer.org: A free online option where you can tweak settings like colors or smoothing. Upload, adjust, and download as SVG or EPS.
Best For: Quick projects without installing software.
Cost: Free, with some premium options.
Comparison Table: PNG to Vector Tools
Tool | Ease of Use | Cost | Accuracy |
Adobe Illustrator | Medium | US$22.99/month | Very High |
Inkscape | Medium | Free | High |
CorelDRAW | Medium | US$439.00 /yr (US$36.58/mo) | Very High |
Vectorizer.ai | Very Easy | Free (beta)/Premium | High |
Autotracer.org | Easy | Free | Medium to High |
Note:Simple images like logos convert better than photos with lots of details.
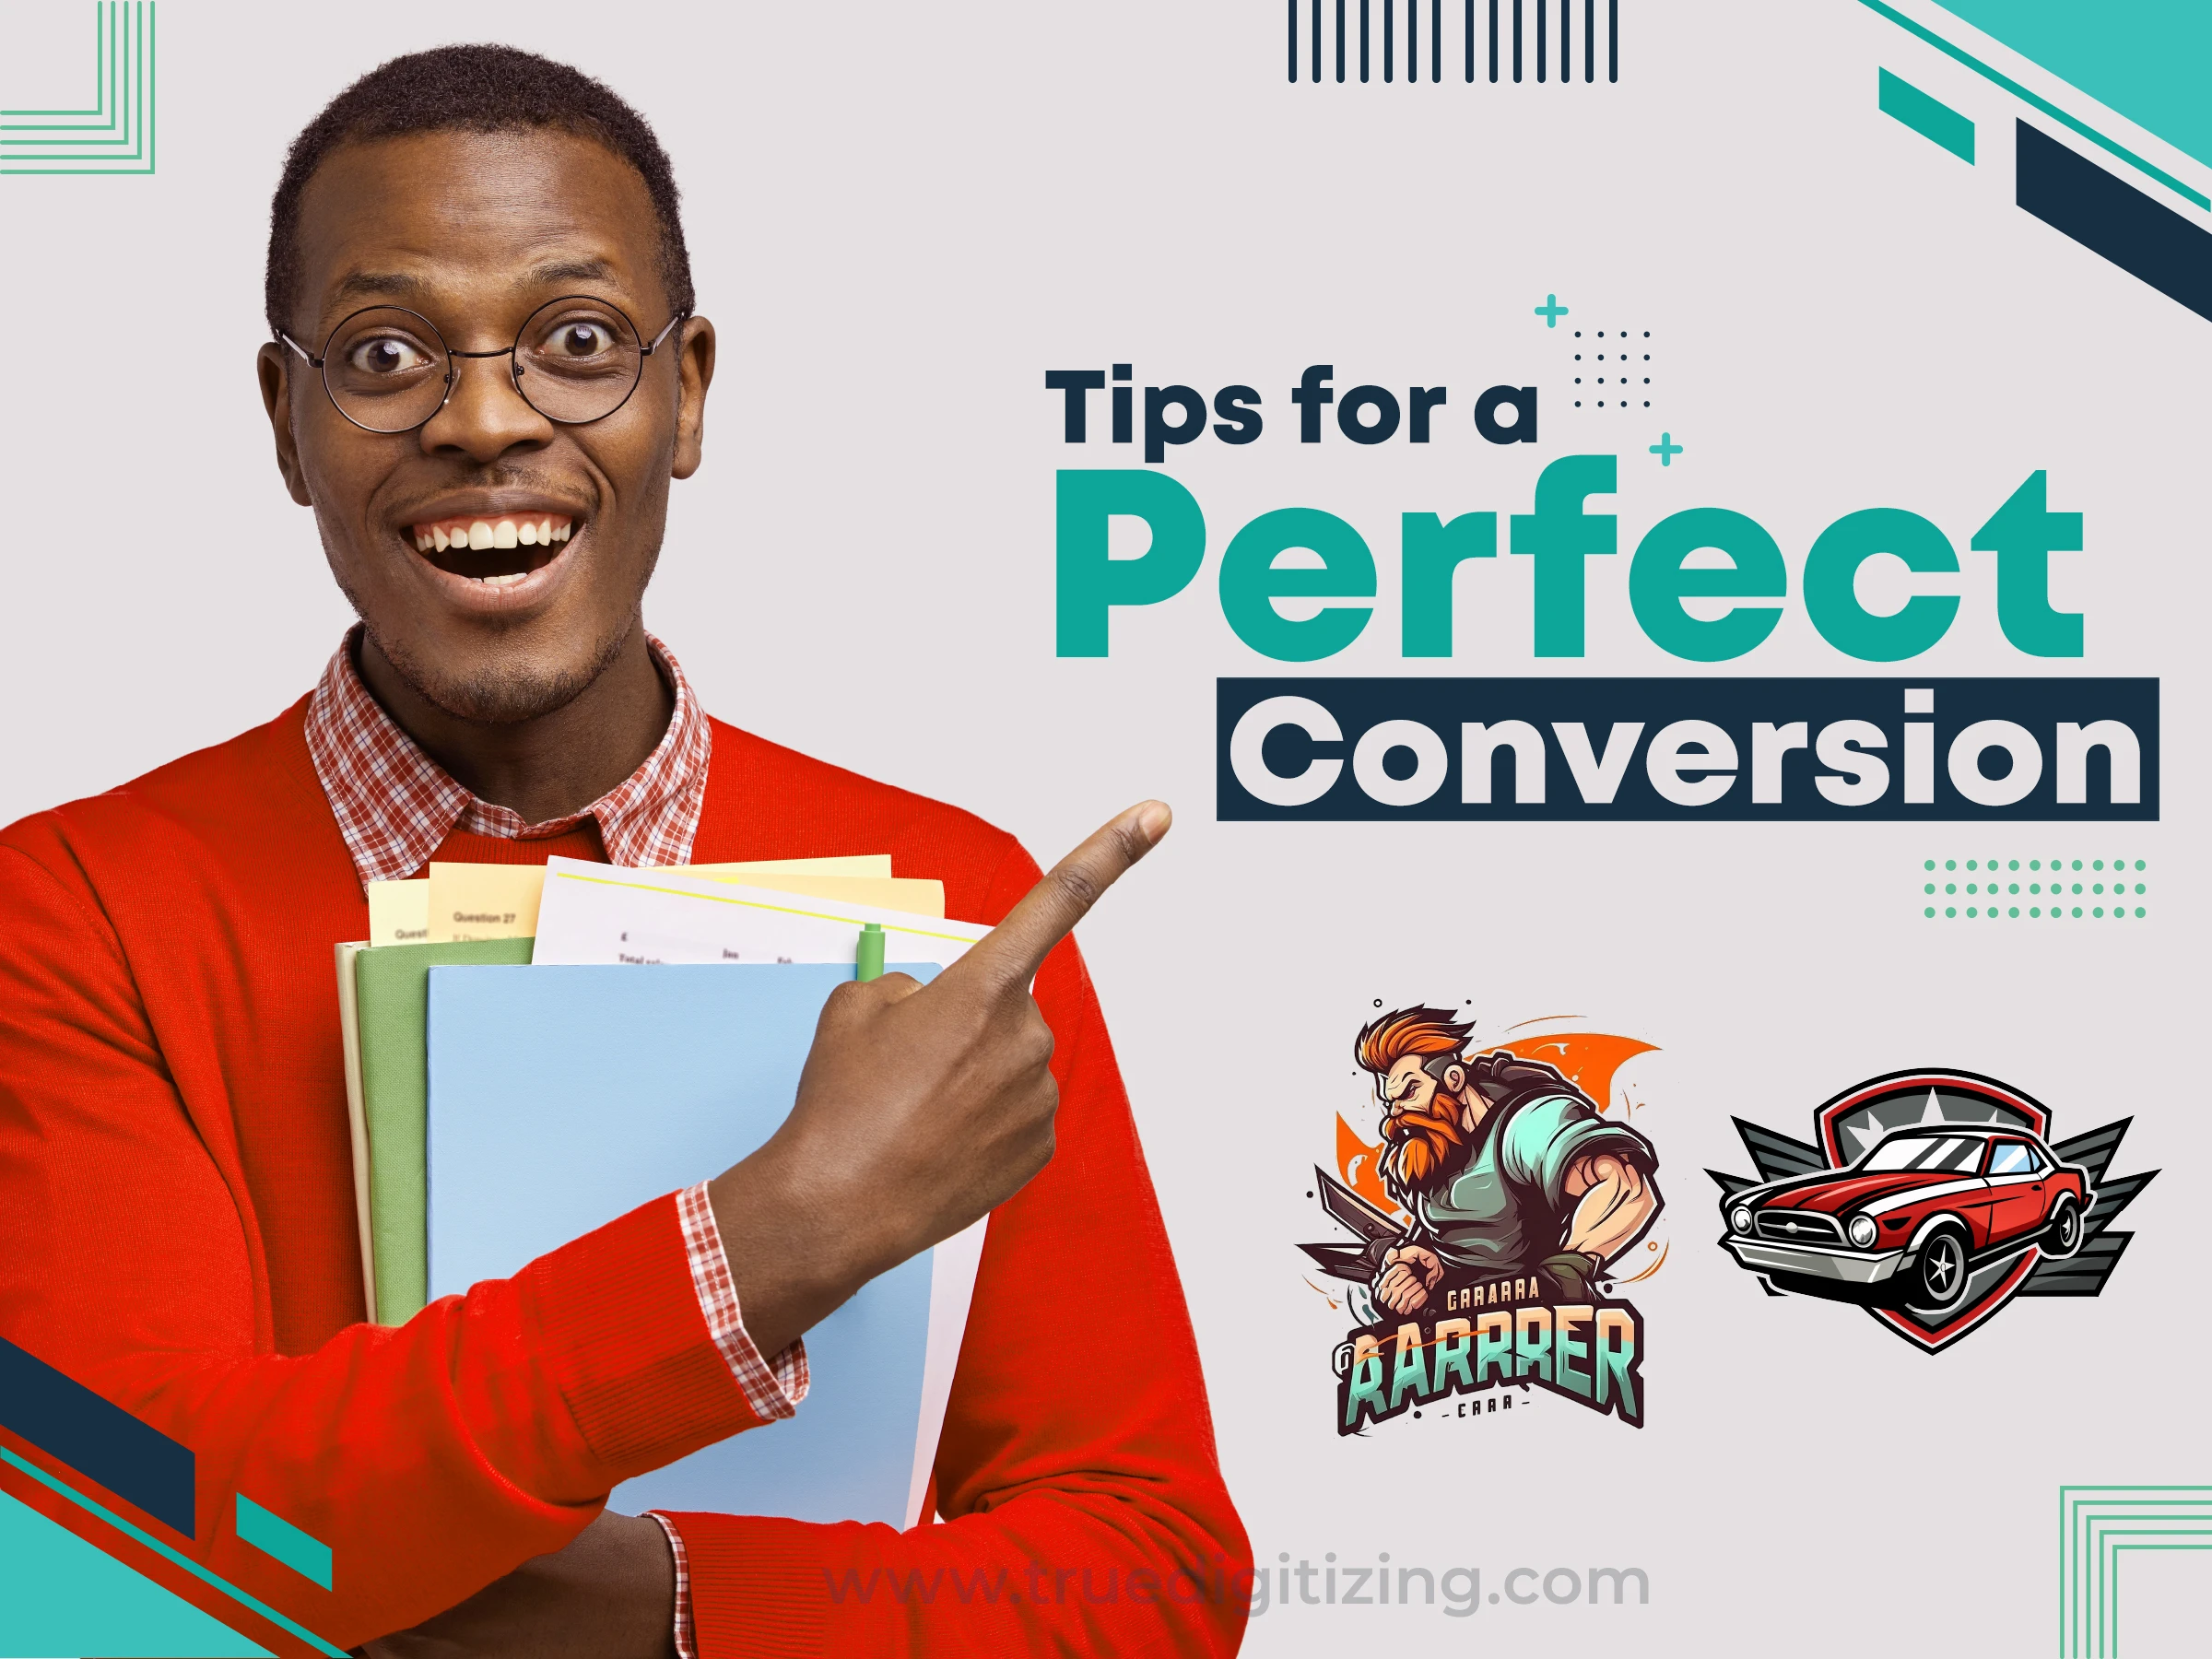
Tips for a Perfect Conversion
Get Vector Tracing Services at Cheap Rates
Turn your logos or sketches into clear, scalable vector files with True Digitizing’s expert vector tracing services, which are based in the USA. We offer top-tier embroidery digitizing services, converting your designs into stitch-ready files (DST, PES, EMB) for flawless results. Our $12 flat-rate pricing covers both services, with no hidden fees or per-stitch charges. Using embroidery digitizing software like Wilcom and others, we deliver machine-ready files in as little as 24 hours. Ready for professional-quality vectors and embroidery? Contact True Digitizing today to get started.
Common Challenges & How to Fix Them
Problem: The vector has rough or jagged lines.
Fix: Use the Pen Tool to manually adjust pathways or increase the smoothing settings in automatic tools.
Problem: Small details get lost.
Fix: Trace complex images in smaller chunks or simplify the PNG first.
Problem: Colors look off after conversion.
Fix: Adjust color settings during tracing or fix them manually afterward.
Problem: Vector files are too big.
Fix: In Illustrator or Inkscape, reduce anchor points to make the file smaller.
Use Cases for Vector Files After Conversion
Once you’ve got your vector file, the possibilities are endless. Here’s where they shine:
T-shirt and Merch Printing: Printers need vectors for sharp, scalable designs on apparel.
Signage and Vinyl Cutting: Vinyl cutters use vectors to cut precise shapes for signs or decals.
Vectors make it simple to map out stitches in embroidery digitizing, making sure that your design looks beautiful on fabric.
Conclusion
Turning a PNG into a vector file is a must for anyone serious about embroidery digitizing, branding, or printing. Whether you trace it yourself for total control or use a tool for speed, this guide has you covered. If you want a scalable, high-quality vector, start with a good PNG, select the appropriate tool, and then follow these steps. You can handle any project easily, from large signs to stitched logos, with a little practice. So, grab that PNG and start converting.