Guys if I'm not wrong, you definitely love to create embroidery designs but I have a question: do you create high quality embroidery designs? Or want to create high quality embroidery designs but for some reason, you couldn't do that. No worries. We bring this informative and amazing blog post for you. As you know that embroidery digitizing is all about converting artwork into a file that an embroidery machine can read. It sounds simple, but getting a design that looks sharp, colorful, and professional takes know-how and care. In this blog post, we are going to discuss 11 easy tips to help you create embroidery designs, as well as some common mistakes to avoid and tools to make your life easier. So without time, let’s move to the blog post.
Tip 1: Always Keep Your Concept Simple and Clear
First, every eye-catching embroidery designs needs to start with solid ideas. If your design is too complex, think of lots of small details or overlapping elements, it can mess up everything when you stitch. Simple designs with bold shapes work best.
For example, a clean logo with a few strong lines is way easier to digitize than one with complex designs. take a pencil and sketch your idea or use software like Adobe Illustrator to map it out. A clear concept is your first step to a design that shines.
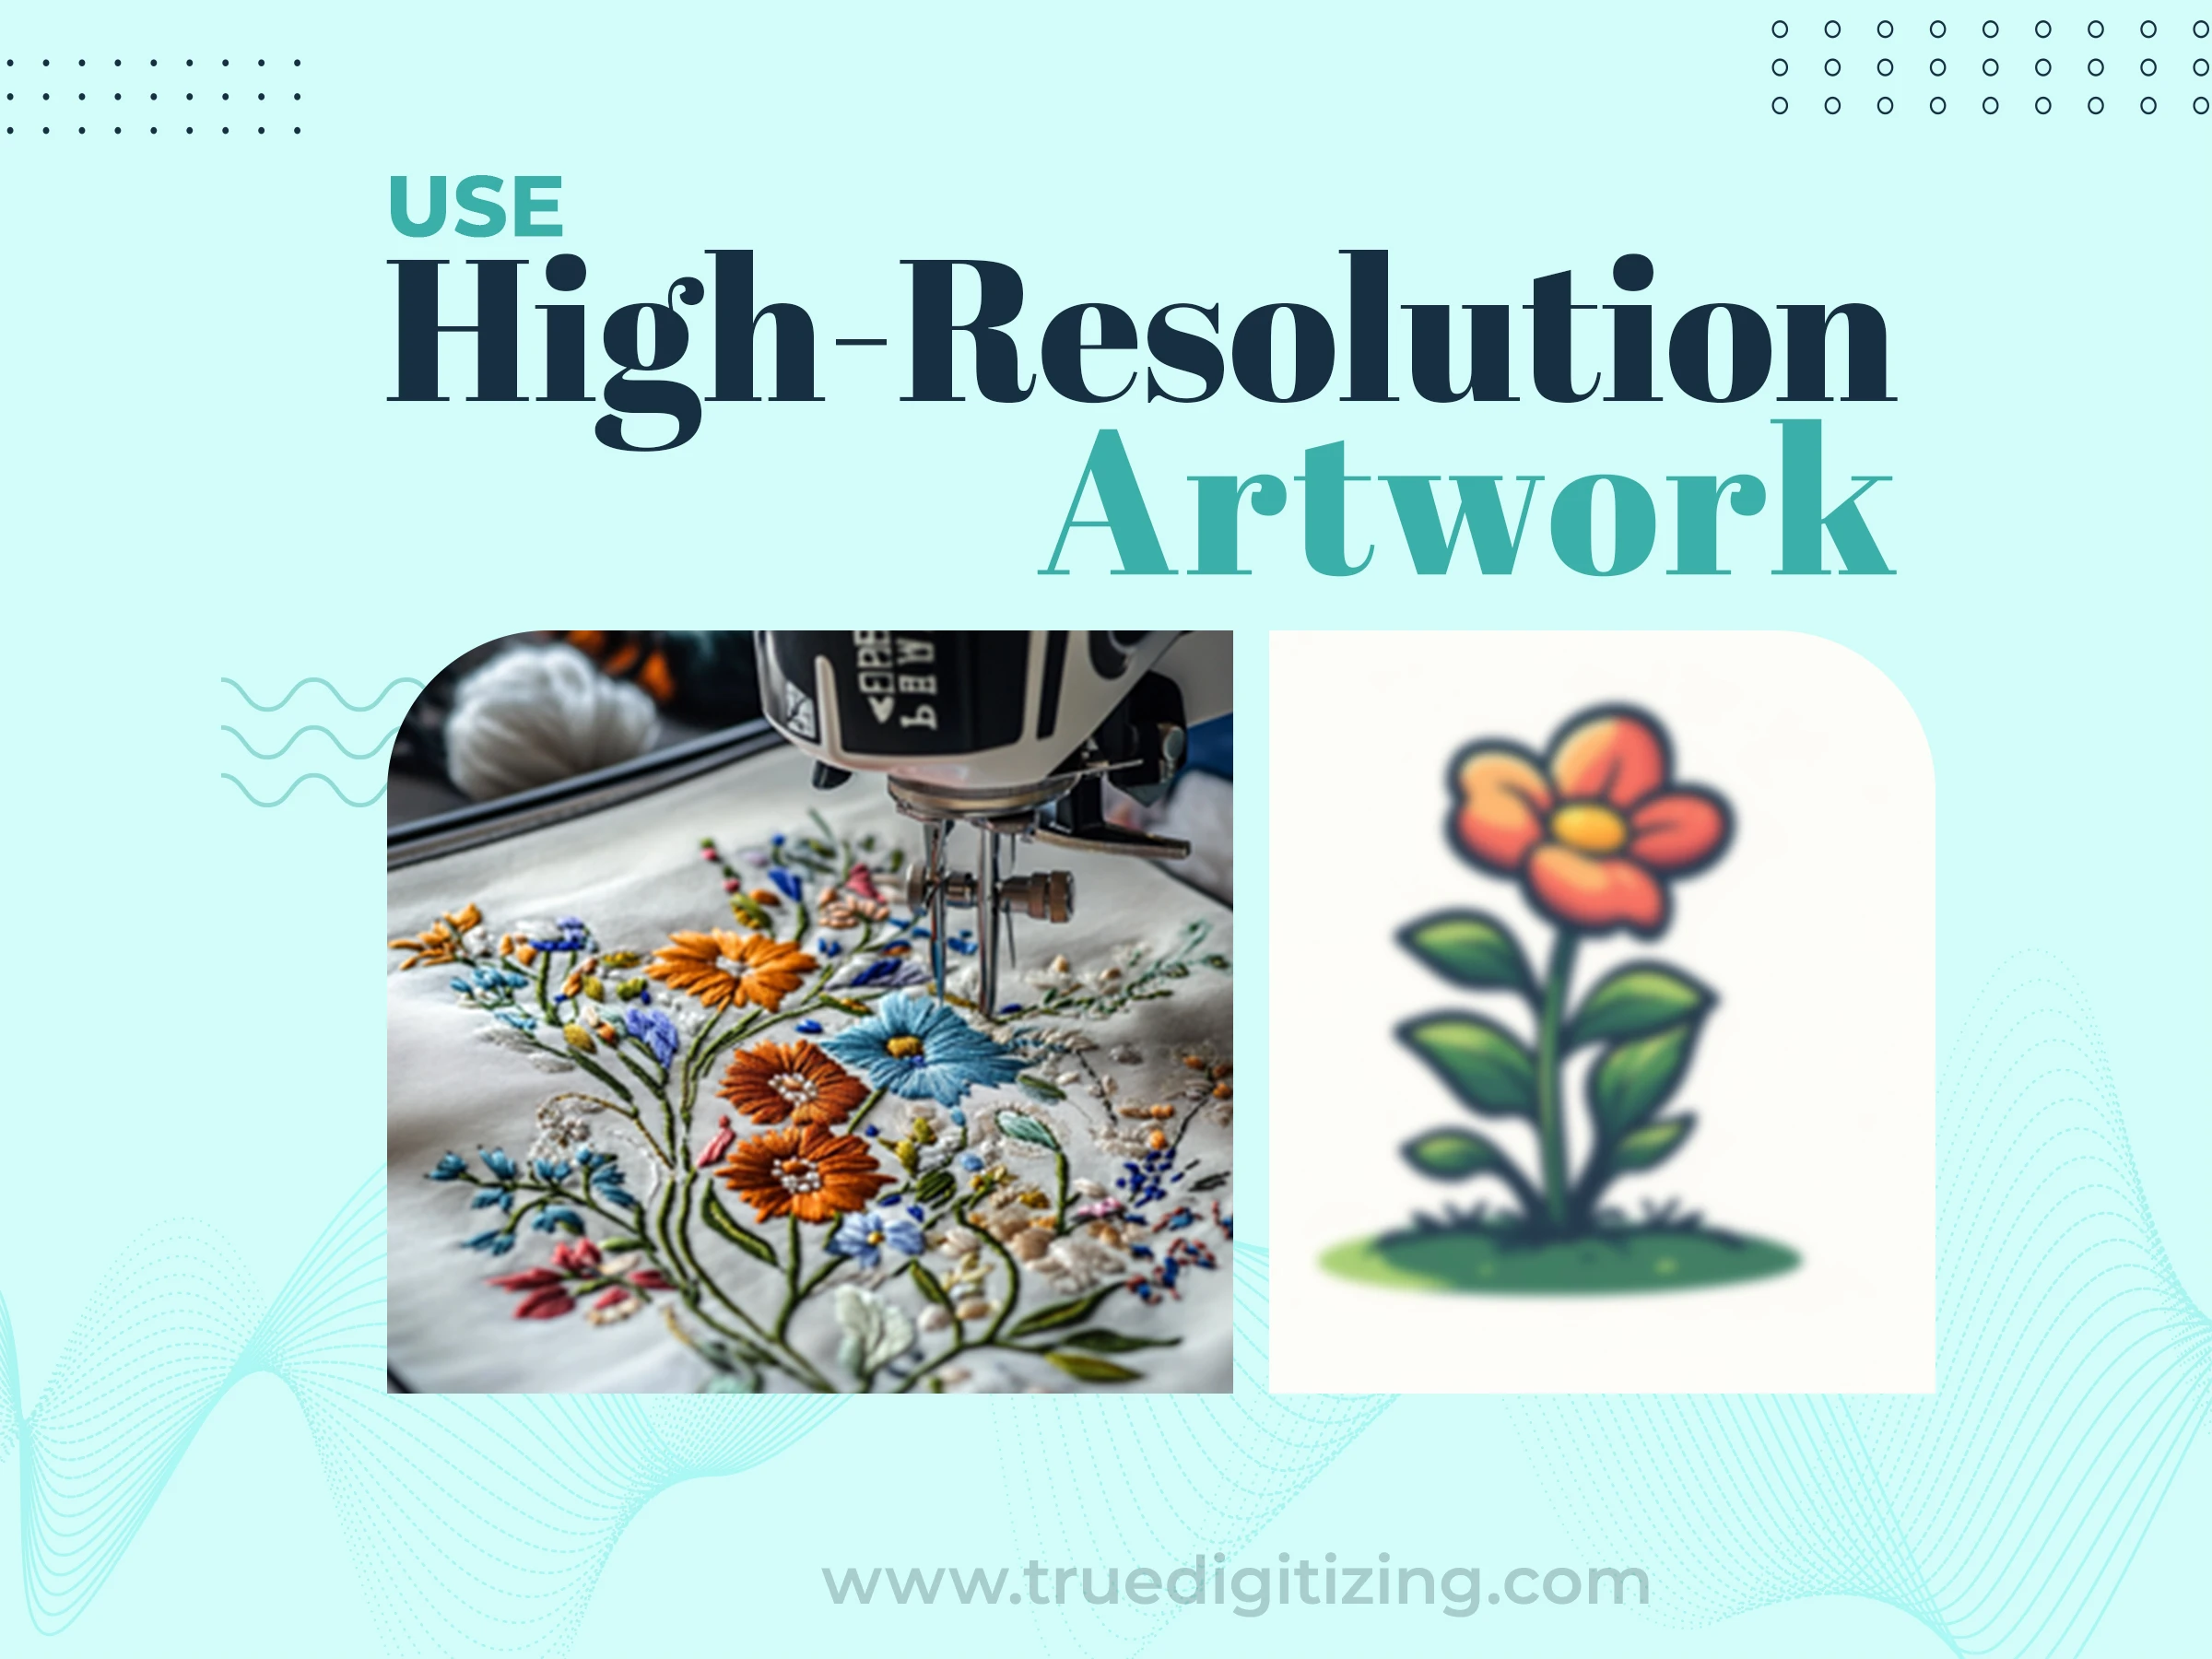
Tip 2: Use High-Resolution Artwork
Your artwork is the heart of your embroidery design. If it’s blurry or low-quality, your final stitches will affect. Always use high-resolution images to keep things sharp.
Why Blurry Images Ruin Your Design?
Pixelated or fuzzy images don’t give digitizing software enough detail to work with. The result? unclear edges or uneven stitches that look messy. To avoid this, use artwork with at least 300 DPI (dots per inch) for clear, sharp lines.
Best File Formats to Use
Go for vector formats like SVG or AI because they scale without losing quality. By the way, these are perfect for digitizing because you can change sizes without worrying about pixelation. But if you’re using a raster image, I suggest you go with PNG, because PNG is a good choice, but make sure it’s high-resolution. Steer clear of JPEGs. They often lose quality due to compression.
Clean Up Your Artwork First
Make sure your artwork is clean before digitizing. You may simplify shapes, remove stray pixels, and smooth off rough edges with software like Adobe Illustrator or free alternatives like Inkscape. A clean image means fewer headaches when you start stitching.
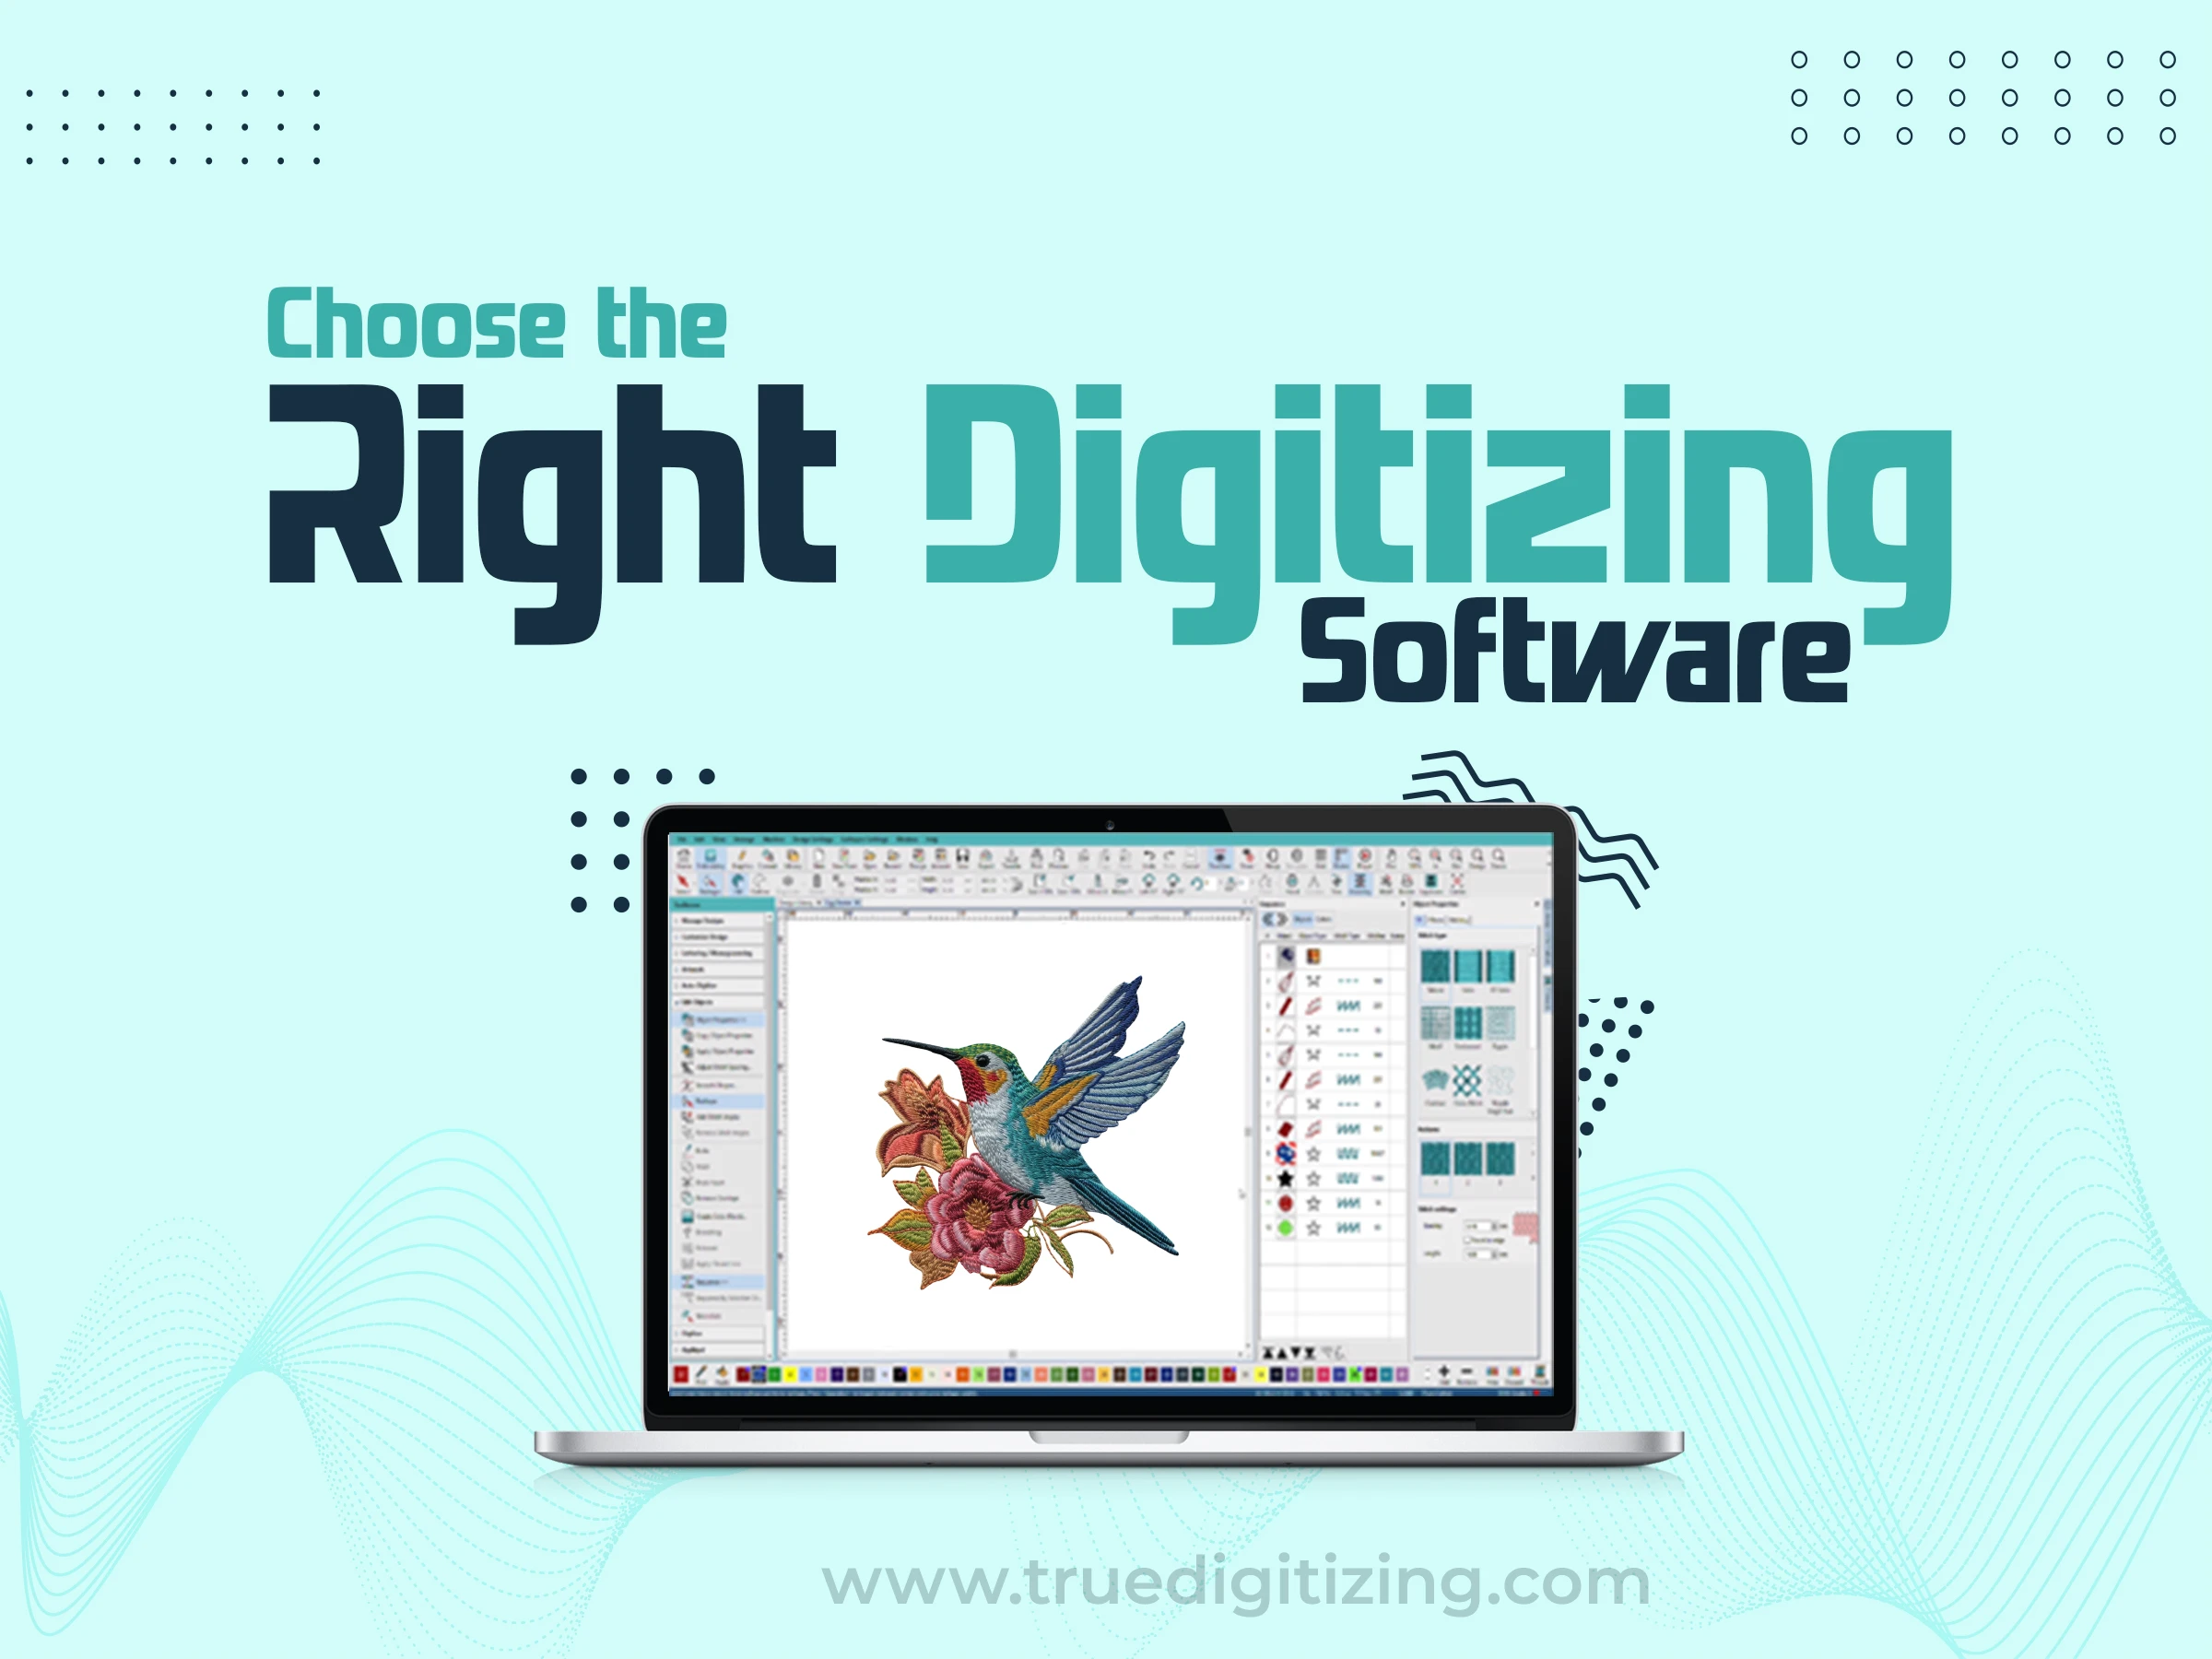
Tip 3: Choose the Right Digitizing Software
Your software is your best friend in embroidery digitizing. Choosing one that fits your skills and goals is a game-changer.
Top Software Options
There are some great tools out there. Experts love the Wilcom Embroidery Studio software program because it has advanced features.Hatch Embroidery is super user-friendly, great for both beginners and experts. Brother PE-Design is an affordable and solid choice for embroidery lovers. Each has its benefits, so think about what you need and how much you’re ready to learn.
Why Learning Your Software Matters?
Good software is only as good as your ability to use it. Spend time exploring features like stitch editing or color mapping. Check out tutorials on YouTube or visit the software’s official site (like Wilcom’s training page) for guides. Knowing your tools inside out gives you control over every stitch.
Free vs Paid Software
Free software like Inkstitch, are good for getting started, they have limitations.. Paid options like Wilcom or Hatch give you more precision and features for professional results. If you’re serious about digitizing, the investment in paid software pays off.
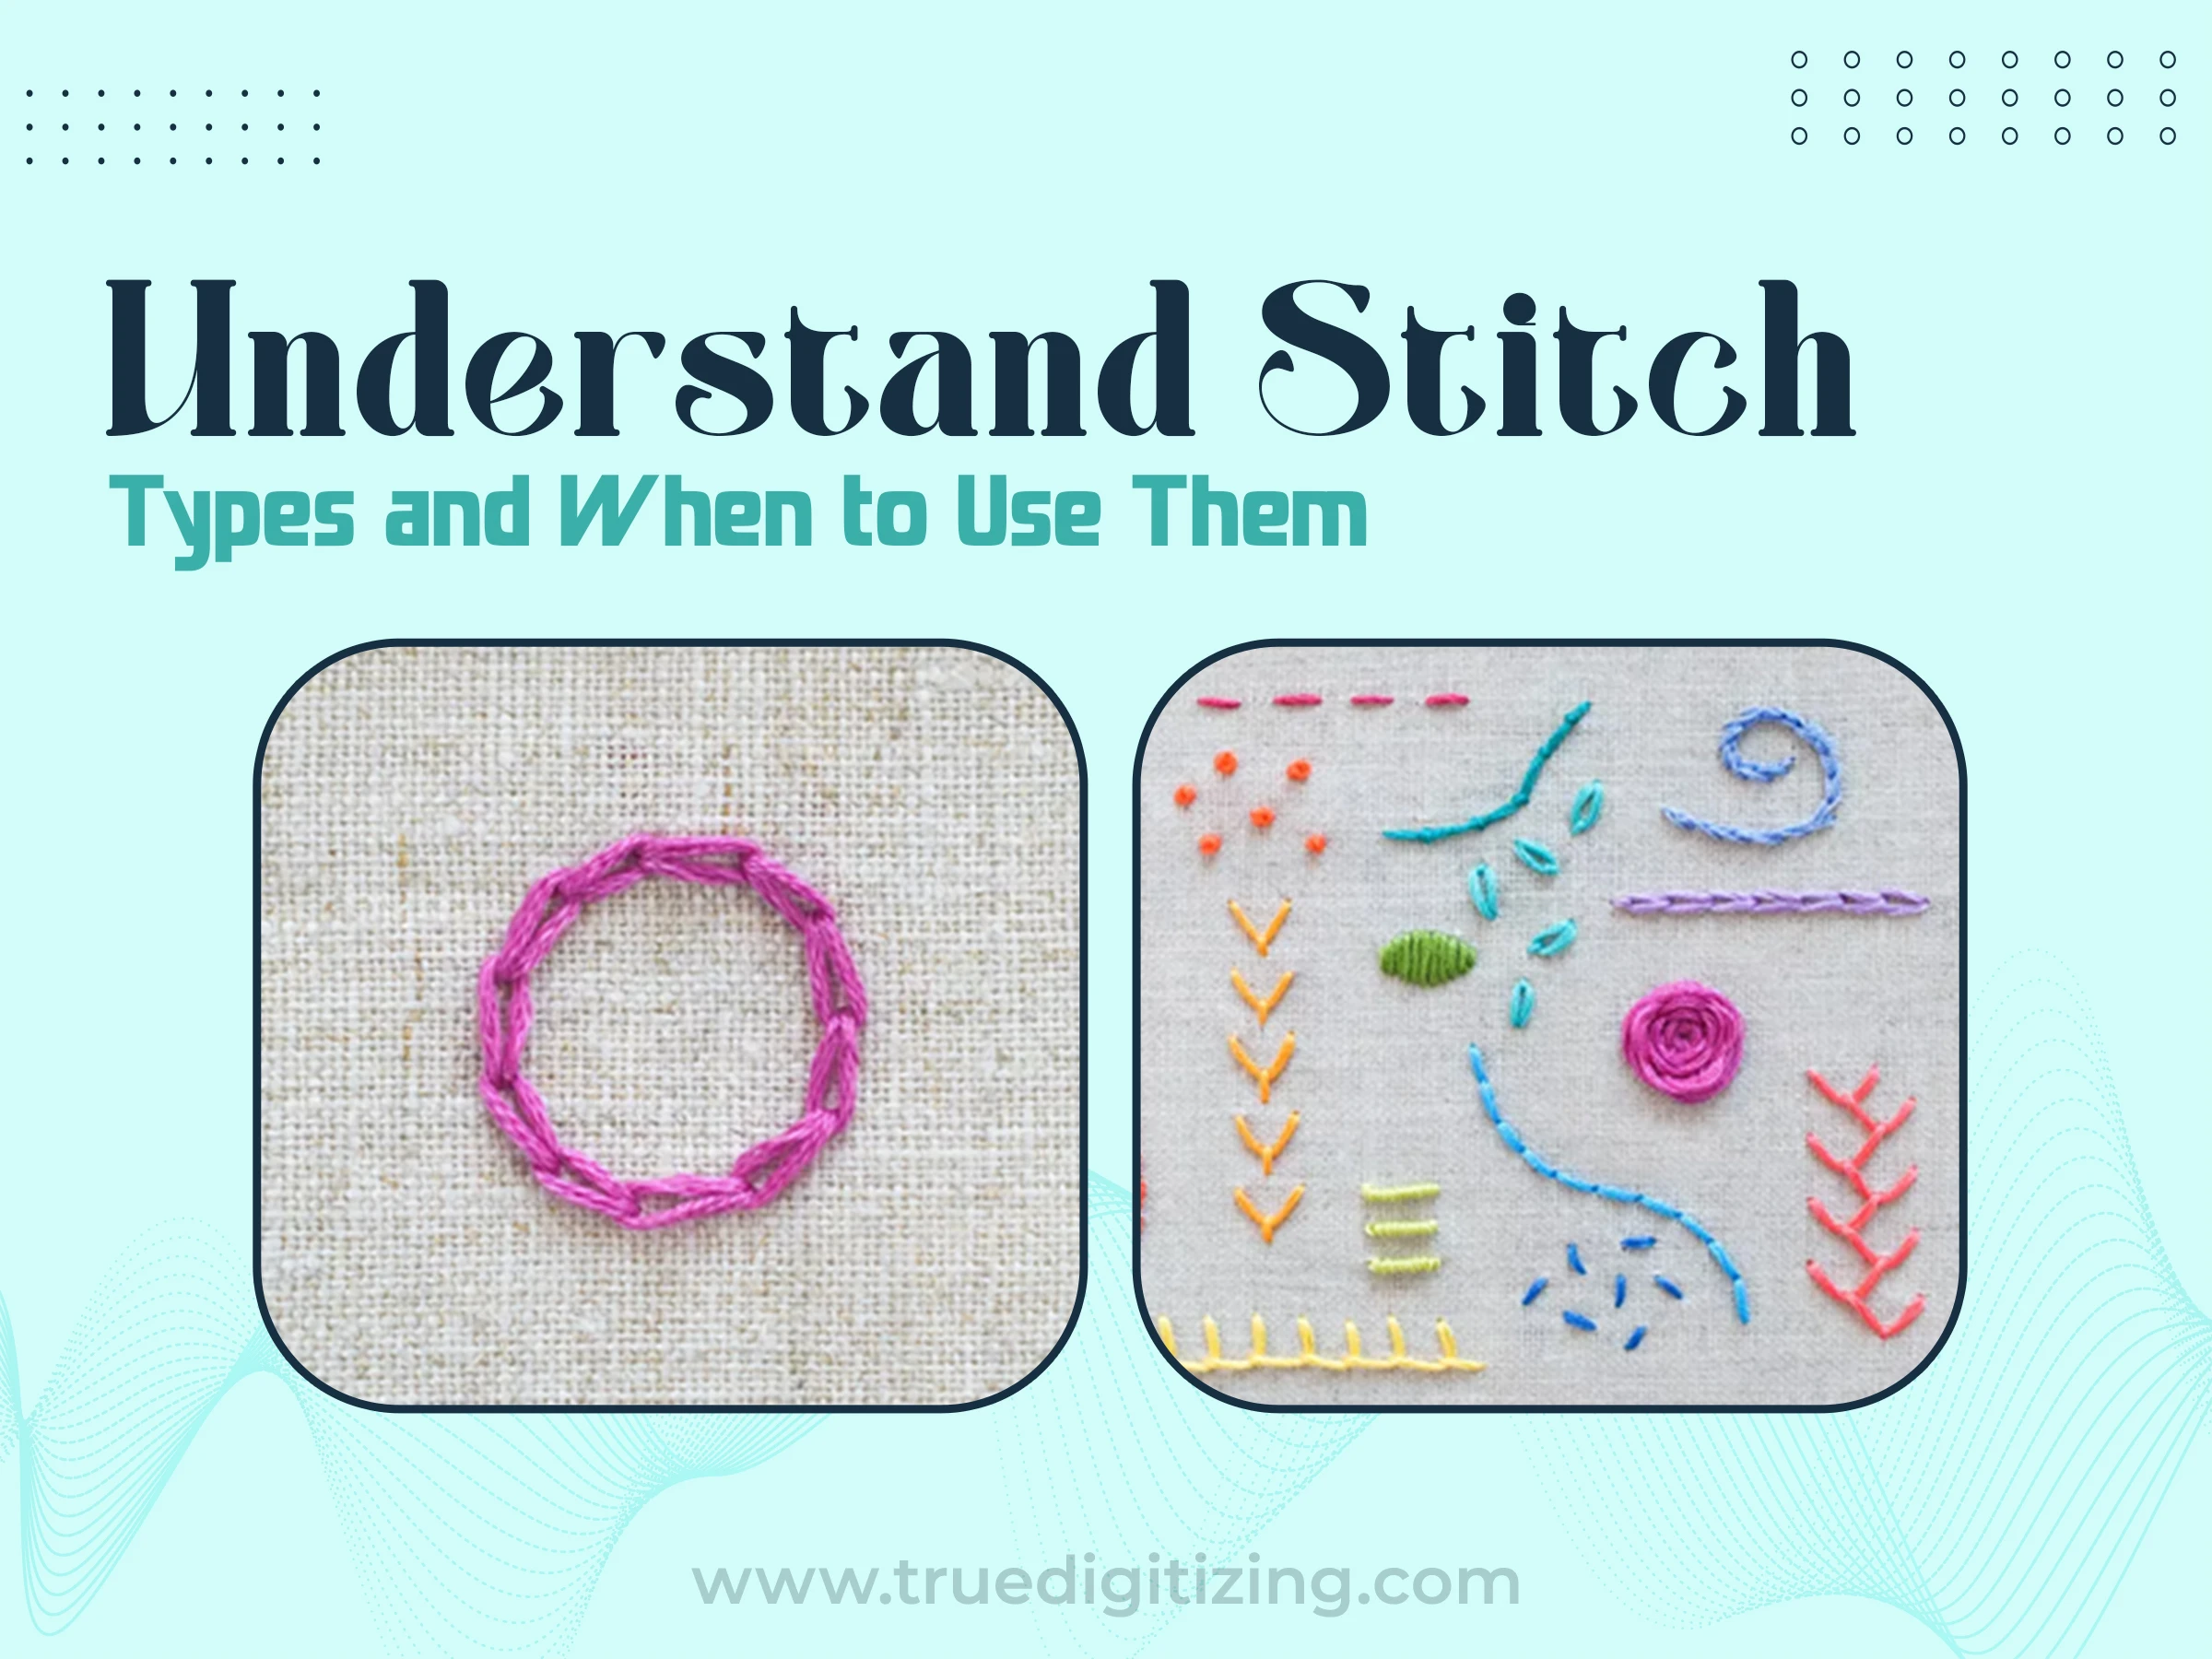
Tip 4: Understand Stitch Types and When to Use Them
Stitches come in a few main types. Satin, fill, and running and each has its own purpose. Satin stitches give a sleek, shiny look, perfect for borders or text. Fill stitches cover bigger areas with texture, like backgrounds. Simple running stitches work well for outlining. Try with samples to choose the stitch that works best for your project because a wrong stitch might ruin the design to pucker, or look uneven.
Tip 5: Get Stitch Density Right
Stitch density is about how many stitches you pack into an area. Too many, and your design feels stiff or puckers the fabric. Too few, and it looks thin and patchy. For most fabrics, aim for a density of 0.4, 0.5 mm for fill stitches. Adjust based on the material. Use denser stitches for tough fabrics like denim and lighter ones for delicate silk. Your software should let you fine-tune this, so play around and test to nail it.
Tip 6: Stick to Solid Colors
Embroidery machines don’t do gradients. They need solid thread colors. If your design has a gradient, break it into flat color blocks using software like Illustrator. This keeps your design clean and stitchable. Match your colors to thread charts from brands likeMadeira or Isacord to make sure they look right when stitched.
Tip 7: Skip Small Text and Thin Lines
Small text or super-thin lines can be a nightmare in embroidery. Text smaller than 4 mm often turns out blurry or unreadable, and lines thinner than 1 mm might not hold up. Stick to bold, sans-serif fonts for text, keeping letters at least 4, 5 mm long. For lines, aim for at least 1 mm wide. Test these elements on a sample to make sure they come out clean.
Tip 8: Use Proper Underlay Stitches
Underlay stitches are like the base of a house. They hold everything in place. They go down before your main stitches to stabilize the fabric and prevent shifting or puckering.
For example, a light zigzag underlay works well for satin stitches on cotton. Adjust your underlay based on the fabric and design size, and check your software for customization options. Good underlay makes your design look smooth and pro.
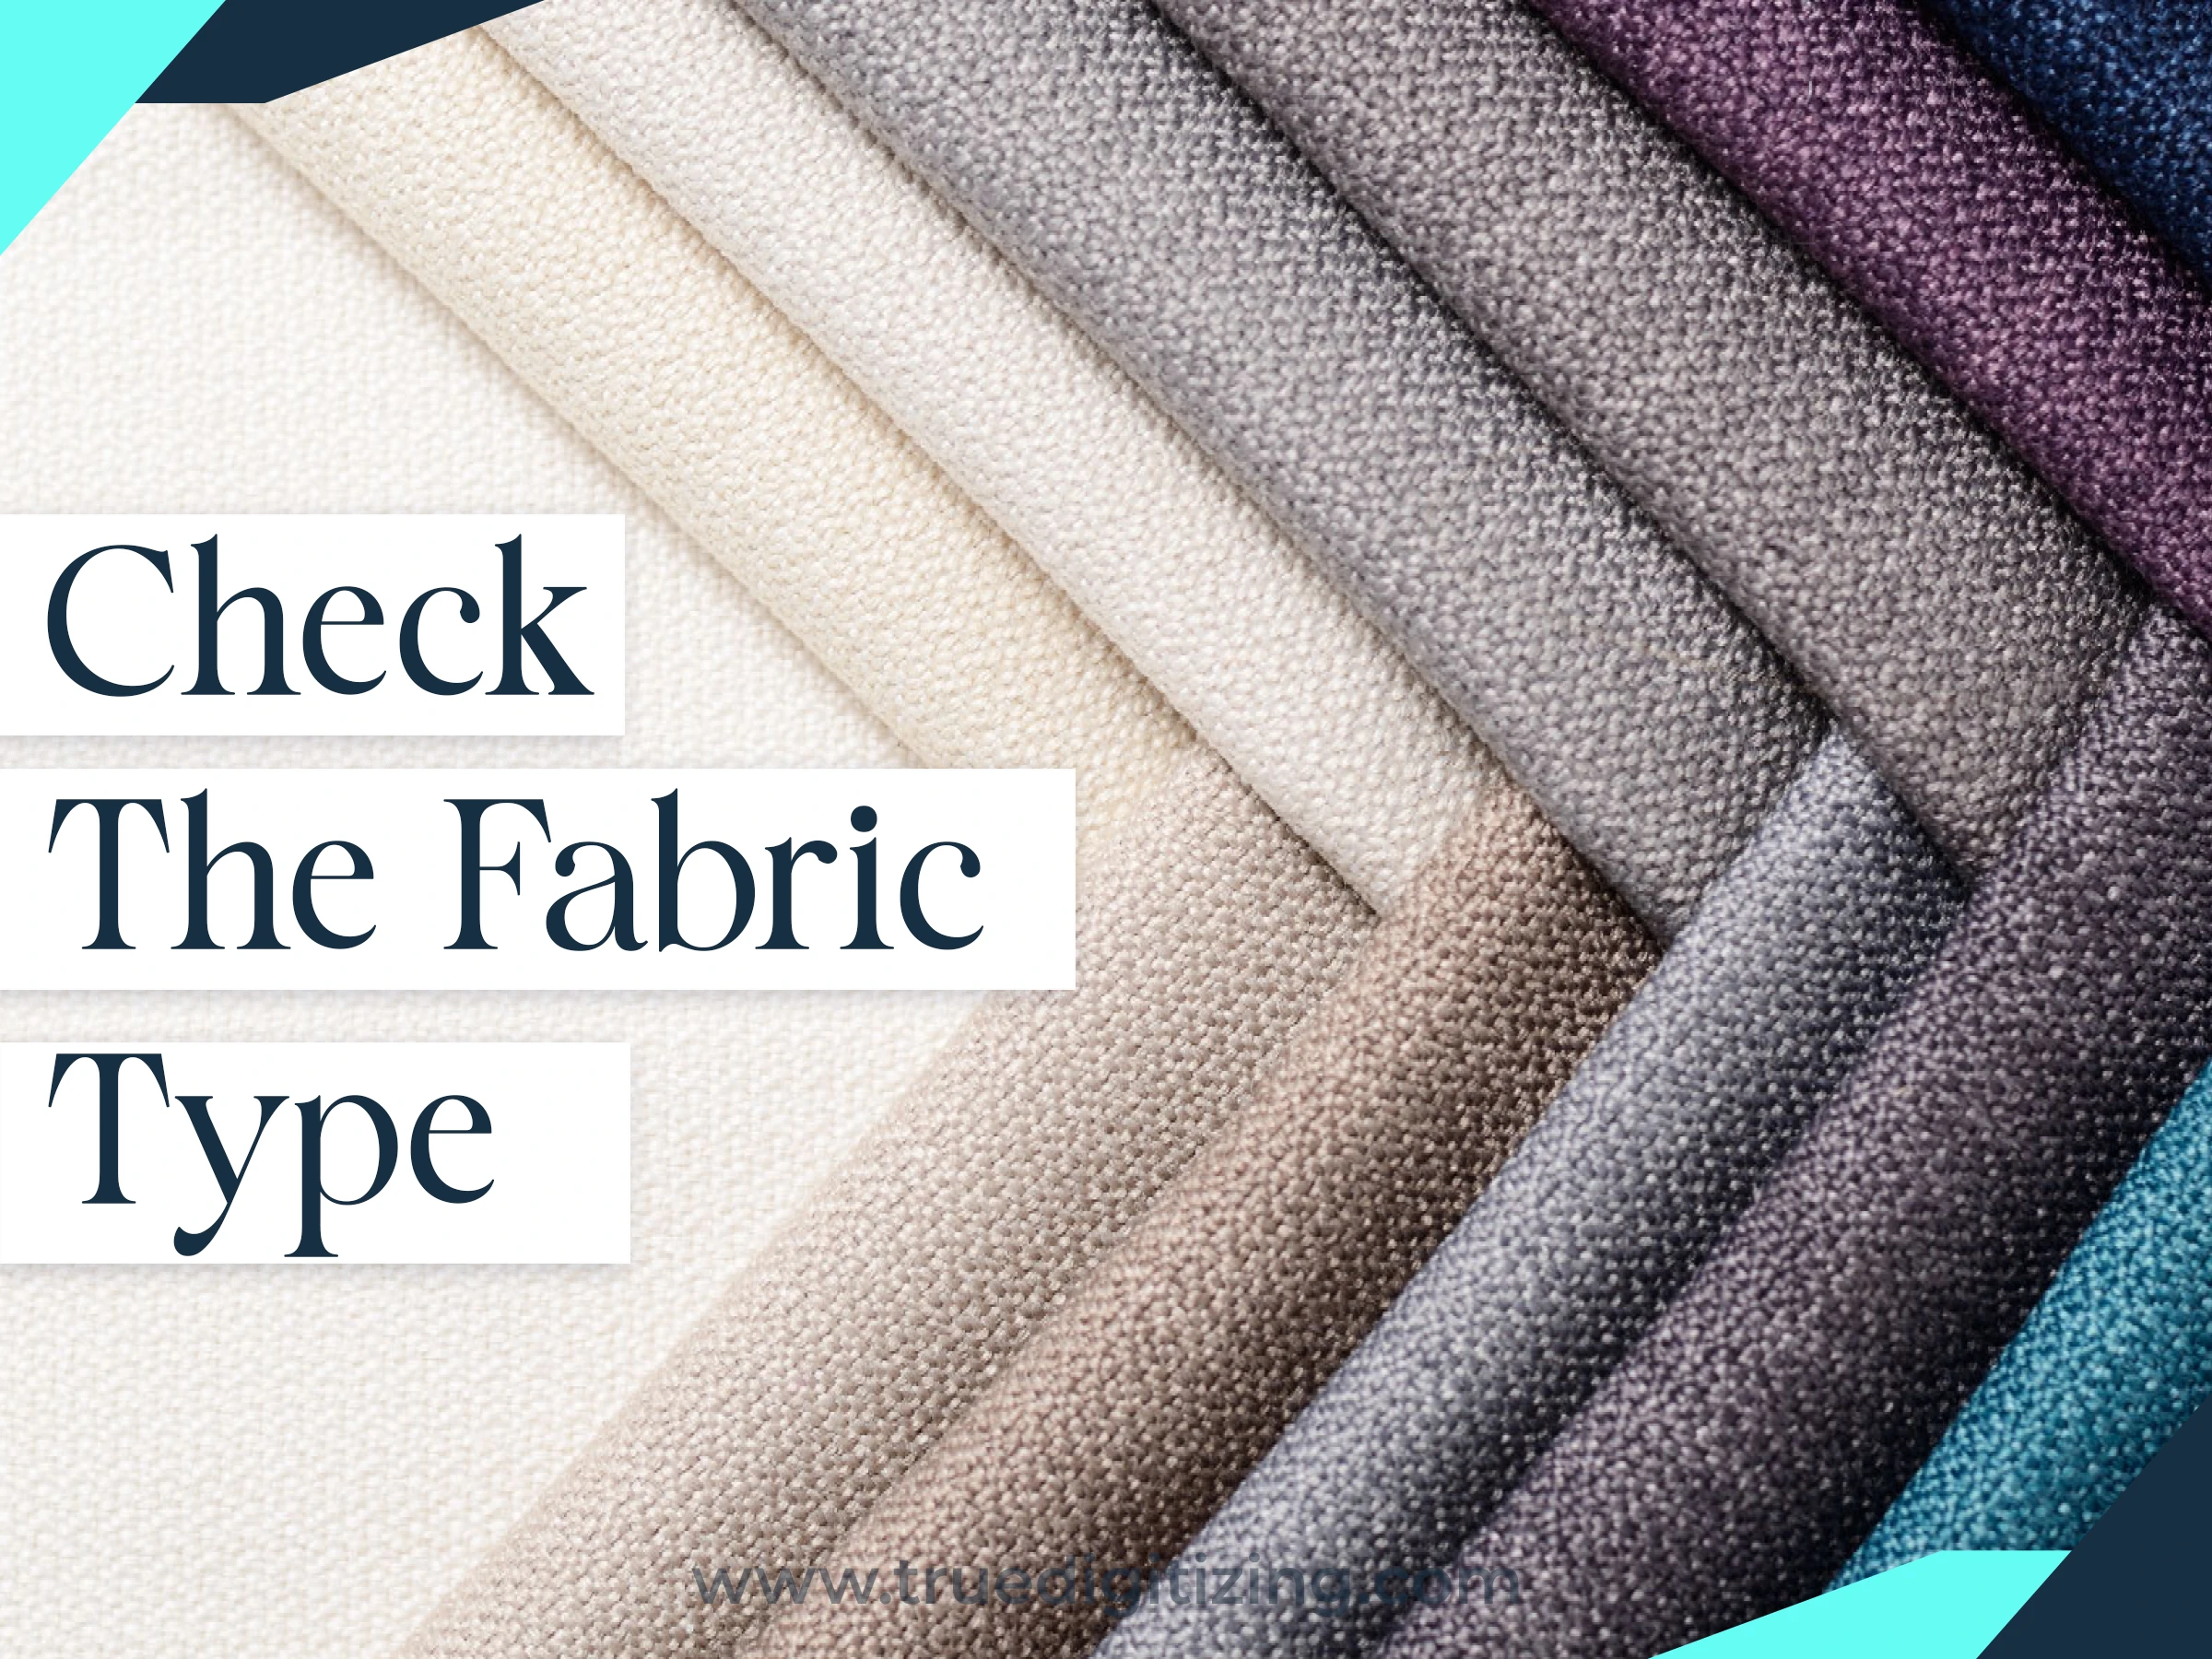
Tip 9: Check the Fabric Type
Not all fabrics are the same. Lightweight ones, like satin, require a softer touch to prevent puckering, while heavy ones, like denim, can take dense, thick stitching. Check the fabric's weight, fabric properties, and texture before doing digitization. Run a test on a similar fabric scrap to see how your design holds up.
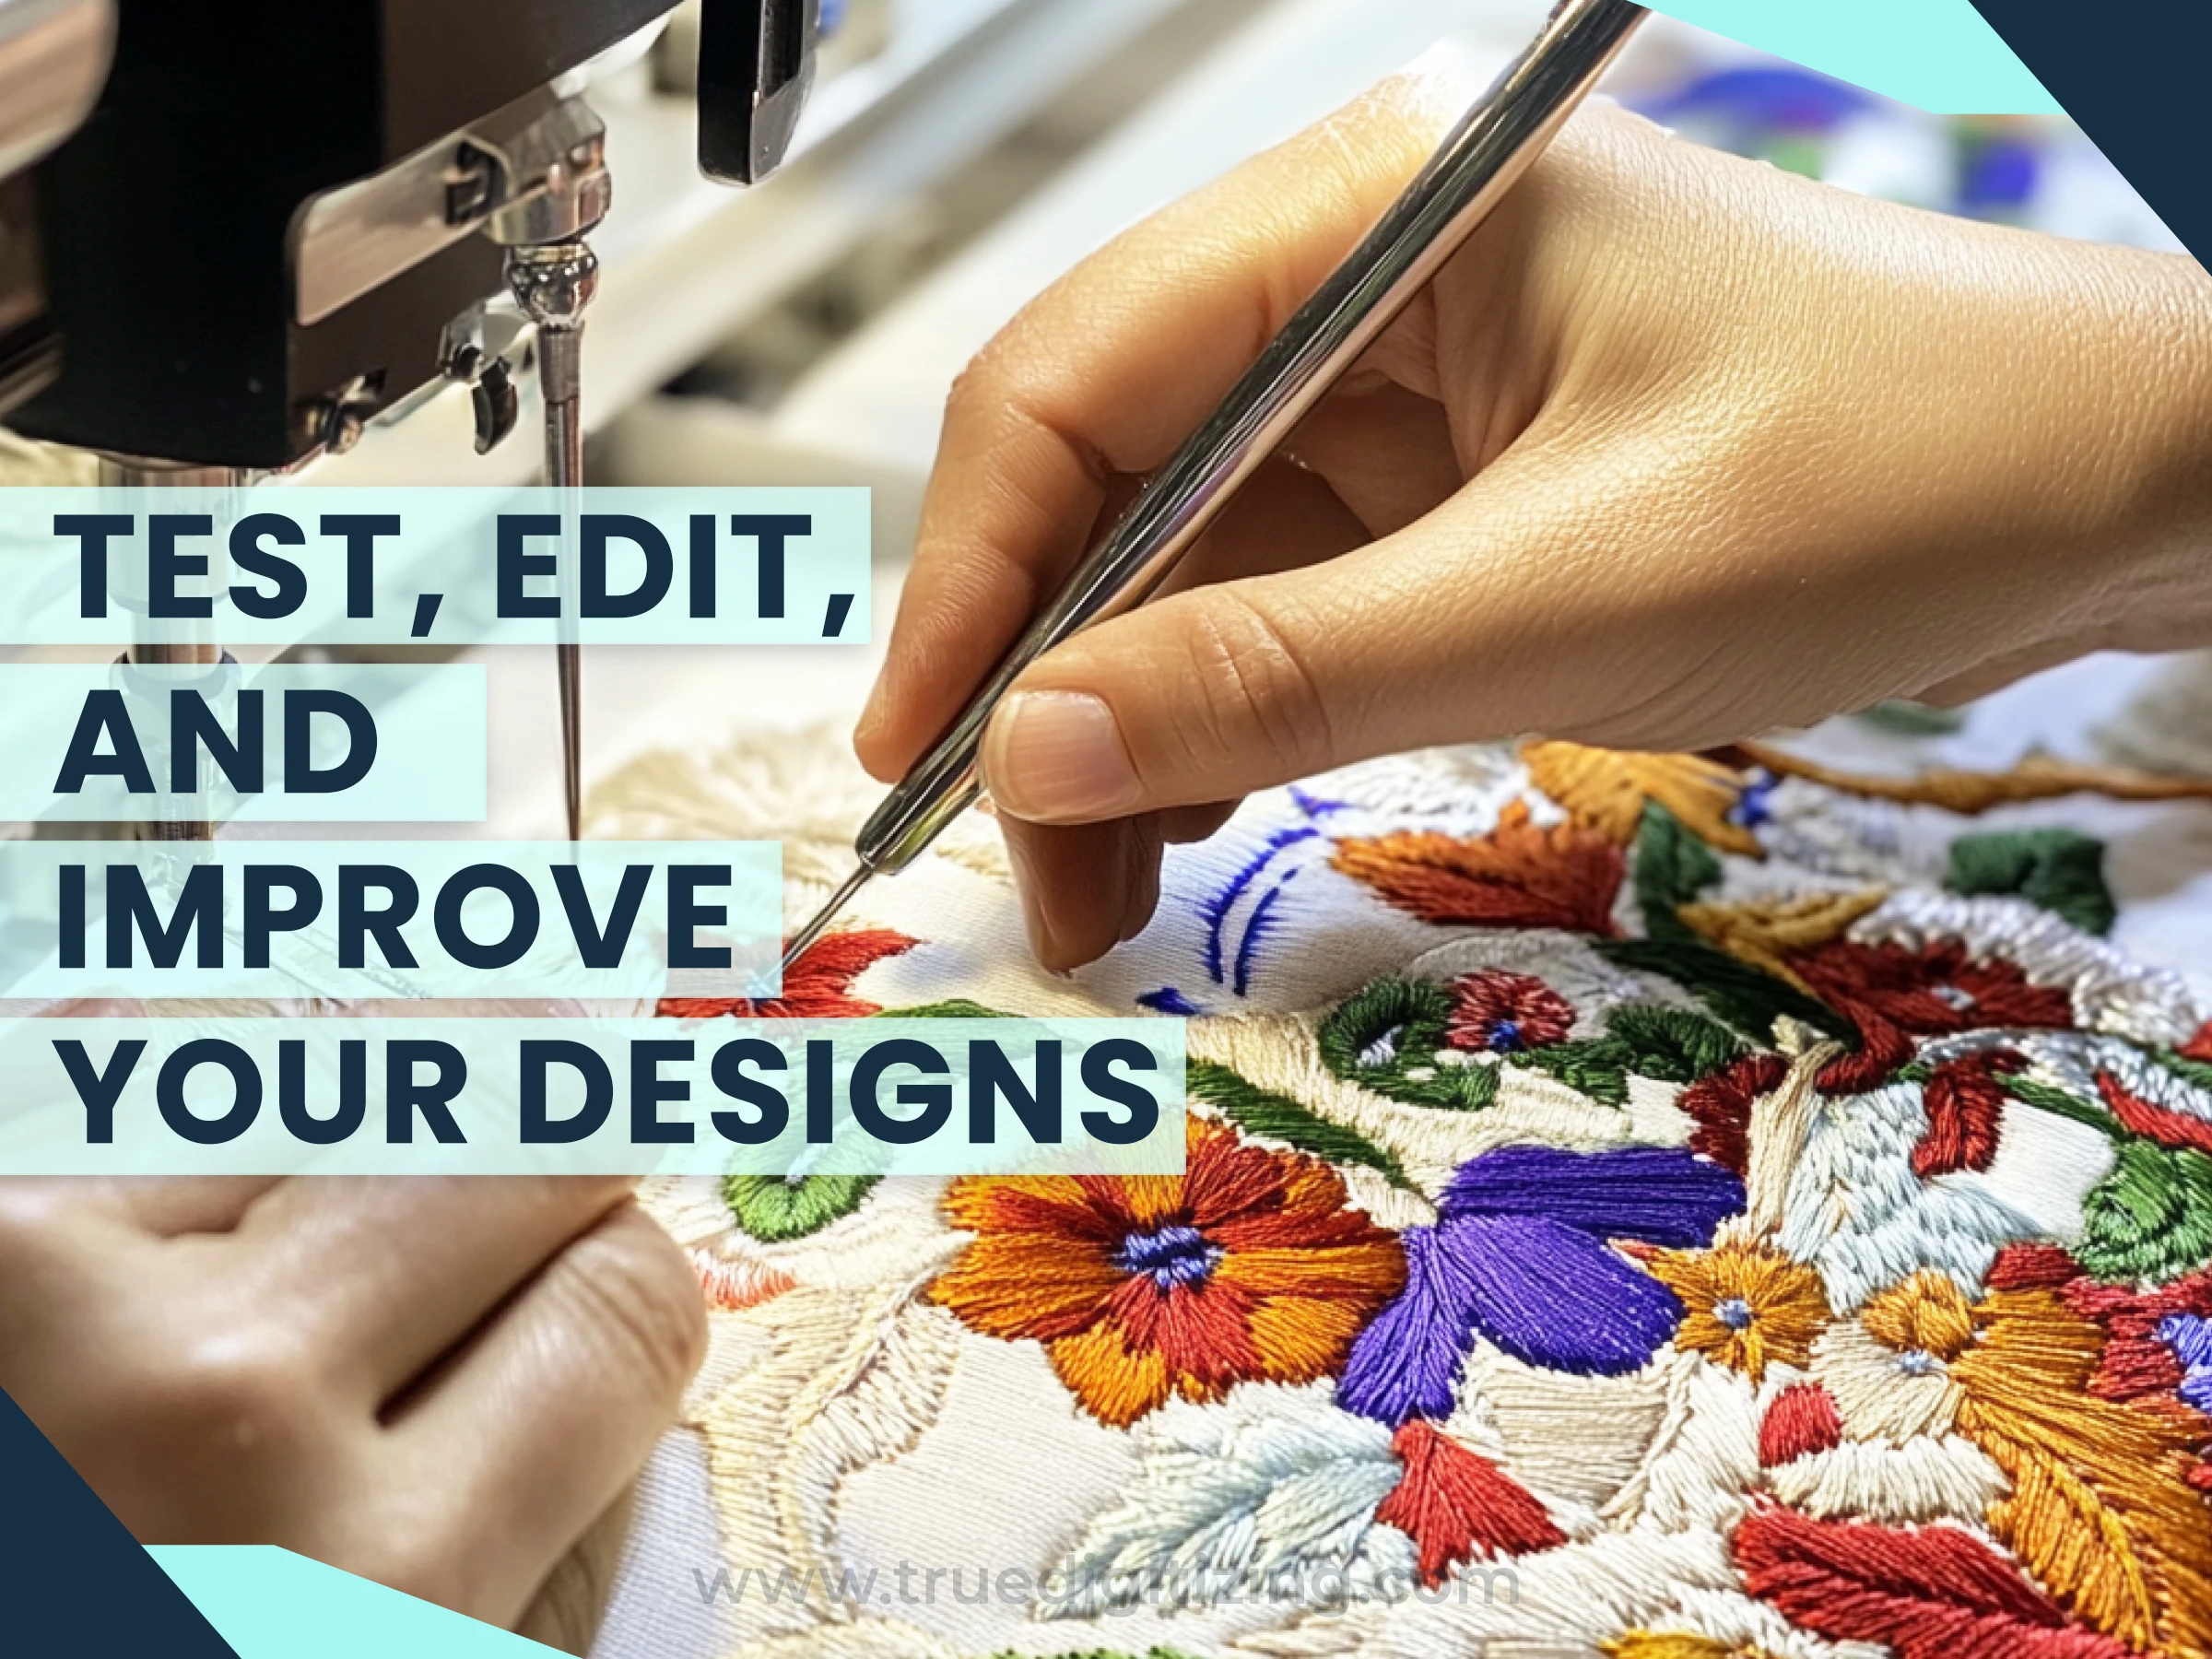
Tip 10: Test, Edit, and Improve Your Designs
Never skip testing. Stitch your design on a sample fabric to catch problems like puckering, thread breaks, or wonky alignment. If something’s off, go back to your software and adjust things like stitch angles or density. You can also tweak pull compensation to account for fabric stretch. Testing saves you from big mistakes in the final run.
Tip 11: Keep Learning and Ask for Feedback
Digitizing gets better with practice. Join online groups like the embroidery digitizing groups on Facebook or check out some embroidery digitizing forums to share your embroidery work and get tips from others. Get suggestions from groups, watch tutorials, or take a course. Staying curious and open to feedback keeps your skills sharp.
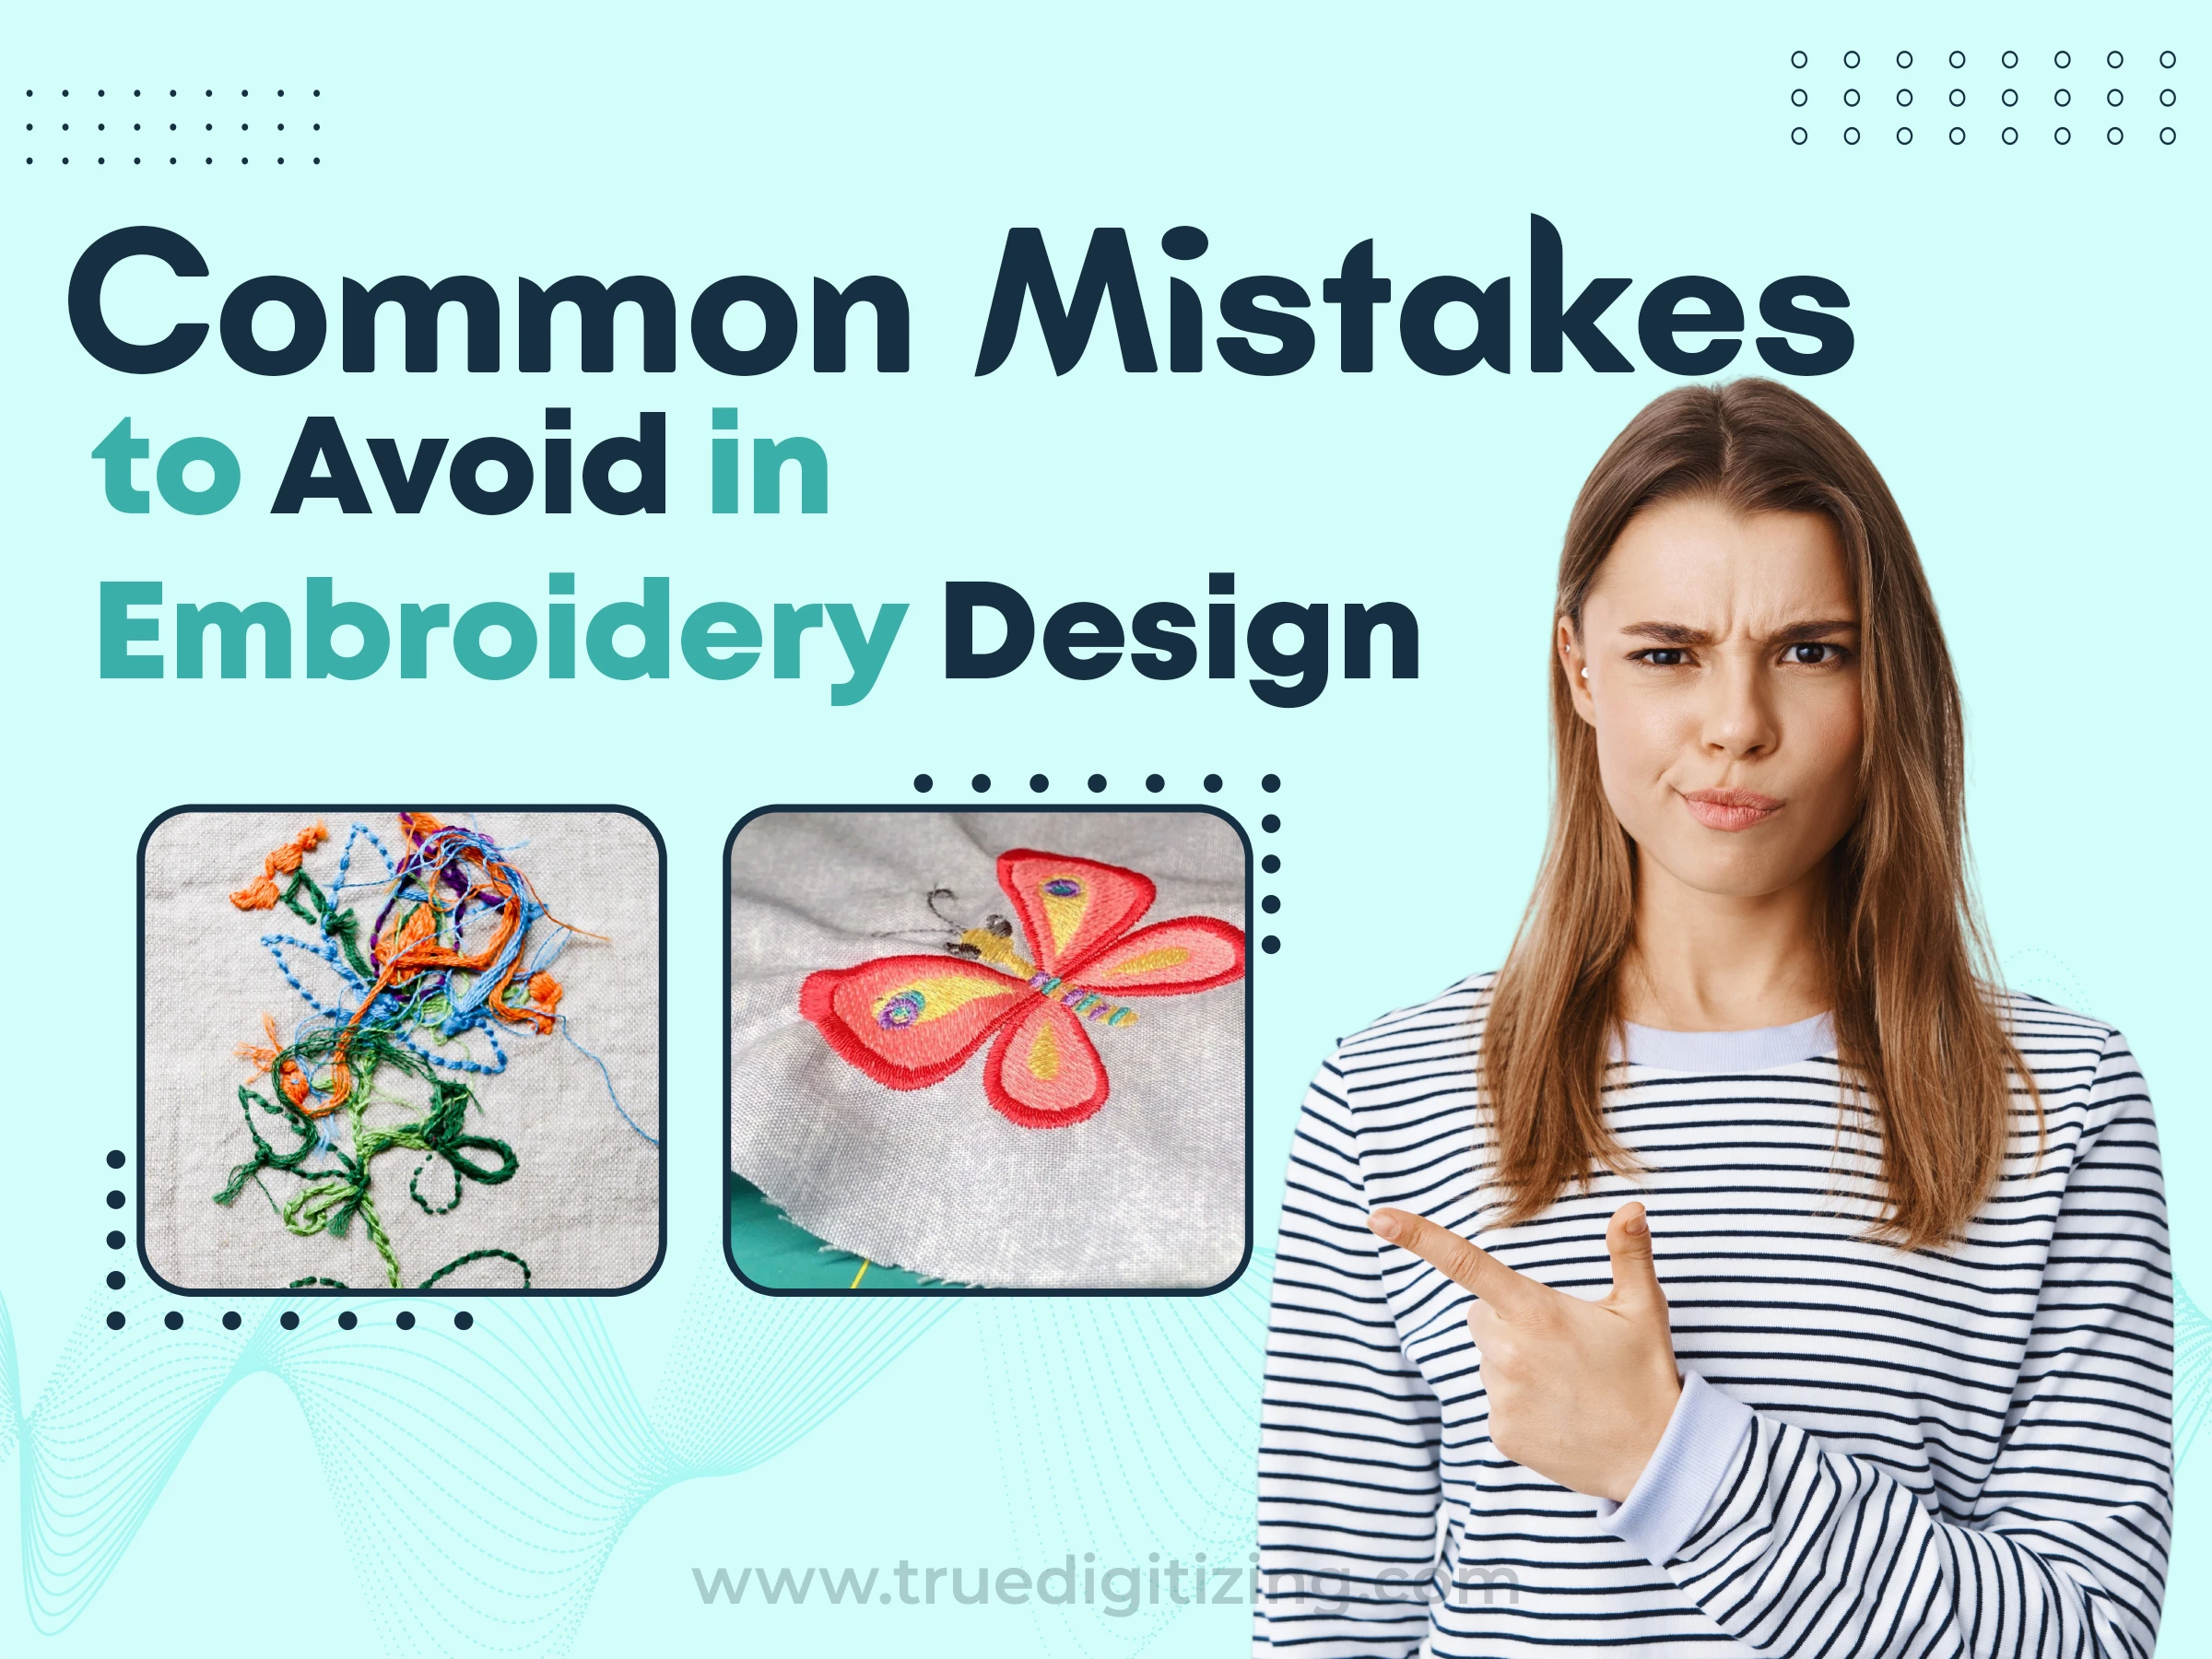
Common Mistakes to Avoid in Embroidery Design
Here are some traps to watch out for:
Overloading with Details: Too many small elements make stitches messy. Simplify your design.
Ignoring the Fabric: Wrong settings for the fabric lead to puckering or loose stitches.
Skipping Tests: Jumping straight to production can mean costly errors.
Plan carefully and test often to steer clear of these issues.
Tools and Resources to Help You Create High-Quality Designs
Embroidery Software
Good software is worth its weight in gold. Wilcom, Hatch, and Brother PE-Design are solid choices for pro-level work. If you’re just starting, free tools like Inkstitch can get you going, but they’re not as powerful. Look for trial versions on official sites. For example, Hatch, offers a 30-day trial.
Online Digitizing Services
If you’d rather hand off the digitizing, online services can deliver top-notch results. True Digitizing is one of them, offering high-quality embroidery digitizing services with quick turnaround and precise stitch files. They work with all kinds of artwork and formats, making sure your designs look sharp. Our team creates designs to fit your needs, which is great for both businesses and hobbyists. Check our website for pricing today.
Embroidery Digitizing Simulation Tools
Simulation tools like Embrilliance StitchArtist show you how your design will stitch out before you start. They help you find issues like gaps or overlaps early.
Conclusion
After reading the blog post, we understood that High-quality embroidery designs come from careful planning, the right tools, and a bit of practice. Start with clean artwork, pick software that works for you, get your stitches right, and always test your designs. Avoid common mistakes, and keep learning to stay on top in your embroidery game. if you follow these 11 tips, you’re ready to create embroidery designs that look amazing and hold up beautifully.