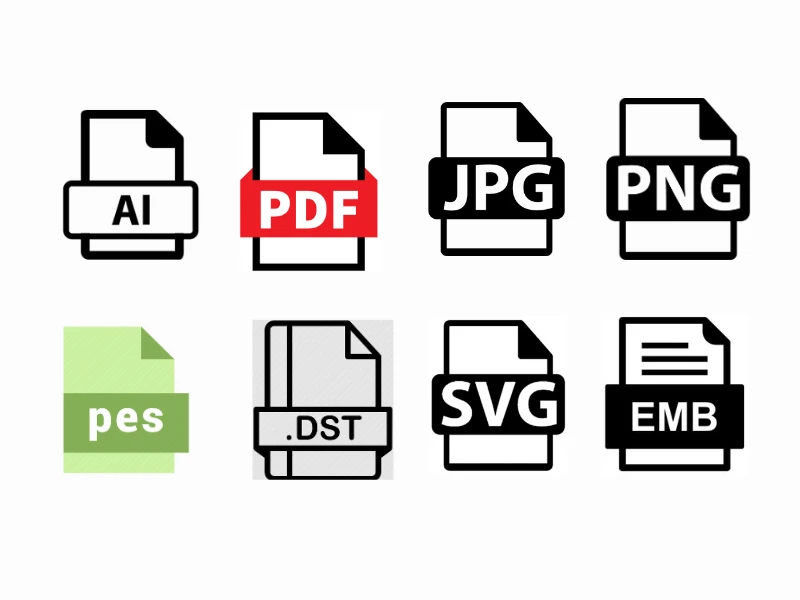

An AI file is the proprietary file format of Adobe Illustrator, a popular vector graphics software. AI files are widely used for creating designs, illustrations, and logos. They offer scalability without losing quality, making them ideal for detailed artwork and embroidery design creation. AI files are highly versatile, enabling intricate designs that maintain sharpness whether they’re printed on paper or stitched into fabric.

The DST format is a file type used by embroidery machines to guide needle movements. It contains stitch commands, including the direction, sequence, and placement. Unlike AI files, DST files are not editable as vector files, they are specifically designed for machines to read and execute embroidery patterns.
Understanding the difference between these two formats is important for seamless conversion and achieving high-quality embroidery output.
 Embroidery file conversion involves converting one file format into another suitable for embroidery machines. This process requires precision to retain the design’s integrity, ensuring the final stitched product mirrors the original design. Converting AI to DST often involves digitizing software that bridges the gap between vector graphics and machine-readable stitch files.
Converting an AI file to DST requires a combination of software tools and expertise. Here’s a step-by-step guide:
Prepare the AI File: Ensure your design is clean and free of unnecessary elements. Convert all text to outlines and group the objects properly.
Open in Digitizing Software: Use embroidery software such as Wilcom,Hatch, or Brother PE-Design. Import the AI file into the software.
Set Parameters: Set the stitch types, densities, and thread colors based on your embroidery machine’s capabilities.
Digitize the Design: Manually adjust the stitches to fit the embroidery requirements. This step ensures that the design converts well onto fabric.
Export as DST: Save the file in DST format and test it on your embroidery machine to ensure accuracy.
At True Digitizing, we provide fast turnaround, guaranteed quality, and the facility to preview your design before making payment. We make sure you receive the exact thing that you require. We are devoted to providing our best every single time. So, what are you waiting for now? Call True Digitizing today and experience the quality and service

The PES format is another popular embroidery file type. Converting AI to PES follows a similar process as DST conversion but with software compatibility for machines like Brother. The PES file retains stitch data, making it compatible with modern embroidery machines.
For a simple visual representation, converting AI to PNG can be done through Adobe Illustrator:
Open the AI file in Illustrator.
Go to File > Export > Export As.
Select PNG and define the resolution.
Save and use the PNG file for mockups or previews.
Yes, SVG (Scalable Vector Graphics) is another versatile format suitable for various applications. To convert AI to SVG:
Open the AI file in Illustrator.
Select File > Save As.
Choose SVG as the format.
Save the file for web or design purposes.
Converting AI to PDF ensures compatibility across devices and platforms. Here’s how:
Open the AI file in Adobe Illustrator.
Go to File > Save As.
Select PDF as the format.
Set the settings and save.
For high-quality images, converting AI to JPG is easy:
Open the AI file.
Go to File > Export > Export As.
Select JPG and define the resolution.
Save the file.
The EMB format is used by Wilcom software for editable embroidery designs. To convert AI to EMB:
Open the AI file in Wilcom.
Digitize the design manually or use auto-digitizing.
Save the file as EMB for further editing or conversion.
.webp) Here are five popular tools for AI to DST conversion:
Here are five popular tools for AI to DST conversion:
Wilcom Embroidery Studio: Professional-grade software for precision digitizing.
Hatch Embroidery Software: User-friendly with powerful features.
Brother PE-Design: Ideal for Brother embroidery machines.
Embird Studio: A budget-friendly option with robust tools.
Pulse DG: High-end software for professional use.
Yes, AI files are highly editable within Adobe Illustrator or compatible vector software. Changes such as resizing, color adjustments, and text modifications can be made easily. However, once converted to DST, editing becomes limited to stitch-level adjustments in embroidery software.
Nick William has been immersed in the world of embroidery digitizing for over 20 years, earning 25 industry awards throughout his career. As a 3rd generation embroidery expert, Nick’s journey started in his family’s workshop, where he learned the art of digitizing before the rise of modern software. He has worked with leading commercial embroidery businesses and has shared his expertise with over 75,000 home and professional embroiderers. As an author at True Digitizing, Nick is passionate about teaching others how to create beautiful, precise designs through easy-to-follow tutorials and expert advice.
Categories

Understanding Popular Machine Embroidery File Formats
23-04-2025

Is SVG A Vector File? Here’s the Shocking Truth Everyone Should Know
17-04-2025

6 Popular Types of Vector Files 2025
16-04-2025

How To Create A Vector File: Step-by-Step Guide
15-04-2025

What Is A Vector File? Everything You Need To Know
14-04-2025

Best Janome Embroidery Machines You Need to Check Out in 2025
11-04-2025

Custom Embroidery Digitized Designs For Hoodie Lovers
10-04-2025

Best Embroidery Patches For Your Clothes
10-04-2025

Professional Online Photo Digitizing Services Provided by True Digitizing
09-04-2025

Best Babylock Embroidery Machines For You
09-04-2025