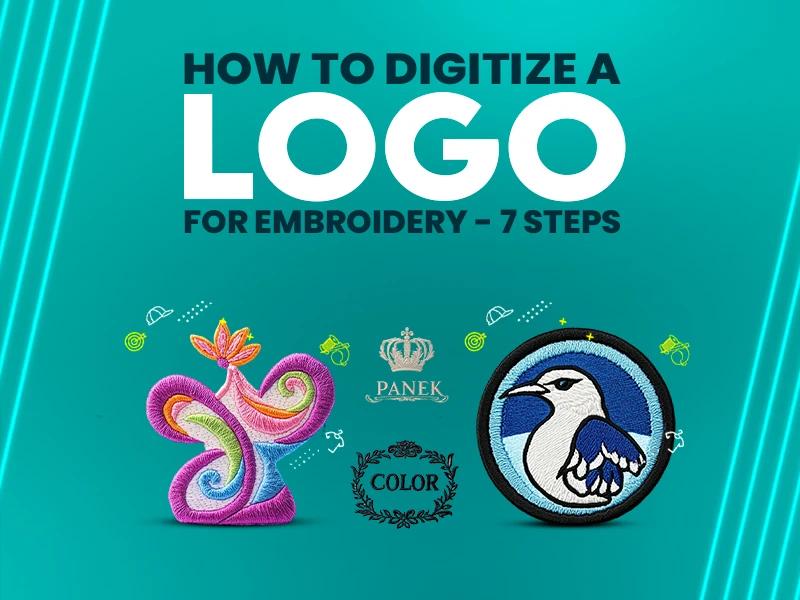
When analyzing a logo design, it is crucial to examine its elements, colors, and overall composition to understand its visual impact and message. By breaking down these components, we can gain insights into the effectiveness and suitability of the logo for various purposes, such as embroidery.
The first step in digitizing a Logo for Embroidery is to examine the elements present in the logo. This includes identifying any shapes, symbols, typography, or graphics used. Look for elements that convey the intended message or brand identity. Consider how these elements interact with each other and the overall composition.
Next, evaluate the colors used in the logo design. Colors play a critical role in conveying emotions and attracting attention. Assess whether the chosen colors align with the brand's values and target audience. Note any color variations present in the logo, such as gradients or shades, as these might pose challenges during the embroidery process.
Lastly, when analyzing a logo for suitability in embroidery, consider factors such as size and level of detail. Intricate or small elements may not translate well onto fabric, making embroidery challenging. Also, ensure that the embroidered logo can easily be translated into a digital file format suitable for embroidery machines.
Choosing the right colors and threads for an embroidery design is crucial to ensure an accurate and visually appealing final product. Here are the steps to follow in selecting colors and threads for your embroidery design.
The goal is to replicate the digitized version of the logo as closely as possible. The colors used in the design should match the original artwork, ensuring a faithful replication. This is important because it helps maintain brand consistency.
Pantone colors are standard color swatches widely used in the printing and design industry. It is essential to align the chosen colors with the Pantone color system to achieve consistency across different mediums. Matching the colors with Pantone swatches ensures the accuracy of colors as per the original logo.
The color bar is a reference tool that displays a range of available thread colors. Carefully selecting thread colors from the color bar is critical in achieving the desired visual effect. Pay close attention to the hue, brightness, and saturation of the thread colors to ensure they align with the chosen Pantone colors.
By carefully selecting colors and threads to Digitize a Logo for Embroidery, you can ensure that your embroidery design accurately replicates the logo and meets the desired color standards. This will result in a professional and visually pleasing final product.
Preparing the logo for digitization is an important step to ensure that the final digital version represents the original image accurately. Before Digitize a Logo for Embroidery, follow the steps outlined below:
Before scanning the logo, ensure that the scanner settings are optimized for the highest resolution. Generally, select a resolution of 300 dots per inch (dpi) or higher to ensure sharp and clear digital images. Adjust other settings like brightness and contrast as required to achieve accurate colors and sharpness.
The logo can be digitized either using a scanner or a digital camera, depending on availability and convenience. If using a scanner, carefully place the logo face down on the scanner bed, ensuring that there are no wrinkles or creases. Close the scanner lid securely to avoid any light leakage and distortion. If opting for a digital camera, position the logo on a flat surface, ensuring even lighting and stability.
Activate the scanner or digital camera, making sure that the logo is well-positioned and centered within the frame. Press the scan or capture button to initiate the digitization process. Maintain steady hands to avoid blurring the image when using a digital camera.
Once the logo is scanned or captured, it is crucial to check the resulting digitized image for any necessary adjustments. Open the image file on a computer or editing software to assess its quality and accuracy. Examine details, color integrity, and overall image sharpness. If any adjustments are required, utilize image editing tools to modify brightness, contrast, colors, or sharpness.
By carefully following these steps, the logo can be adequately prepared for digitization, ensuring a high-quality and accurate digital version of the original image.
To ensure a smooth and accurate digitizing process, it is essential to clean up the image file by adjusting the brightness and color. This can be easily done by accessing the main menu and selecting the "Image" option, followed by "Background Filters."
The adjustment of image brightness and color is crucial as it helps to enhance the contrast between the digitized vector objects and the background image. By increasing the contrast, the digitizing process becomes easier and more precise, resulting in better quality and accuracy of the final digitized image.
The "Background Filters" feature within the "Image" menu allows you to adjust various parameters such as brightness and color to achieve the desired results. By fine-tuning these settings, you can effectively highlight the vector objects while diminishing the background image, ensuring clarity and clear distinction
When embroidering a logo onto a product, it is crucial to be able to adjust the size, color, and format of the logo as needed. This ensures that the logo fits appropriately and looks visually appealing on the product.
To begin, adjusting the size of the logo is important to make sure it is neither too large nor too small for the space available. This can be done by resizing the logo using embroidery software or by adjusting the dimensions manually. It is essential to maintain the proportions of the logo to avoid distorting its original design elements.
The color of the logo should also be adjusted to suit the product and its intended purpose. This can be achieved by selecting the appropriate thread colors that closely match the original design. Embroidery machines typically have a vast range of thread options, allowing for precise color matching.
Furthermore, the format of the logo may need to be adjusted to complement the product. This involves modifying the arrangement or layout of the logo. For example, if the logo is typically displayed horizontally, it may need to be adjusted to appear vertically on certain products.
To generate a stitch file from an image file for embroidery, you will need to convert the image file into a compatible embroidery file format. This conversion process is vital to ensure that the machine embroidery interprets the design and stitches it accurately onto the fabric.
There are several embroidery digitizing software programs available that can convert common image files such as JPG, JPEG, or PNG into embroidery files. These software programs have built-in algorithms that analyze the image and convert it into stitch instructions. Simply open the image file in the software, adjust any settings or options as needed, and then save the file as an embroidery format such as DST, PES, or EXP.
When selecting a suitable file for the embroidery machine, it is important to consider the machine's compatibility with various file formats. Some machines only support specific formats, so it is essential to choose one that your embroidery machine can understand.
Once the image file has been converted into an embroidery file format, you can transfer it to the machine using different methods. One common method is using a flash card. Simply save the embroidery file onto a blank flash card and insert it into the machine's card slot.
Alternatively, you can transfer the files to the machine using a computer with embroidery software. Connect the machine to the computer using a USB cable and use the embroidery software to transfer the files directly to the machine.
In order to enhance the overall look and durability of your embroidery logo, it is crucial to add textures, stitches, and effects to the design. These elements not only add visual appeal but also increase the longevity of the beautiful embroidered piece.
There are several options available when it comes to creating textures in embroidery. One of the most popular techniques is using fill stitches. Fill stitches can be created in different embroidery patterns and densities to add depth and complexity to the design. From simple geometric shapes to intricate motifs, fill stitches provide endless possibilities to digitize your logo.
When incorporating fill stitches, it is important to consider the maximum length that they can achieve. This limitation is determined by the size and density of the design. If the stitches are too long, they may become loose and prone to unraveling over time. Therefore, it is essential to strike a balance between aesthetic appeal and structural integrity.
In addition to filling stitches, you can also experiment with other effects to further enhance your embroidery design. Metallic threads can add a touch of glamor, while 3D foam can create an embossed effect. By carefully selecting and combining different textures and effects, you can create a logo that truly stands out.
When it comes to digitizing, using the right software is essential to achieve accurate and high-quality results. Whether you are converting physical documents into digital format or creating digital designs and patterns, having reliable software can make the process smooth and efficient. In this section, we will explore some of the top software options available for digitizing and the features they offer.
From powerful image editing tools to advanced digitizing features. These software solutions cater to various industries and requirements. Let's delve into the details and discover the perfect software for your digitizing needs.
Logo digitization is a crucial process in turning a traditional logo design into a digital format that can be easily used for various purposes. To ensure high-quality results, professional digitizing software is necessary. Here are the steps to using such software to Digitize a Logo for Embroidery.
Begin by scanning the logo design and saving it in a digital format. Open the professional digitizing software and import the scanned image as a template. Adjust the size and position of the image as needed.
Use the software's drawing tools to trace the logo design and create vector objects on top of the image. Start by outlining the main shapes and lines of the logo. This step ensures that the digitized version maintains the same proportions and features as the original design.
Once the vector objects are sketched, use the software's stitching tools to fill them with stitches. Select appropriate stitch types, densities, and colors to replicate the texture and details of the logo design accurately.
Although some digitizing software may offer automation features, manual digitizing generally produces better results. Manually adjust stitch settings, stitch angles, and stitch lengths to ensure optimal coverage and smooth transitions.
Imported images may require adjustments to enhance clarity and visibility. Utilize features like brightness, contrast, and color correction to improve the appearance of the digitized logo.
By following these steps using professional digitizing software, logo digitization can be accomplished efficiently and with high precision. Remember, manual digitizing and adjustments are essential to achieve the best results.
There are several options to consider when it comes to digitizing a Logo for Embroidery. One technique is manual digitizing, where a skilled embroiderer manually creates the digital embroidery design. This option allows for more creativity and customization, but it can be time-consuming and may require a high level of expertise.
Another option is auto-digitizing, which uses specialized software to automatically convert an image or design into embroidery stitches. This technique is faster and more efficient, but the results may not be as accurate or detailed as manual digitizing. Auto-digitizing is suitable for simpler designs and fabrics that do not require intricate details.
For fabrics that are delicate or stretchy, such as silk or Lycra, a technique called puff embroidery can be used. Puff embroidery creates a raised texture on the fabric by adding foam underneath the stitches. This technique is ideal for adding dimension and texture to garments. Another technique to consider is appliqué embroidery, which involves sewing fabric pieces onto the garment and then embroidering over them. This technique is versatile and can be used to create bold and colorful designs on various fabrics. Appliqué embroidery works best on sturdier fabrics like denim or canvas.
Nick William has been immersed in the world of embroidery digitizing for over 20 years, earning 25 industry awards throughout his career. As a 3rd generation embroidery expert, Nick’s journey started in his family’s workshop, where he learned the art of digitizing before the rise of modern software. He has worked with leading commercial embroidery businesses and has shared his expertise with over 75,000 home and professional embroiderers. As an author at True Digitizing, Nick is passionate about teaching others how to create beautiful, precise designs through easy-to-follow tutorials and expert advice.
Categories

Romantic Shirt and Hoodie Embroidery Ideas for Couples in 2026
20-01-2026
How to Reduce and Prevent Machine Embroidery Puckering
17-01-2026
Common Client Errors When Submitting Logos for Embroidery
17-01-2026
Top 5 Best Brother Embroidery Machines For Beginners
09-01-2026

New Year Trends in Custom Embroidery for Apparel Brands 2026
05-01-2026

Manual vs Auto Digitizing for Logos | Why Professionals Prefer Manual
19-12-2025

Winter Themed Embroidery | Snowflakes, Trees, and Cozy Designs
17-12-2025

Top 25 Christmas Machine Embroidery Designs for Holiday Gifts 2025
12-12-2025

Best Multi-Needle Embroidery Machine Comparison | Brother, Tajima, Janome, Barudan & More
09-12-2025
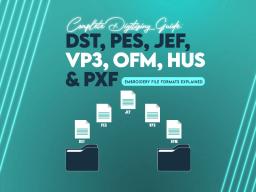
Complete Digitizing Guide: DST, PES, JEF, VP3, OFM, HUS & PXF Embroidery File Formats Explained
08-12-2025