Iron-on embroidery patches are the best for clothing, accessories, or uniforms. Doesn’t matter if you're making patches for a volunteer group, companies, gifts, or for personal use, this process gives you a professional and long-lasting finish. In this blog post, we will cover a simple step-by-step process of creating your own iron-on patches on an embroidery machine and the essential supplies you need. But before starting the blog post, I have a question for you guys. Are you seeking customized embroidery patches or want to design but facing problems and getting frustrated, let me give you the easiest solution, you can get your embroidery designs digitized with True Digitizing, we offer customer embroidery digitizing services at affordable rates, at $12 with unlimited free revisions, place an order today and get high quality embroidery designs. Now let's start the blog post.
Before starting the process, gather the following materials:
Embroidery machine (Single or multi-needle)
Embroidery hoop
Embroidery thread (match with your design)
Fabric for the patch
Cutaway stabilizer (two sheets for more stability)
Heat and bond ultra hold fusible sheet
Scissors (curved embroidery scissors for accurate cutting)
Lighter
Iron (for attaching the patch)
T-shirt or fabric to attach the patch
Set the iron to its high temperature and press the patch for 6 seconds. Cut a piece of bond ultra and heat out. Place the sheet's textured, sticky side onto the patch's back, covering it properly. After that, press the patch hard for about 6 seconds while using the iron at its maximum temperature. This will help the adhesive to attach to the patch. Leave it to cool down after ironing, then remove the backing so you can see a strong adhesive layer that will make ironing the patch onto the fabric easy.
Choose whether to attach your patch to a jacket, T-shirt, polo shirt, or another item. The left chest area of a shirt is a common placement. After placing, cover the patch with a piece of protective fabric to avoid direct heat damage. Ironing at high heat, apply firm pressure to the patch for approximately six seconds. Check whether the patch has stuck well, if necessary, re-iron to achieve a good bond. After complete attachment, allow the patch to cool before touching the fabric.
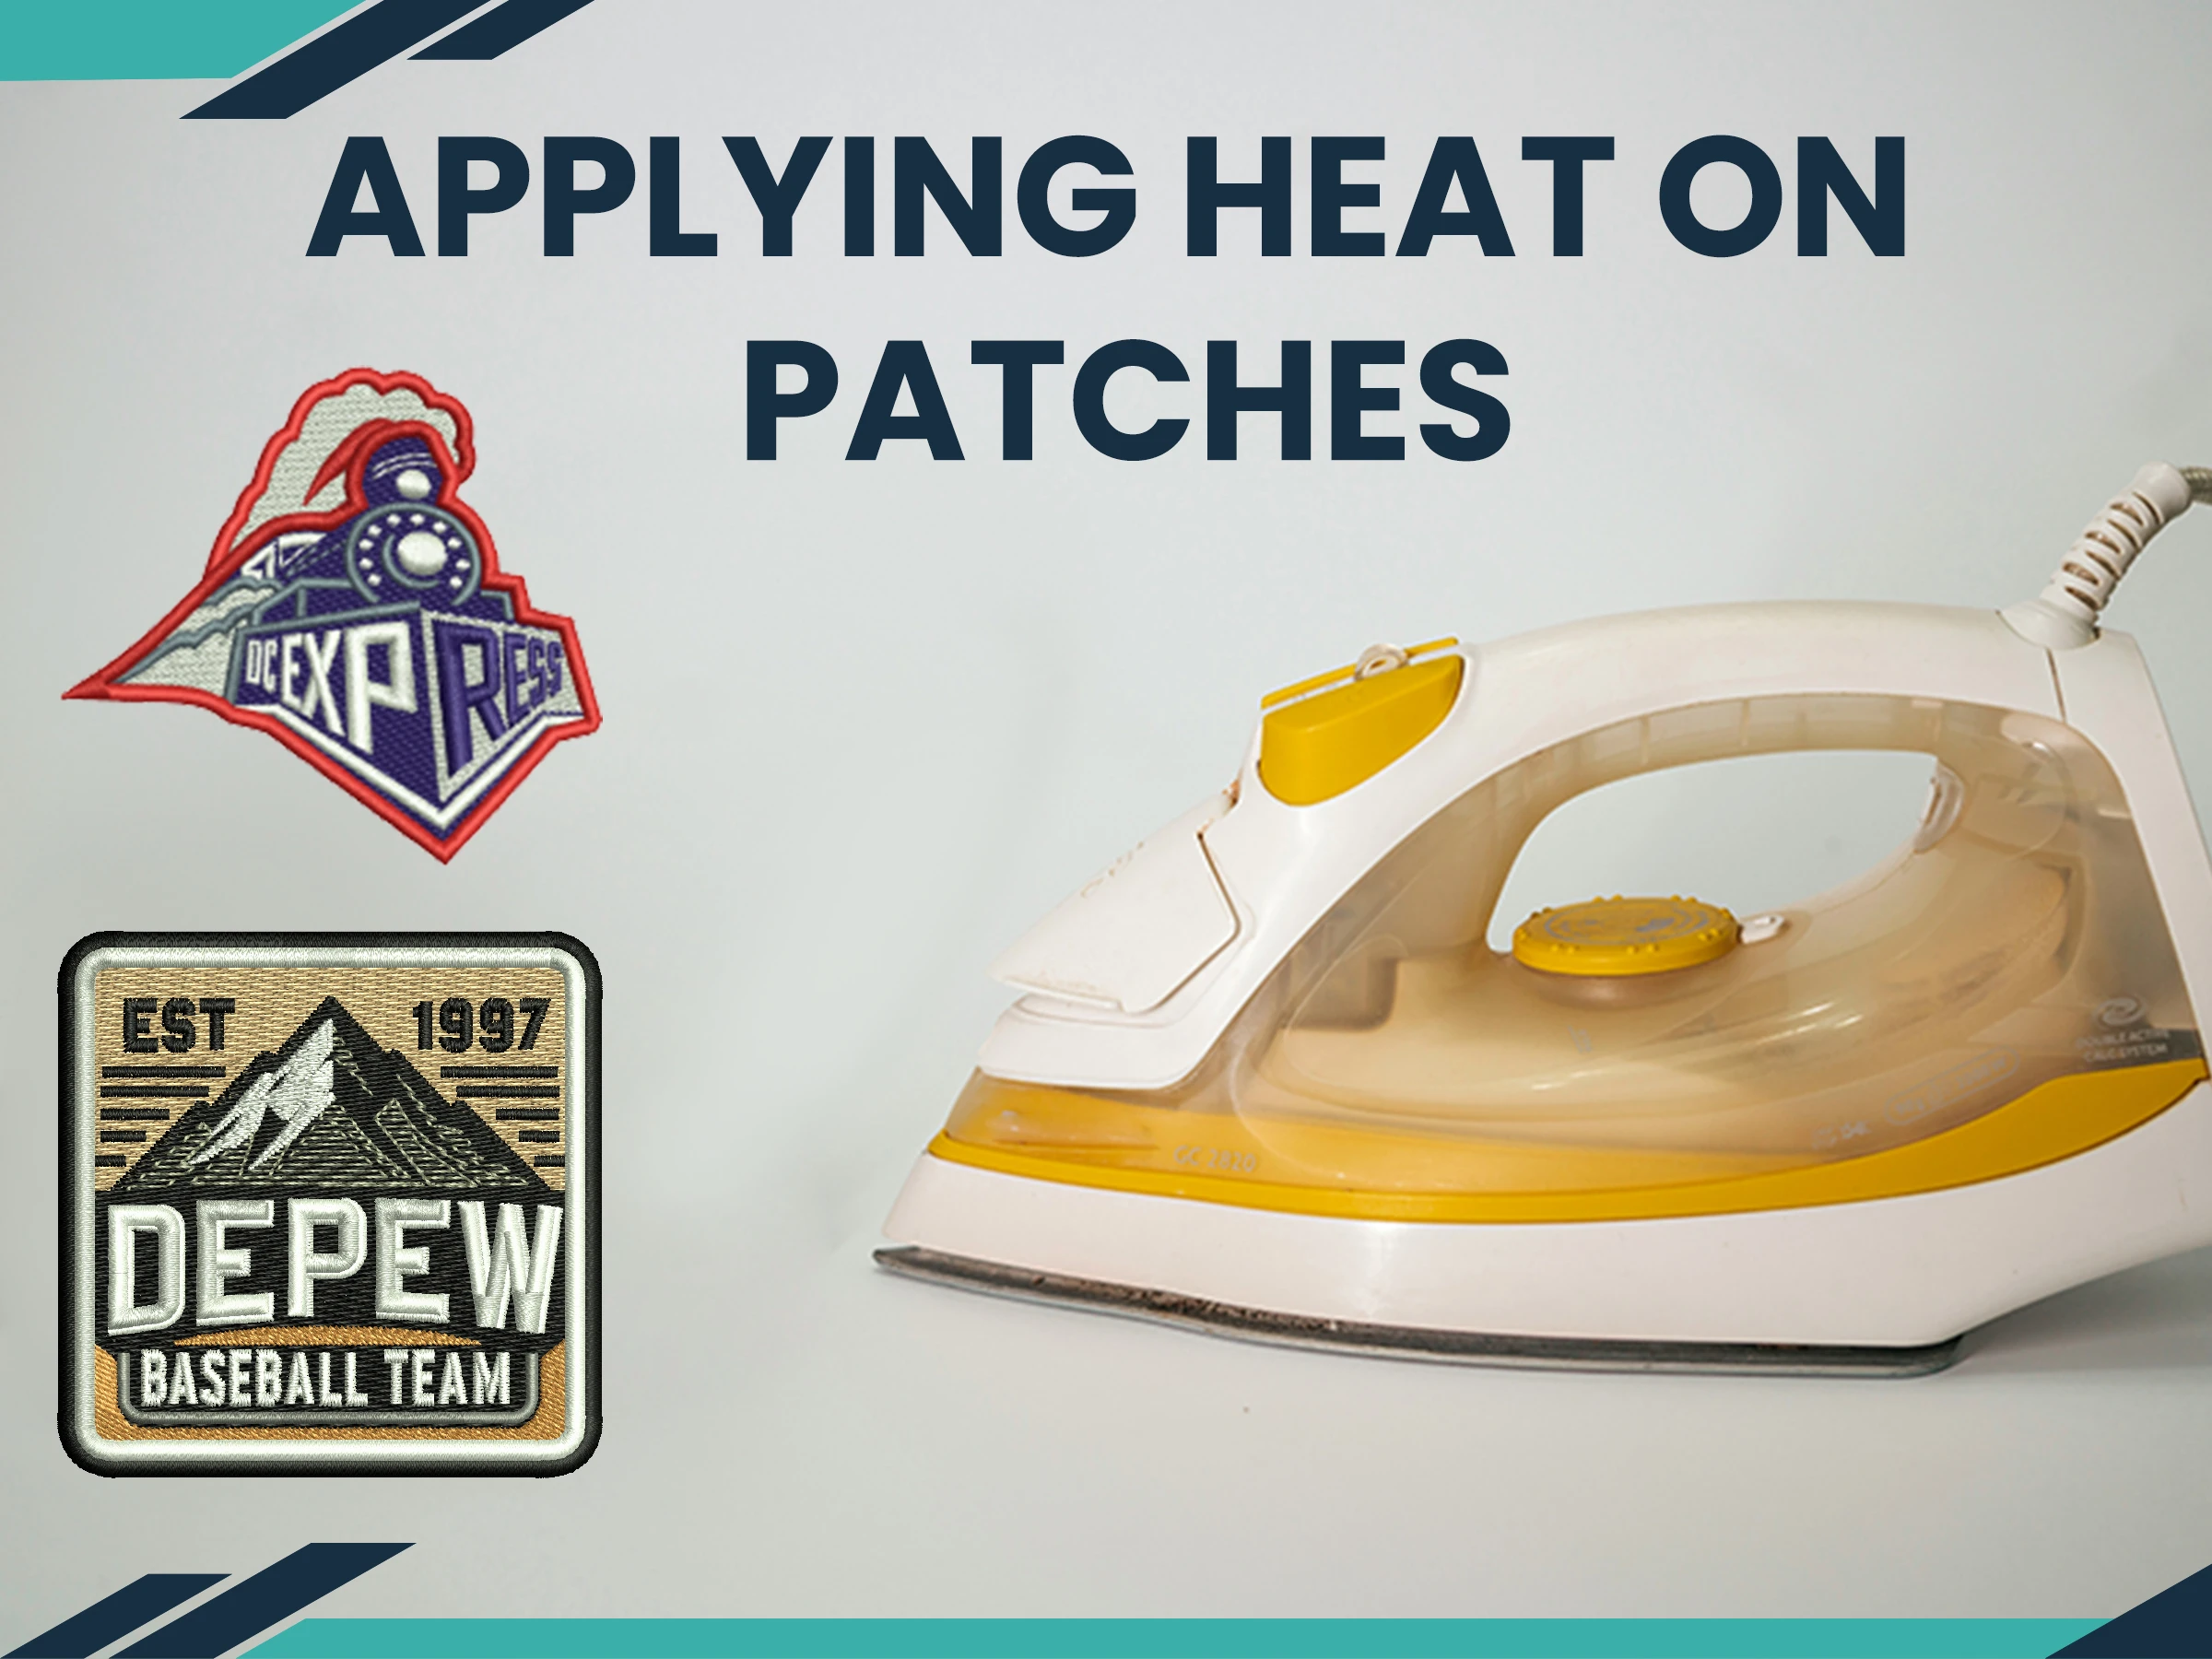
Creating personalized iron-on embroidery patches is an excellent way of integrating personalized designs on clothes and accessories with a professional appearance. You are creating them for resale, charity, or personal use, above are the easiest steps that will guide you to produce top-quality, durable patches. By correctly hooping, stitching, trimming, sealing, and applying adhesive, one can have a clean, professional finish.
Iron-on patches are handy, and ironing clothes couldn't get easier. Also, with proper material and skills, they don't have to be less resilient compared to sewing-based patches. Whether you make them for team sporting wear, branding for the companies, or it's your expression, becoming well-versed in this art ensures you deliver excellent quality outputs always.
Nick William has been immersed in the world of embroidery digitizing for over 20 years, earning 25 industry awards throughout his career. As a 3rd generation embroidery expert, Nick’s journey started in his family’s workshop, where he learned the art of digitizing before the rise of modern software. He has worked with leading commercial embroidery businesses and has shared his expertise with over 75,000 home and professional embroiderers. As an author at True Digitizing, Nick is passionate about teaching others how to create beautiful, precise designs through easy-to-follow tutorials and expert advice.
Categories
How to Applique Using an Embroidery Machine?
14-02-2025
10 Reasons Why Your Embroidery Machine Skipping Stitches
14-02-2025
Where Can I Buy Madeira Thread for Embroidery?
07-02-2025
Benefits of Vector Tracing for Logos: A Comprehensive Guide
07-02-2025
Chenille Embroidery Digitizing Tips and Tricks 2025
07-02-2025
Common 3D Puff Embroidery Mistakes and How to Fix Them?
04-02-2025
Raster vs Vector: Choose the Right Format
24-01-2025
Applique Embroidery Digitizing Tips And Tricks: A Comprehensive Guide
24-01-2025
Best Embroidery Digitizing for Bags - Tips and Tricks
23-01-2025
Embroidery Digitizing for Jackets - A Complete Guide
23-01-2025