In the process of 3D puff embroidery, foam is used to create raised, dimensional embroidery designs on your apparel. It looks stylish and widely used in caps, different types of hats, shirts, (either it is polo shirts or other), and jackets. Regular embroidery lies flat, whereas 3D puff embroidery adds depth and texture to create visually attractive designs.
If you want to get this 3D effect, then foam is placed on the fabric, and embroidery stitches will be applied over the design to create the desired shapes. Additionally, the process requires perfection, because small mistakes can affect the design’s quality.
Common Mistakes in 3D Puff Embroidery Designs and How to Fix Them?
There are many common mistakes in 3D puff embroidery designs but here, we will discuss some major issues we face when creating a design. From wrong foam, stitch density, and design, to fonts. Let's have a look at the issues and find their solution.
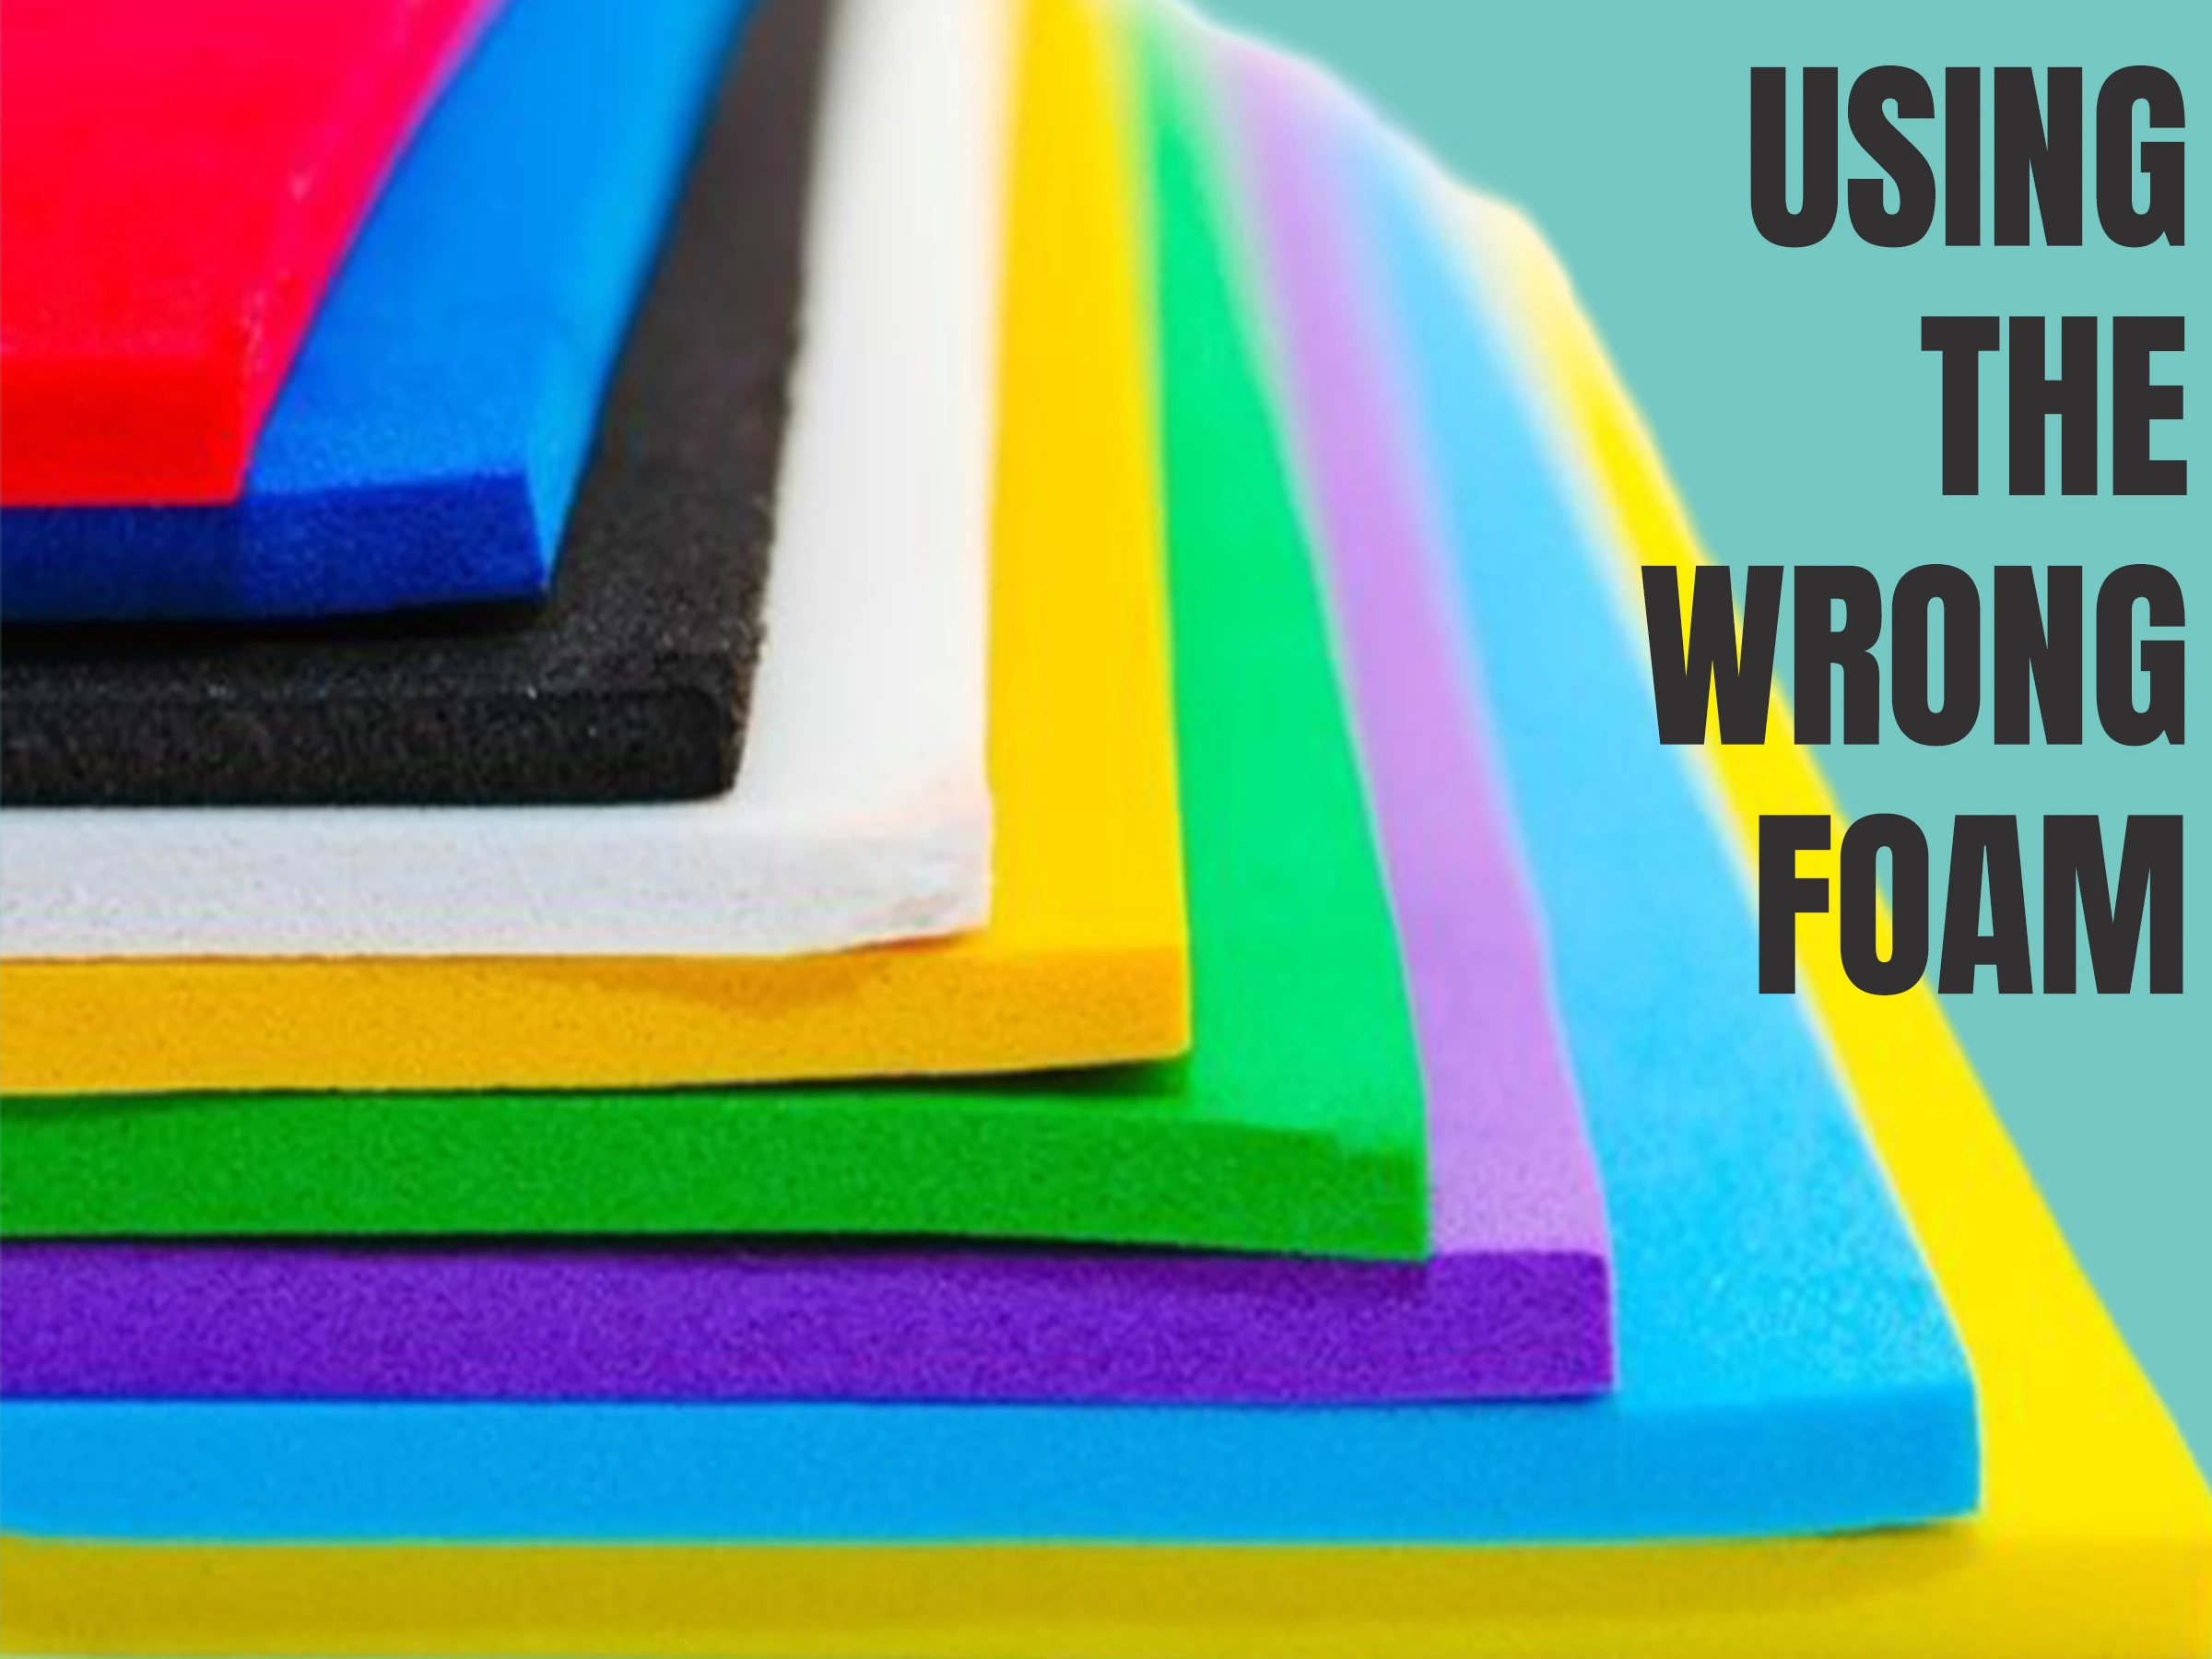
Using the Wrong Foam
One of the most common mistakes is the wrong foam that is too thin, too thick, incompatible or doesn’t even match the fabric. It can affect your design or uneven stitches that can’t hold it properly.
How to Fix Them?
Always use the right foam that is specifically designed for 3D puff embroidery, but must be 2mm to 3mm thick, and make sure the foam matches your desired fabric color to prevent visible edges of the design if stitches don’t cover it completely.
Incorrect Stitch Density
High stitch density may break the foam and too low stitch density may fail to compress the foam, so leave it open and make sure stitch density must be balanced.
How to Fix Them?
Stitch density must be balanced, with the ideal density ranging from 0.16 to 0.22mm for 3D puff embroidery. Always check the density of any sample before running the design.
Using the Wrong Needle Size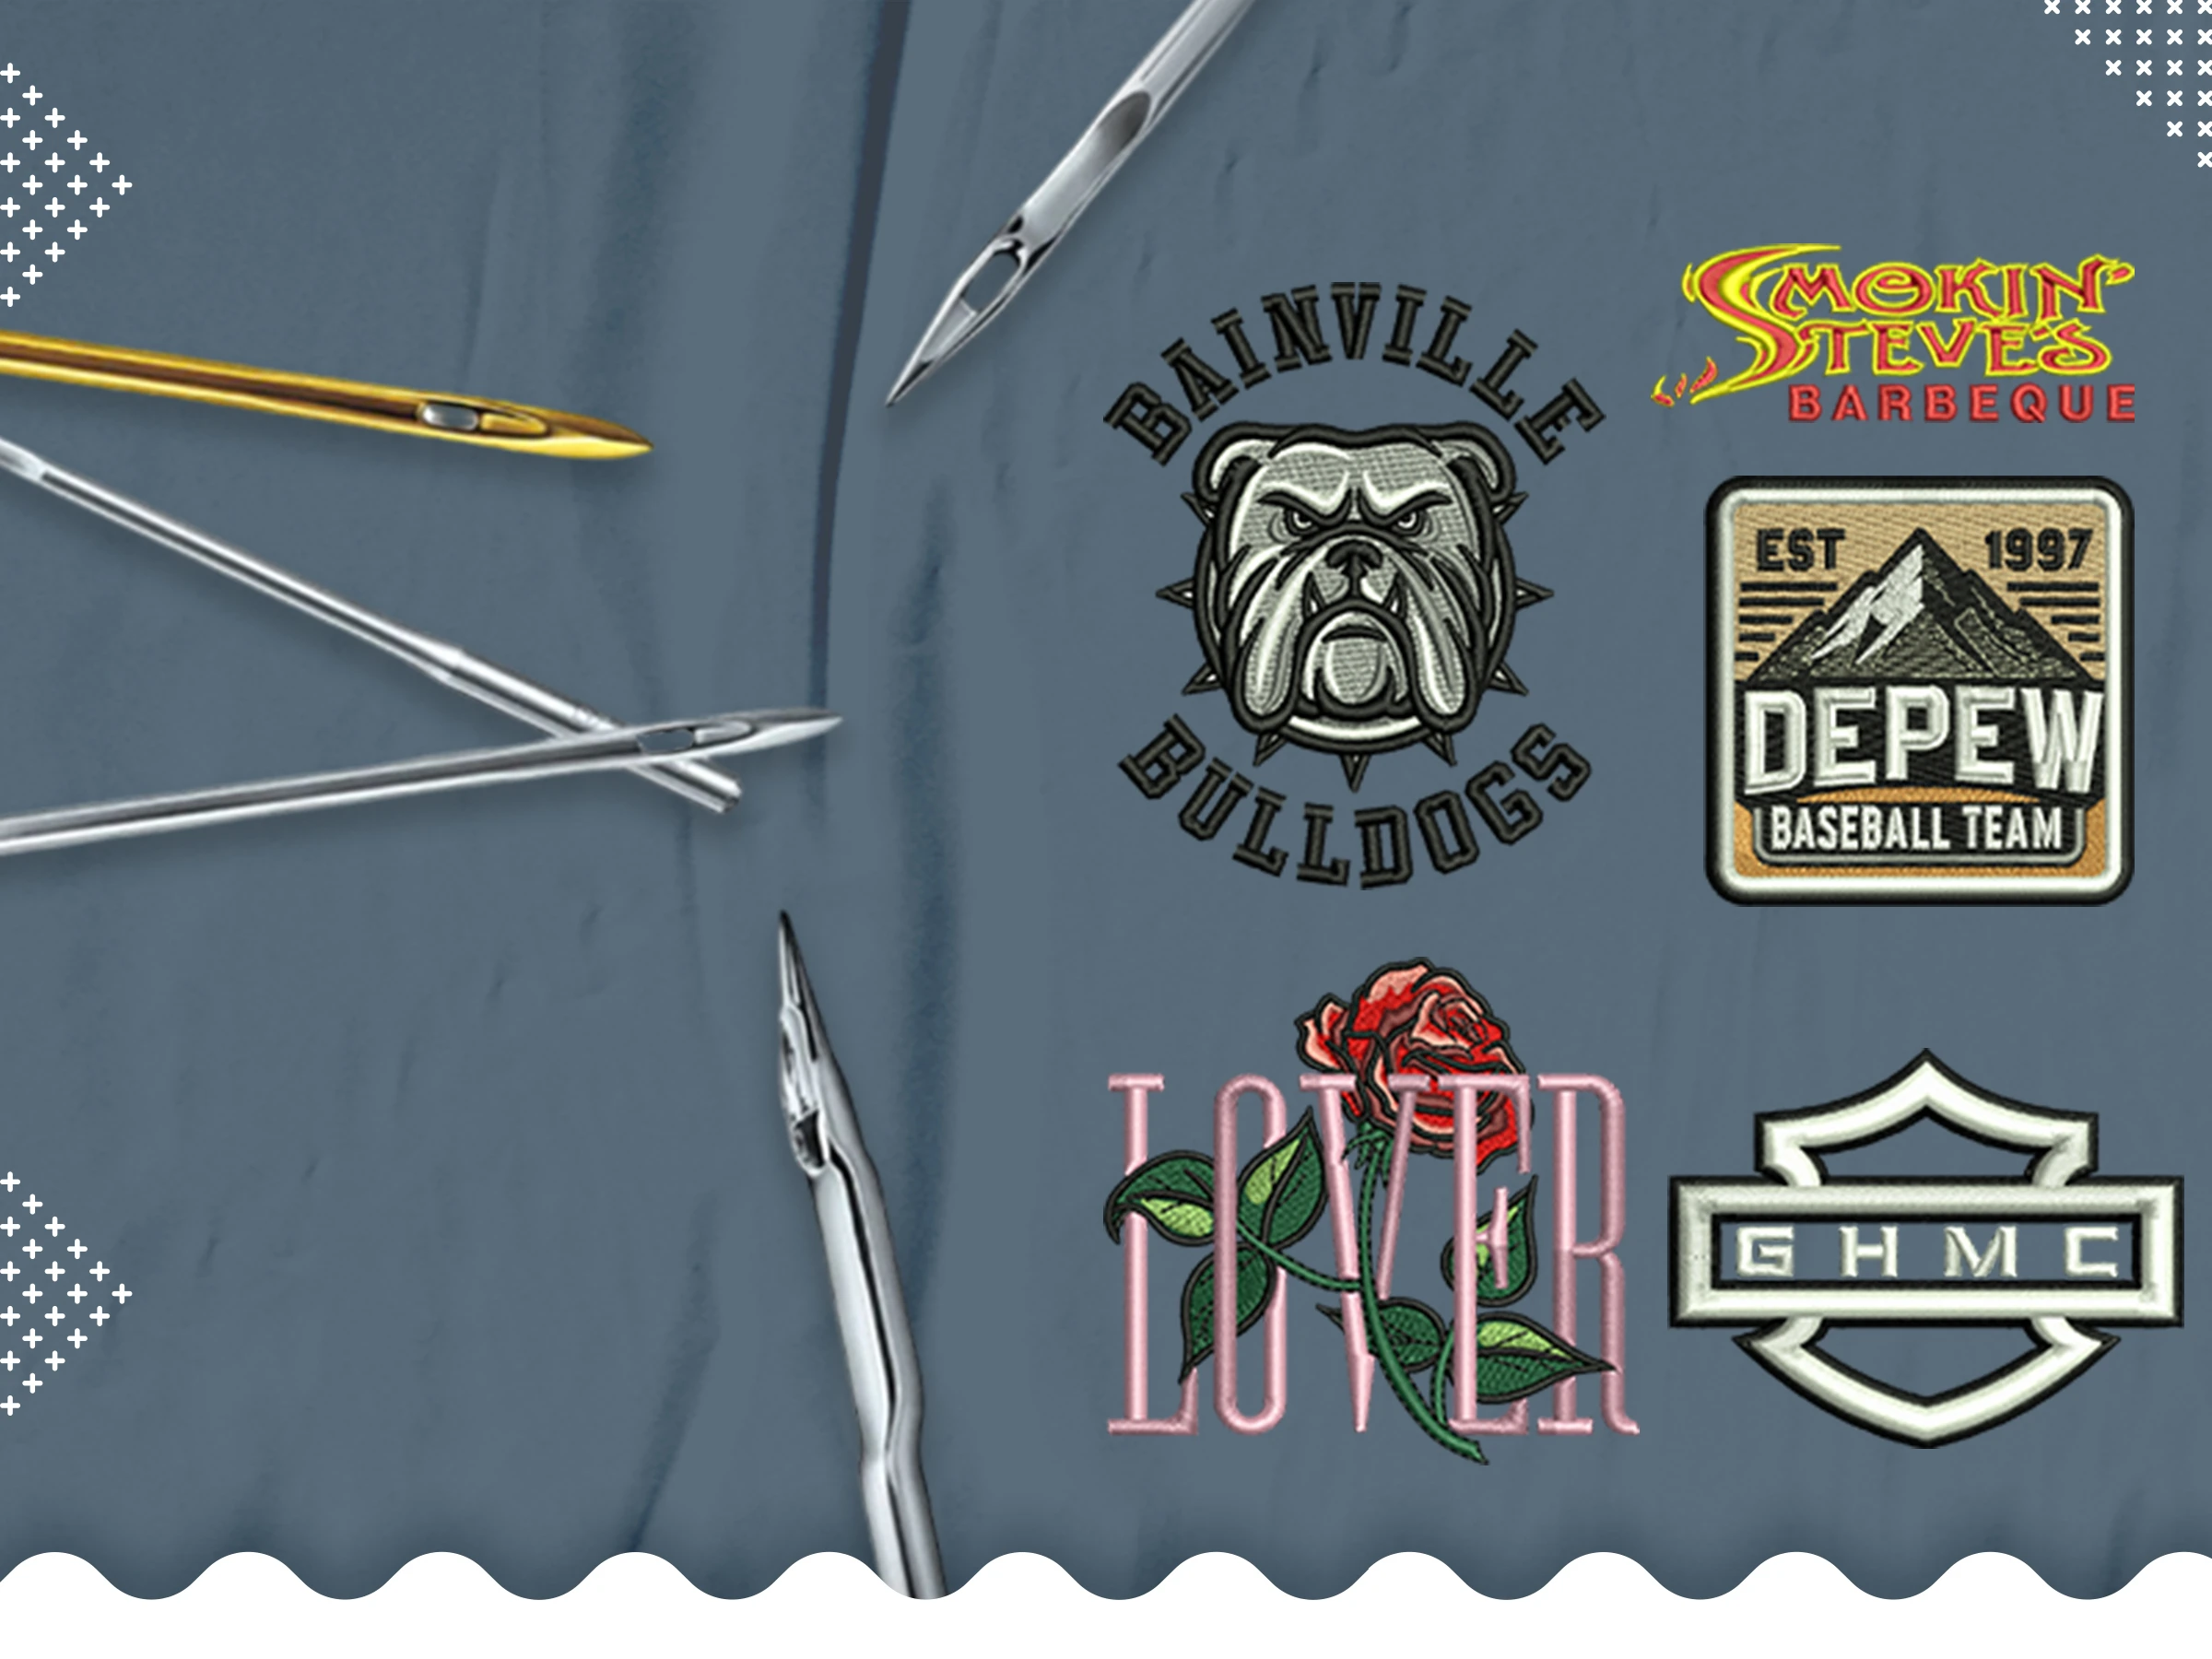
If you are using too large or too small needles that means the foam can break easily and cause unnecessary holes.
How to Fix Them?
Always use the right needle size, it can be 75/11 or 80/12 for 3D puff embroidery designs. Please keep in mind that the sharp points of the needles are preferable to penetrate the foam neatly.
Incorrect Foam Removal
Removing visible edges from foam after stitching minimizes the design’s look.
How to Fix Them?
With the help of tweezers or a heat gun, you can remove extra foam after embroidery, making sure all marks have been cleaned for a stylish look.
Choosing Wrong Designs or Fonts
Wrong design and font selection can be challenging to execute for 3D puff embroidery and often result in damaged or incomplete shapes.
How to Fix Them?
Always choose simple and bold fonts and designs with minimal detail. Check your design on a rough fabric and make sure it is good for 3D puff embroidery.
3D Puff Embroidery Digitizing Services Provided by True Digitizing
Embroidery Digitizing & Vector Art Services
At True Digitizing, we offer quick turnaround times, guaranteed quality, and the option to preview your design before making a payment. We ensure you get exactly what you need. We are committed to delivering the best results every time. What are you waiting for? Contact True Digitizing today and experience the difference in quality and service.
As you know True Digitizing is one of the leading custom embroidery digitizing service providers in the USA. Our team of experts understands the design’s complexities. We provide several digitizing services and 3D puff embroidery digitizing is one of them. If you want to get our 3D puff embroidery digitizing service for customized hats, shirts, jackets, or other apparel, we are always ready to help.
Conclusion
Now we are going to wrap up our blog. We have discussed major common 3D puff embroidery mistakes and their solutions. By avoiding these common mistakes, you can take your 3D puff embroidery projects to the next level. But you need practice because practice makes a man perfect.
Are you looking for custom embroidery digitizing services in the USA? If the answer is yes, then True Digitizing is here for you. We provide multiple custom embroidery digitizing services from embroidery patches, applique digitizing, chenille digitizing, and more, we also provide vector tracing and logo designing services. What are you waiting for? Contact us today because we have a solution for all your embroidery digitizing needs. 


.webp)