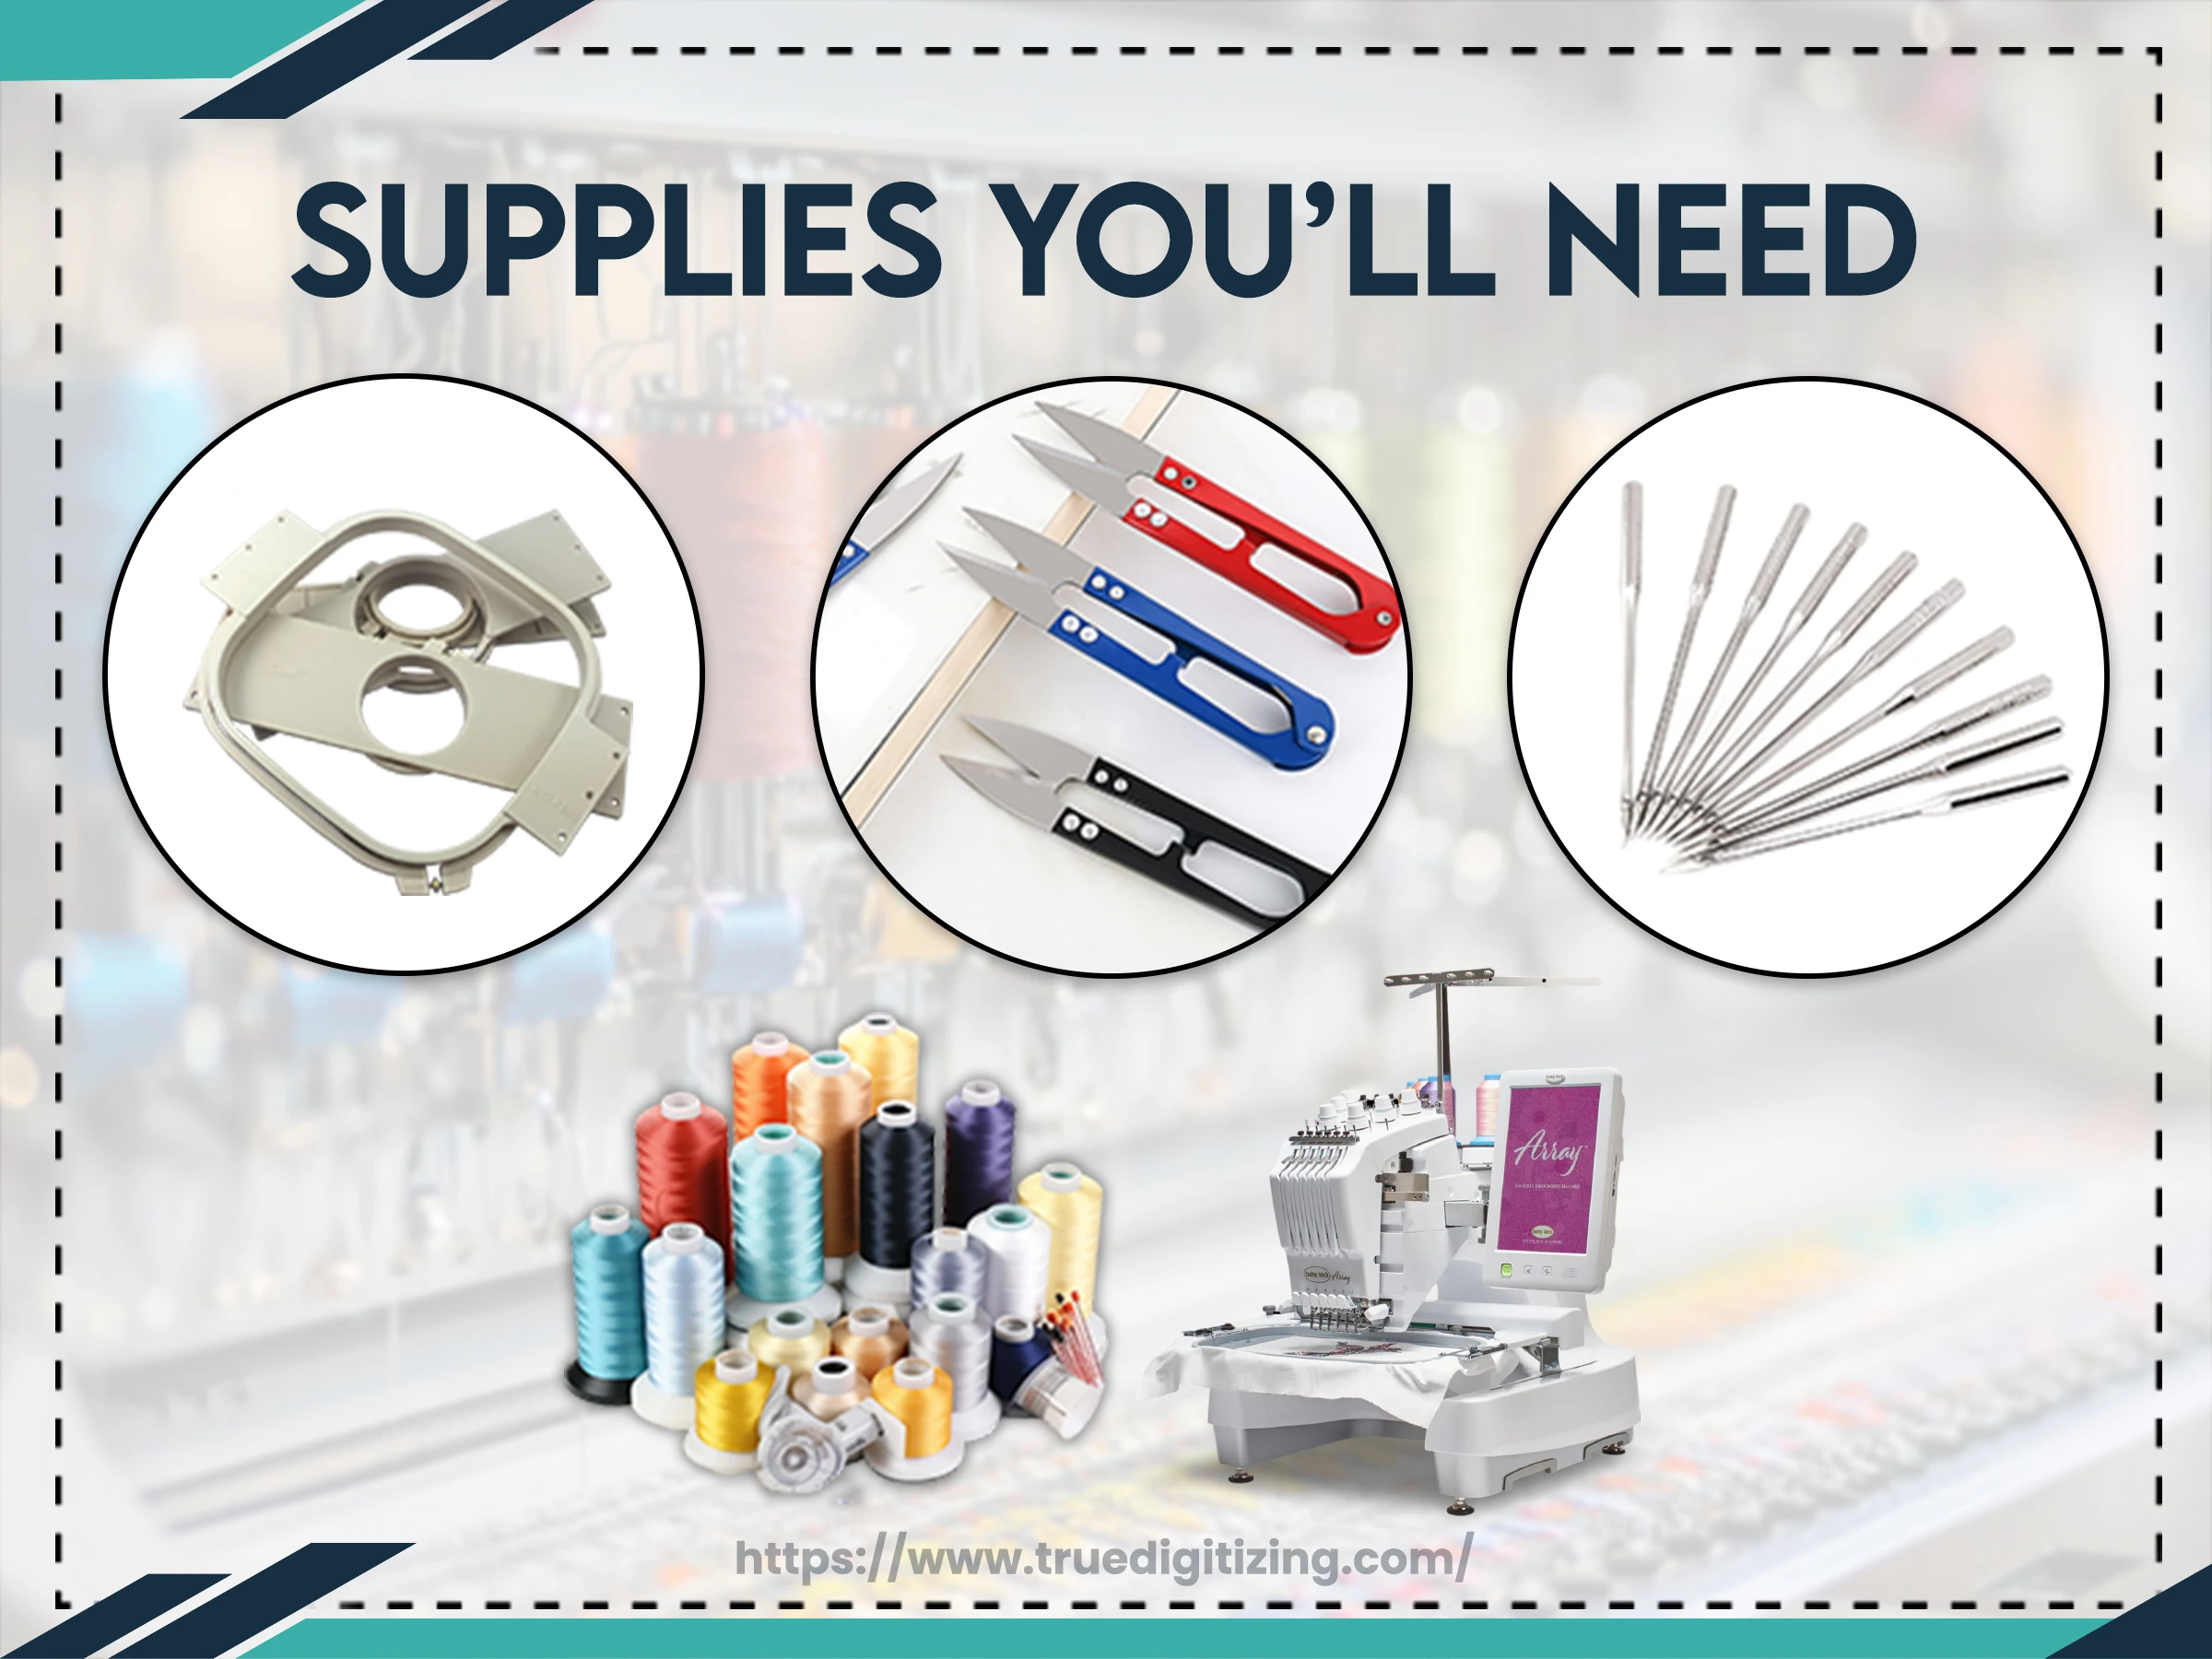
To create an applique, you don’t need so much materials. Here’s what you will need:
Getting Your Hoop Ready
Before starting, please make sure your hoop is properly set up:
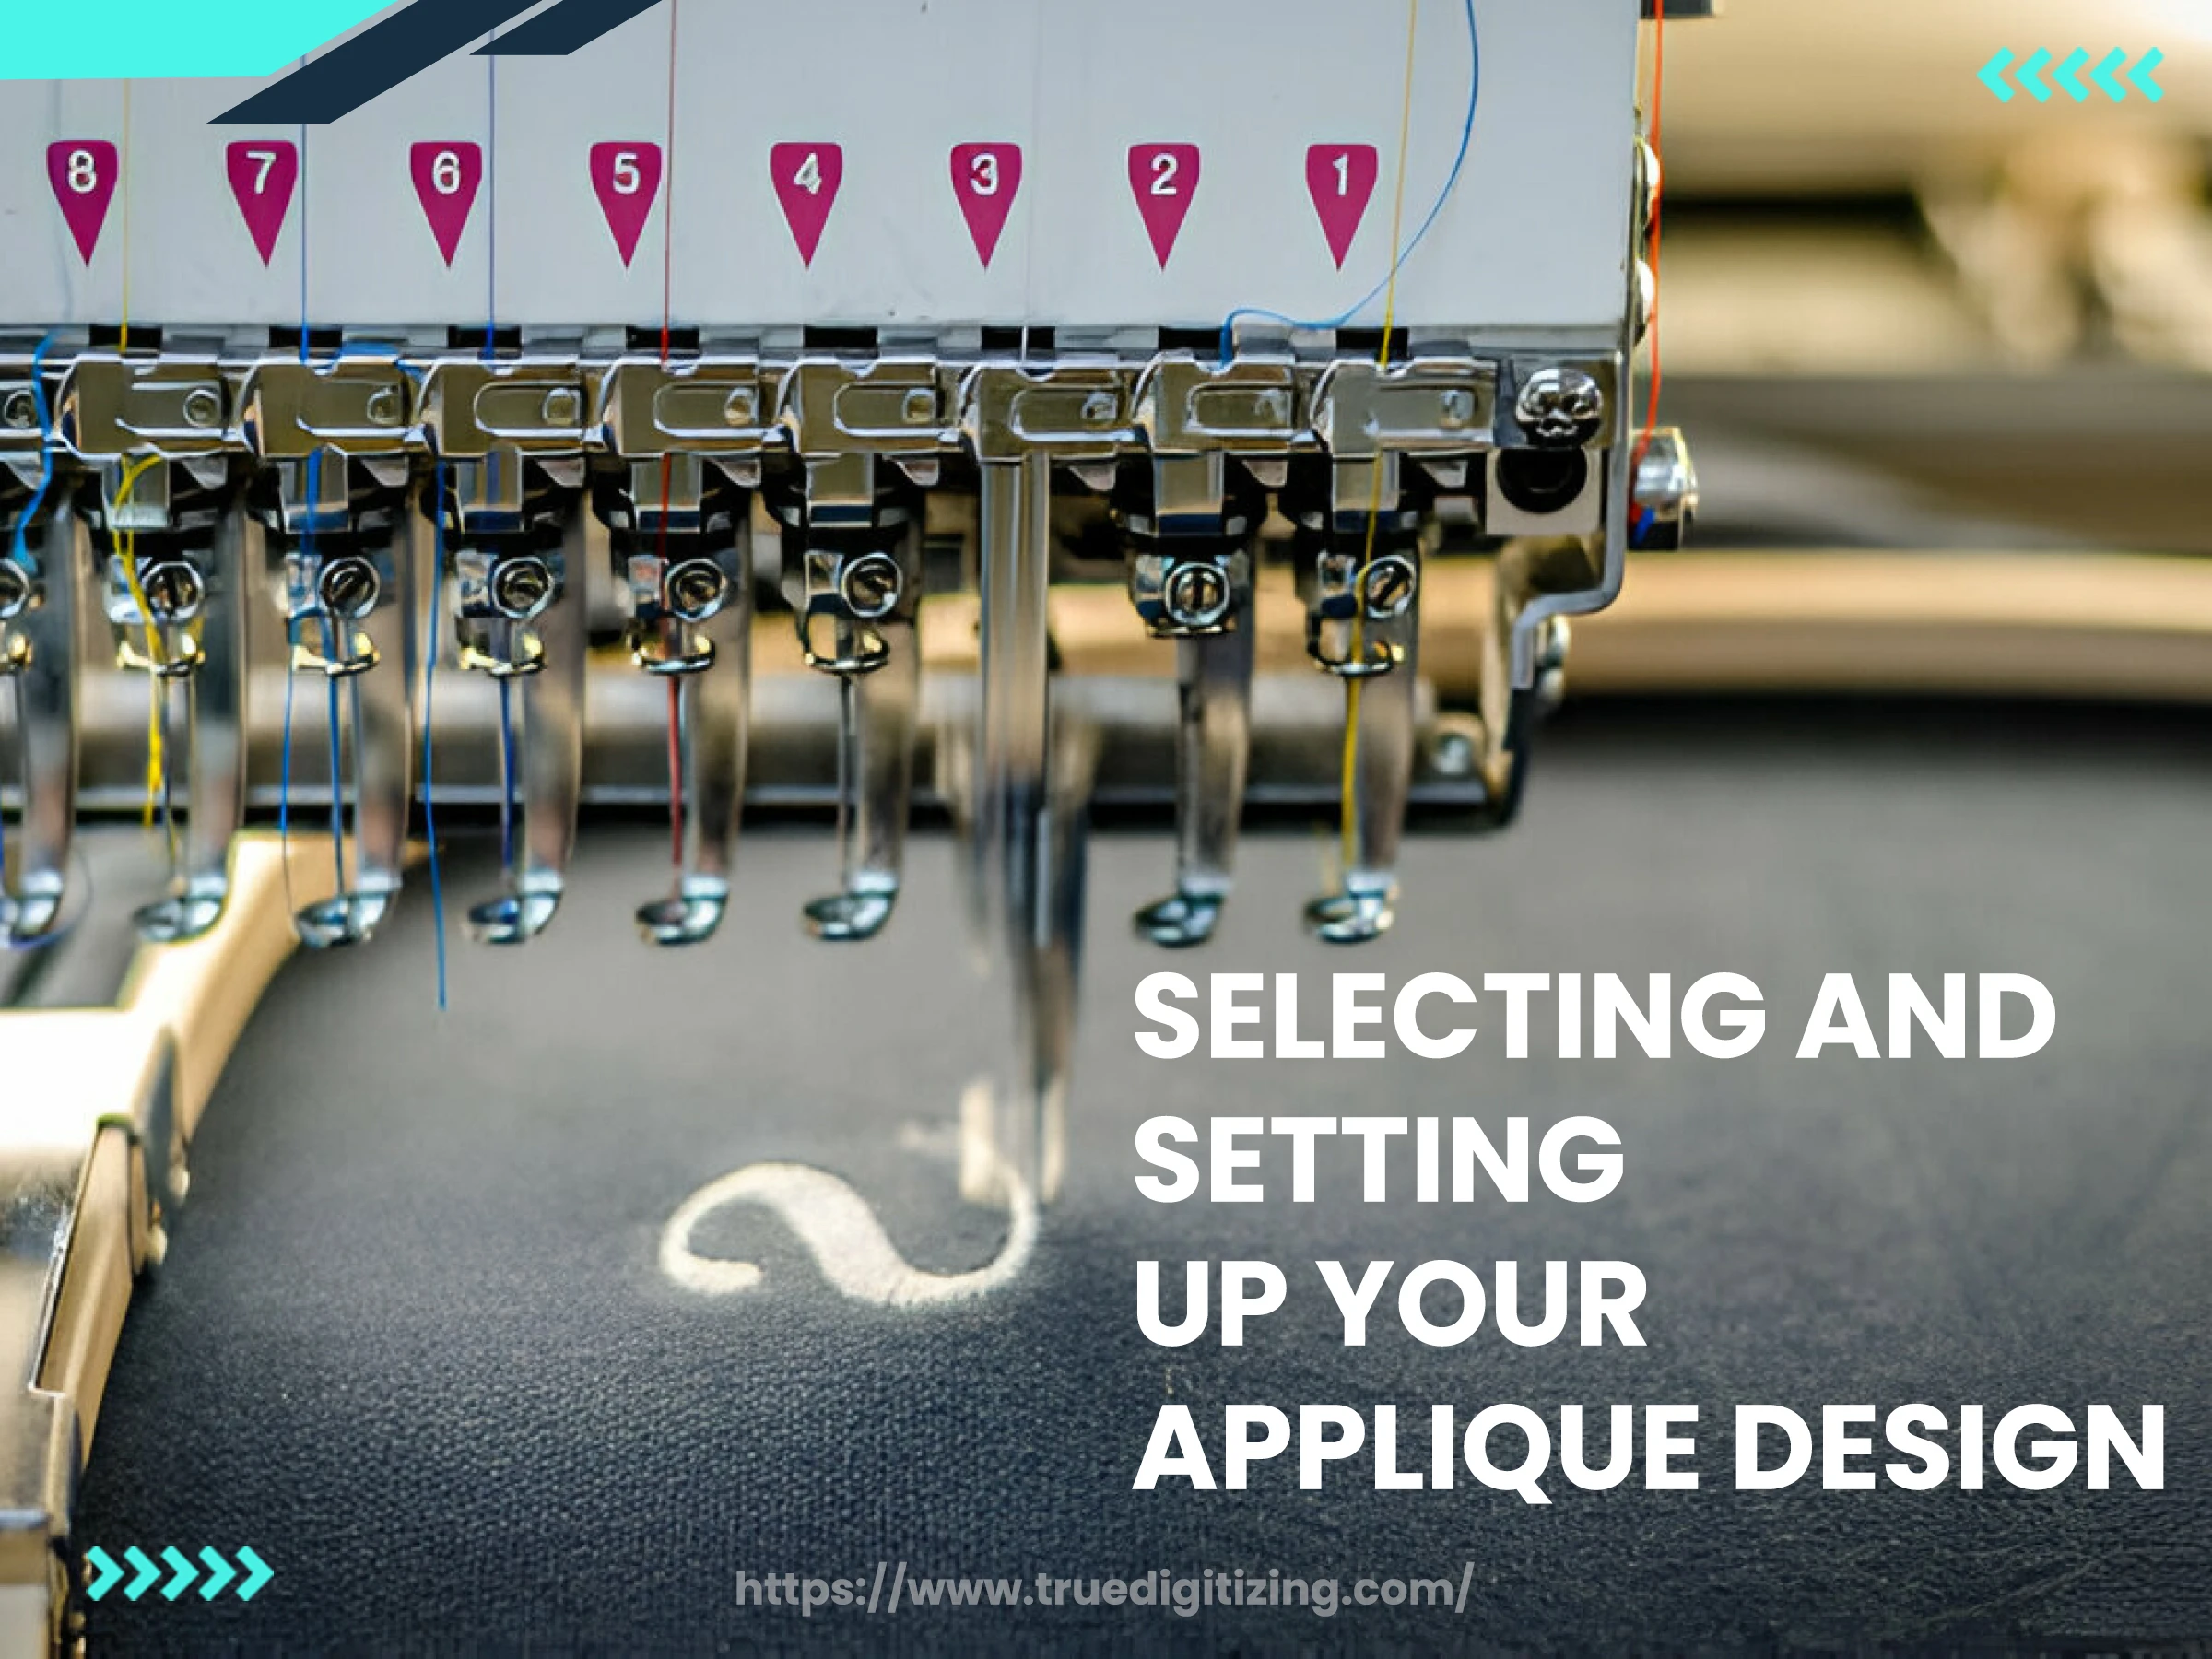
Selecting and Setting Up Your Applique Design
Choose Your Shape
On the machine’s screen, navigate to the built-in frame category.
Choose the heart shape for this project.
Tack Down Stitch
Finishing Stitch
Setting Applique Stops on Multi-Needle Machines
When you are using a multi-needle embroidery machine then you need to set stops between each & every step to make sure the machine pauses at the right time. This way will help you to place and trim fabric before moving to the next step.
Follow these steps for proper stitching:
Open the color palette key on your machine.
Set different applique steps with distinct stops:
Once you set up, the machine will automatically stop at the designated steps, giving you time to adjust fabric and trim excess material before proceeding.
Preparing for Stitching
Set the needle and your preferred thread color for all steps.
Stitching the Applique
Stitch the desired line: This outlines where the applique fabric will go.
Place the Fabric:
You can secure it with tape, spray adhesive, or pins.
Ensure the fabric lays flat before stitching.
Tack Down Stitch:
This triple-run stitch secures the applique fabric.
Trim Excess Fabric:
Remove the hoop and use curved applique snips to cut close to the tack-down stitches.
Stitch the Satin Border:
Set the hoop and stitch the satin stitch for a clean, polished finish.
Conclusion
You will have to use an embroidery machine to create basic applique designs! This process may be used for multiple embroidery tasks, such as creating customized apparel or gifts. it is easy to enhance your embroidery work by experimenting with different shapes and thread types because of the built-in frame choices.
As you know True Digitizing is the leading embroidery digitizing service in the USA, we provide a wide range of custom embroidery digitizing services, whether you want to digitize designs on your shirts, jackets, and all types of hats, we provide embroidery digitizing services at the lowest prices, also we provide fast turnaround time and unlimited revisions, so what are you waiting for? visit our website and place an order now.