
Creating custom embroidery patches is a fulfilling way to express your creativity or bring a brand’s vision to life. Whether you're crafting a patch for a personal project or starting a business, understanding the process and materials is key to achieving high-quality results. With custom patches, you can add personal flair to clothing, accessories, or even home decor. The good news is that it’s easier than ever to make them, even if you’re working from home.
In this blog post, we will discuss everything from the essential steps of making your own custom embroidery patches to sharing insights into the best materials to offer tips for those who want to start a business in this industry.
Let's start with the essentials of custom embroidery patches
To get started, you must gather a few essential materials like fabric, stabilizer, heat-n-bond, fray check, embroidery thread, and embroidery machine. Now discuss.
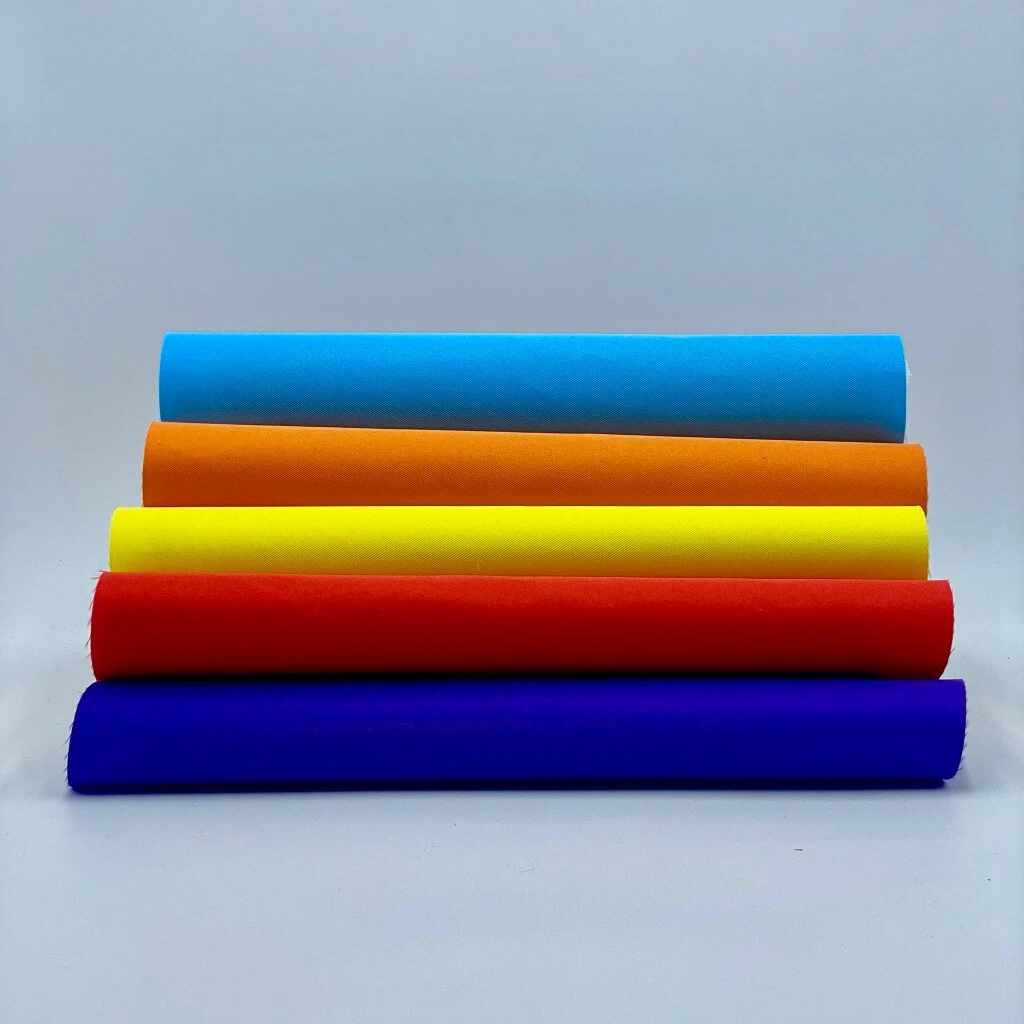
The main item is fabric, with Poly Twill being a popular choice due to its durability. It provides a solid base that holds stitches well, ensuring your designs last for a long time.
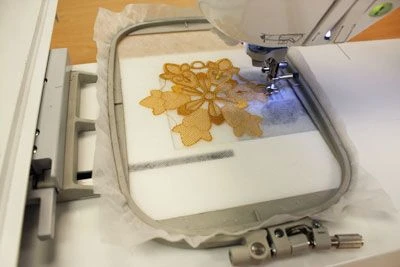
You’ll also need a stabilizer to keep the fabric in place as you work, which prevents puckering.
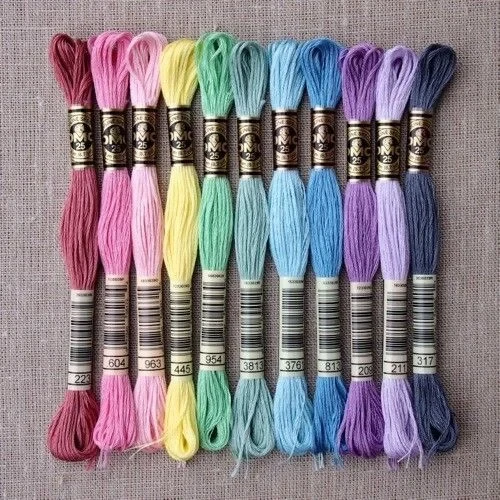
Other necessary materials include embroidery thread, which comes in various colors to match your design.
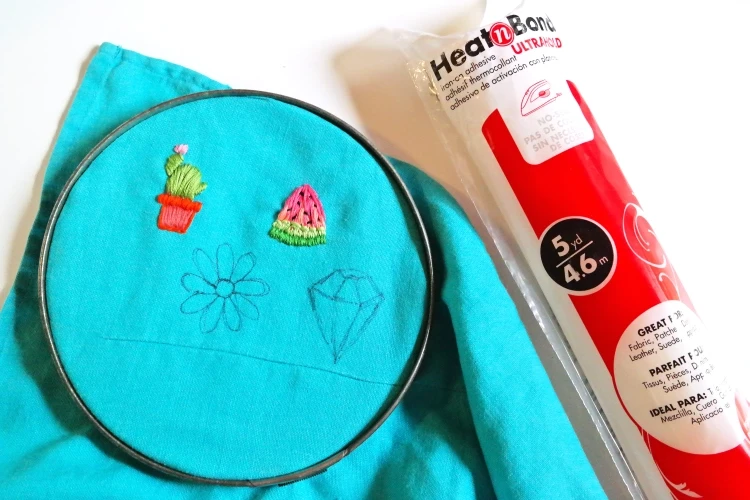
Heat-n-Bond is a type of adhesive that will help your patches easily adhere to clothing or other surfaces.
Fray Check:
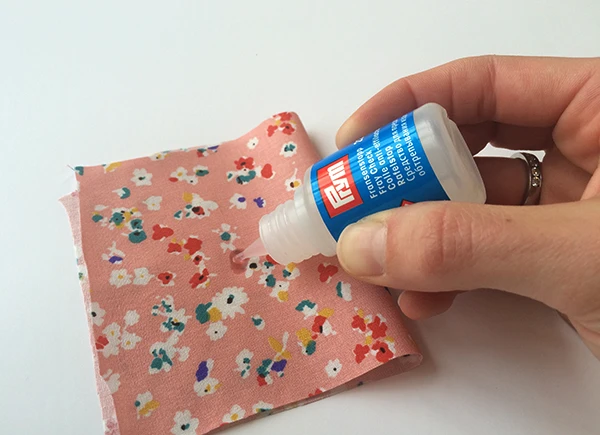
Don't forget Fray Check, which will help seal the edges of your patch and keep them from unraveling.
While you can use a basic home embroidery machine, investing in an industrial-grade machine will provide higher precision, especially for more complex designs.
Embroidery patches come in various forms, each designed for different uses and finishes. Embroidered patches are perhaps the most common, as they create intricate, raised designs that look professional.
On the other hand, Woven patches are created with finer thread, allowing for more detailed images. If you need a patch that can withstand outdoor conditions, PVC patches made of rubber are a durable option, and Chenille patches, which are soft and textured, are great for creating a retro look often seen on varsity jackets.
Understanding the differences between patch types can help you select the best option for your needs. For instance, embroidered patches provide a classic aesthetic, while woven patches help for more intricate detail.
Do you know how to make embroidery patterns? Check out this blog: How To Make Embroidery Patterns
Here’s a simplified guide to making your own embroidery patches at home:
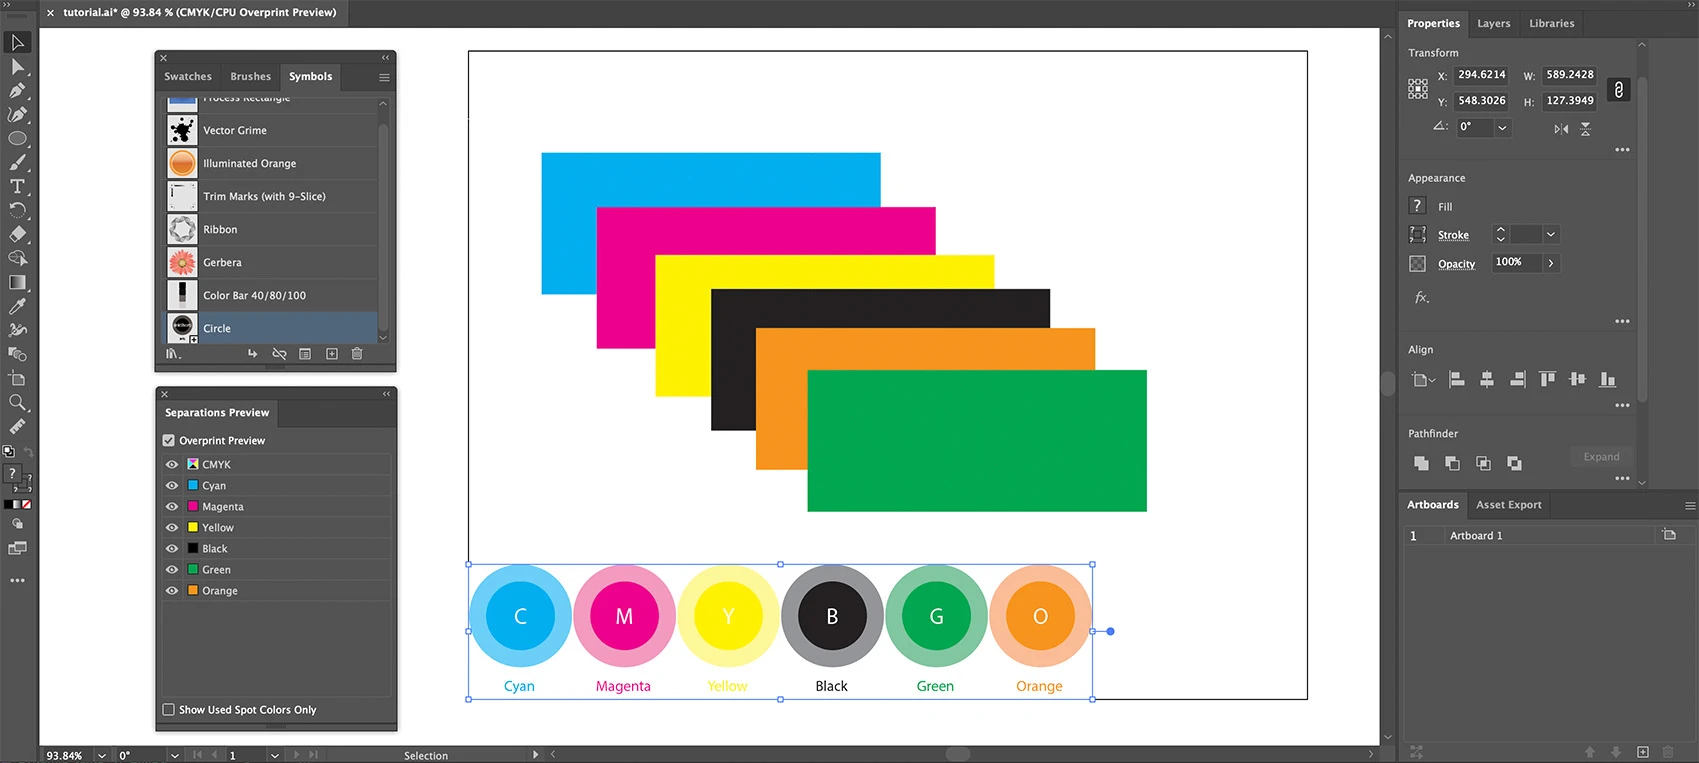
Use design software like Adobe Illustrator or Photoshop to create your custom design. Ensure the design is in a format your embroidery machine can read.
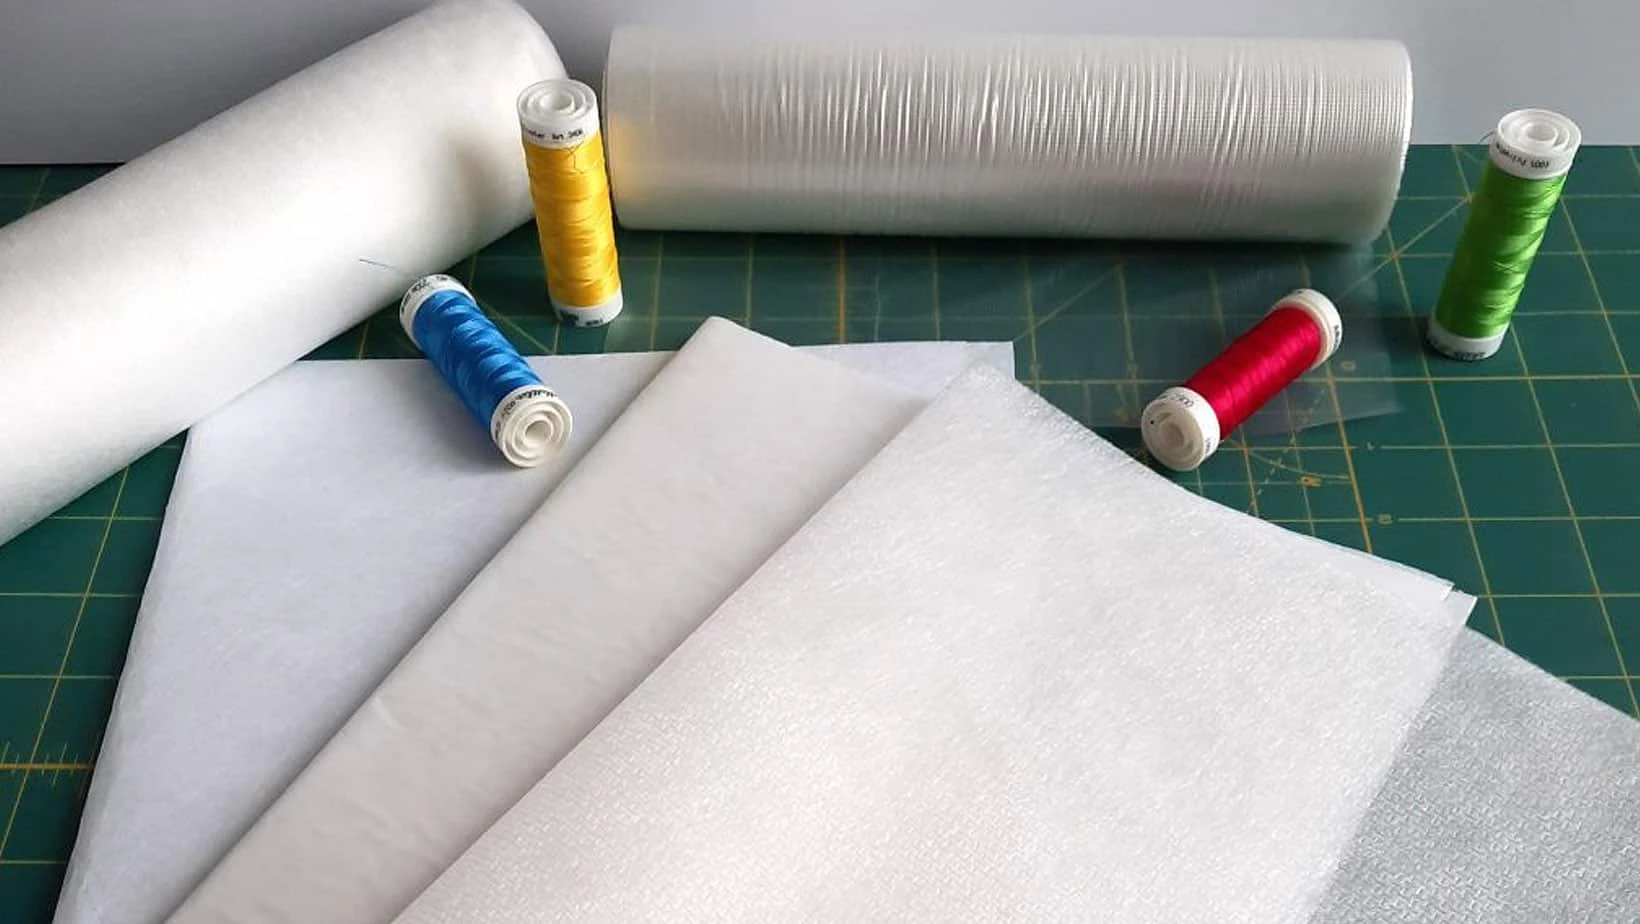
For a durable patch, use poly twill fabric with a stabilizer. Apply Heat-n-Bond to the back of the fabric to ensure it will adhere to garments easily.
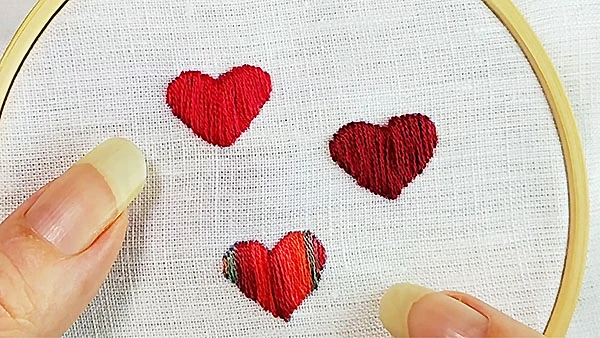
Set your embroidery machine and load your design. Ensure you use the right thread colors and hoop your fabric securely.
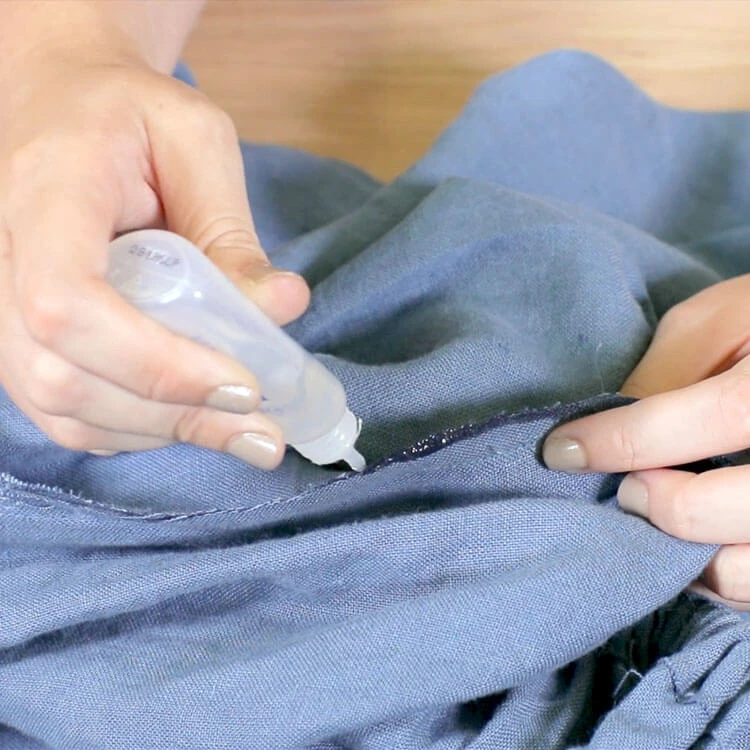
After stitching, use Fray Check to seal the edges of the patch. Trim any excess fabric to give your patch a clean, professional look.
.webp)
For patches that need to be attached easily, apply an iron-on backing using a heat press.
Poly Twill is the best fabric to create long-lasting and professional-looking patches. It's strong and can withstand embroidery. and is commonly used for commercial patch production. For DIY projects, you can also experiment with fabrics like felt or cotton. The key is to choose a material that won’t fray easily and can hold the stitches securely.
The backing is equally important, and using a good stabilizer will prevent any unwanted puckering, keeping your design clean and attractive. This attention to detail in choosing materials ensures that your patches will hold up well over time, regardless of how frequently they’re used.
If you’re looking to outsource your custom patches, choosing the right patch maker is important. Consider these factors:
Quality of Materials: Ensure they use high-quality fabrics and threads.
Customization Options: Do they offer a wide range of patch types, borders, and backing options?
Production Time: Look for a provider that can deliver within your required timeframe.
Pricing: Make sure their prices are competitive for the quality they offer.
At True Digitizing, providing custom embroidery patches with exceptional quality and detail. Our service ensures your designs are converted perfectly onto patches, and we offer a range of materials and customization options to suit any project.
Attaching patches to clothing is easy, and there are several methods you can use. But there are 3 easy ways to attach your patch on cloths.
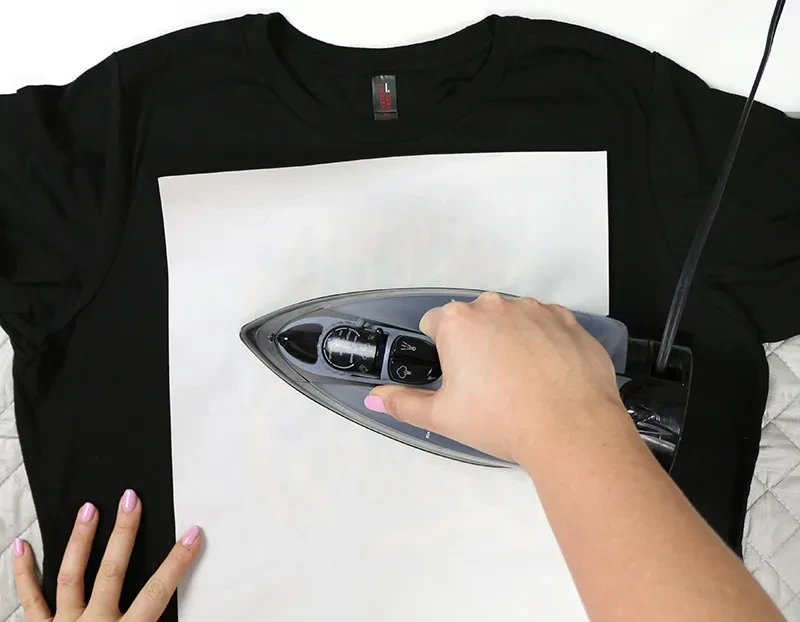
Simply place the patch on any fabric, cover it with a cloth, and press with a hot iron for 10-15 seconds.
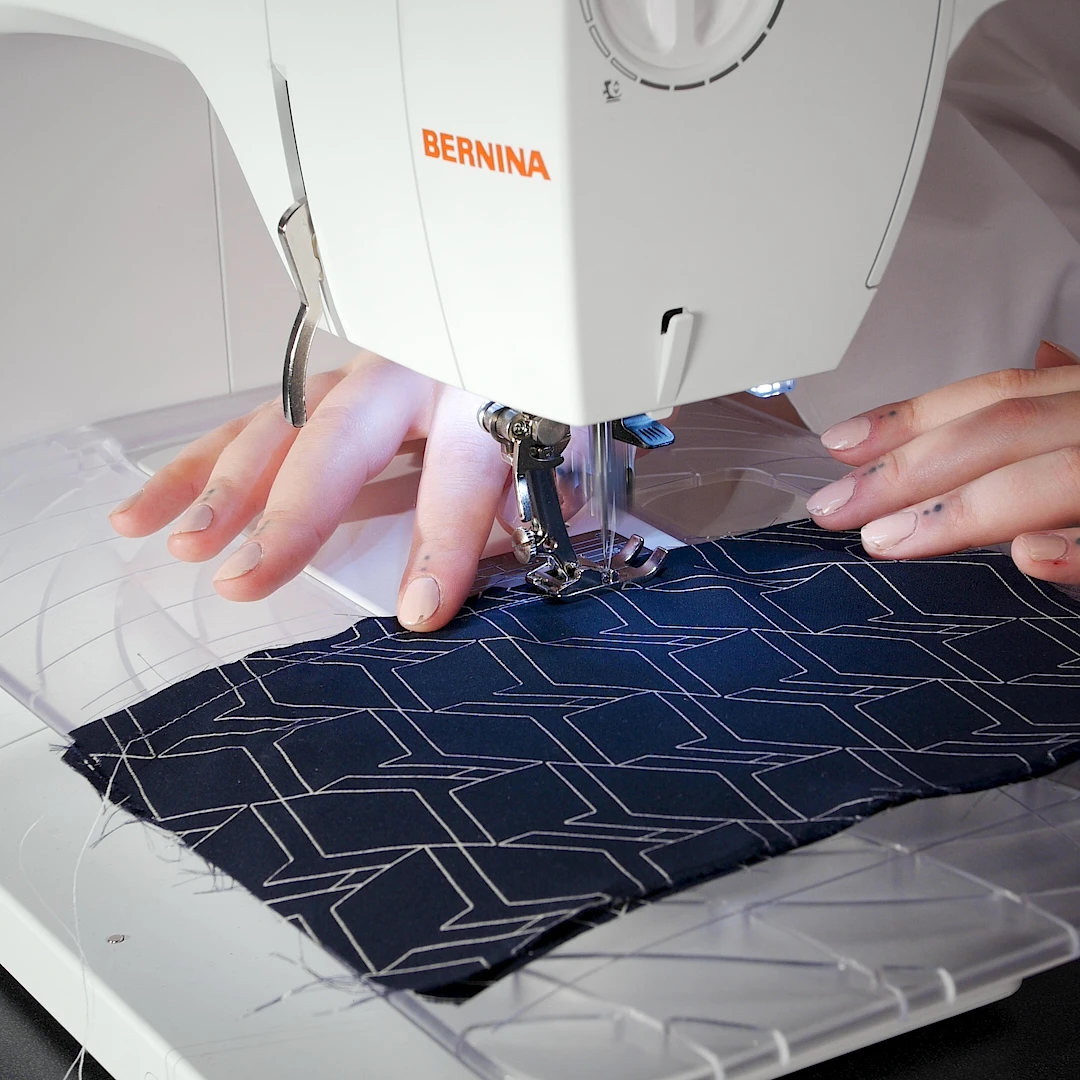
For a more permanent attachment, sew around the edges of the patch.
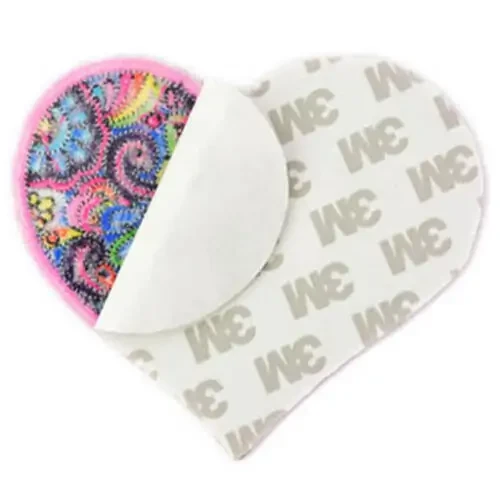
Some patches come with peel-and-stick adhesive backing for temporary attachment.
For those looking to create patches with a professional edge, here are a few advanced tips for you:
Use a Merrow Border: This gives your patch a clean, durable edge.
Digitizing Software: Use digitizing software to convert your designs into machine-friendly embroidery files.
Test Stitch: Always run a test stitch on scrap fabric to ensure your design looks correct before stitching on the final fabric.
The best material for homemade patches is Poly Twill. It’s durable, resistant to fraying, and holds embroidery stitches well, making it the fabric of choice for many commercial patches.
If you're thinking about starting an embroidery business, the first step is investing in the right equipment. Multi-needle embroidery machines are right for this type of work because they can handle intricate designs and multiple colors simultaneously.
Once you have got your equipment, spend some time learning about digitizing and embroidery design. Having a solid portfolio of work is important to attracting customers, so create sample patches that showcase your skills. Marketing your business online, using a service like True Digitizing to get the word out, is the best way to grow your brand and reach new customers.Nick William has been immersed in the world of embroidery digitizing for over 20 years, earning 25 industry awards throughout his career. As a 3rd generation embroidery expert, Nick’s journey started in his family’s workshop, where he learned the art of digitizing before the rise of modern software. He has worked with leading commercial embroidery businesses and has shared his expertise with over 75,000 home and professional embroiderers. As an author at True Digitizing, Nick is passionate about teaching others how to create beautiful, precise designs through easy-to-follow tutorials and expert advice.
Categories

6 Popular Types of Vector Files 2025
16-04-2025

How To Create A Vector File: Step-by-Step Guide
15-04-2025

What Is A Vector File? Everything You Need To Know
14-04-2025

Best Janome Embroidery Machines You Need to Check Out in 2025
11-04-2025

Custom Embroidery Digitized Designs For Hoodie Lovers
10-04-2025

Best Embroidery Patches For Your Clothes
10-04-2025

Professional Online Photo Digitizing Services Provided by True Digitizing
09-04-2025

Best Babylock Embroidery Machines For You
09-04-2025

Barudan Embroidery Machines: From Beginners to Professionals
04-04-2025

Custom Sweatshirt Embroidery Digitized Designs By True Digitizing
03-04-2025