Now, let’s explore the basic stitches that every beginner should master. These stitches are easy to learn, have multiple uses, and can be combined to create complex designs. I will share some experience-based tips on how to best practice each one.
1. Running Stitch
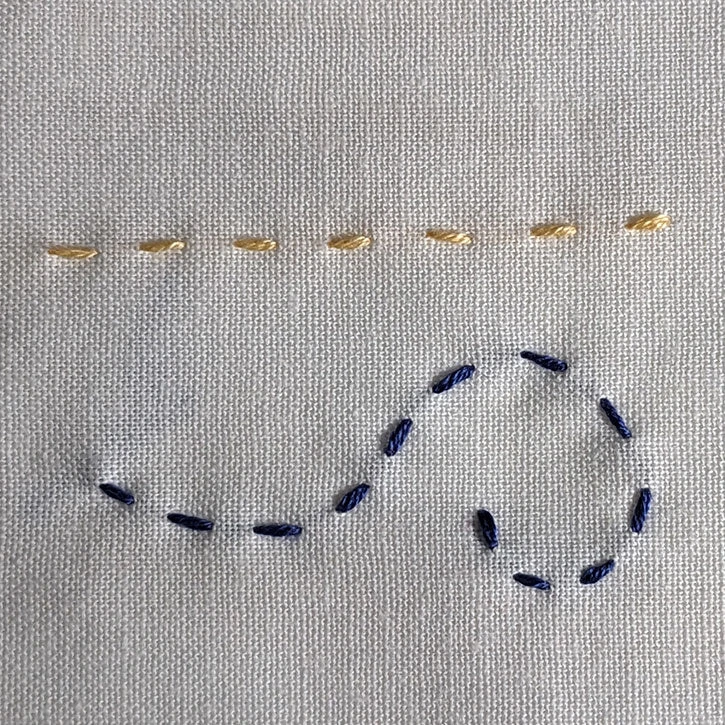 Image Source
The running stitch is often the very first stitch beginners learn. It is a simple, dashed stitch good for outlining simple shapes or creating borders.
How to do it: Movethe needle up through the fabric, skip a small distance, and move it back down. Repeat to form a dashed line. Adjust the length of the stitches to create different textures.
2. Back Stitch
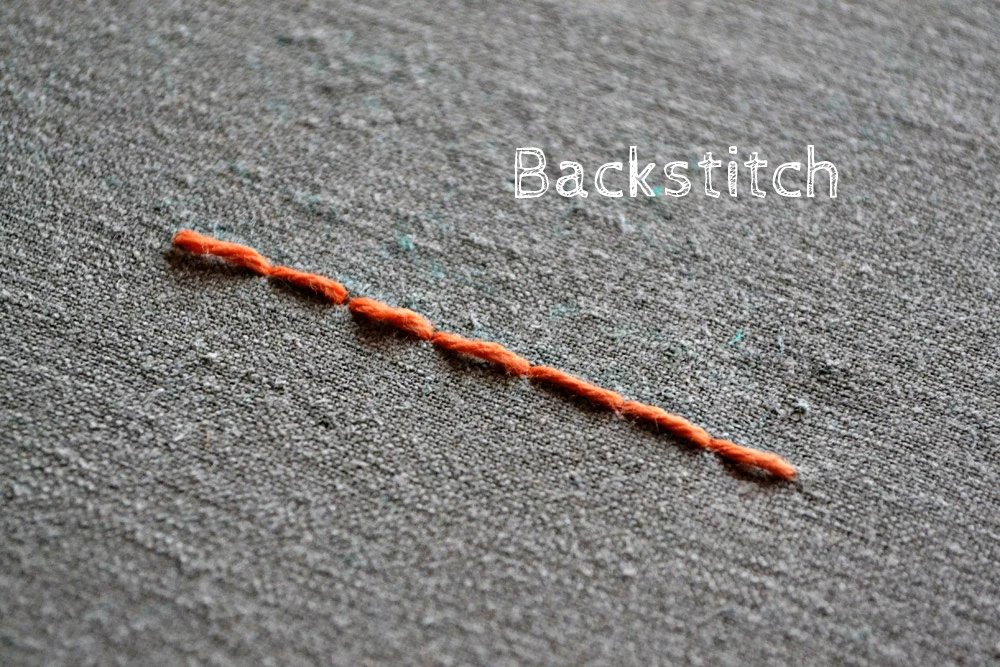 Image Source
The back stitch is perfect for creating solid, continuous lines. It is commonly used in outlining and gives your designs a clear, defined look.
How to do it: Start with a running stitch, but instead of moving forward, bring the needle up and stitch back to the end of the previous stitch. It’s easy and gives a more polished line.
3. Split Stitch
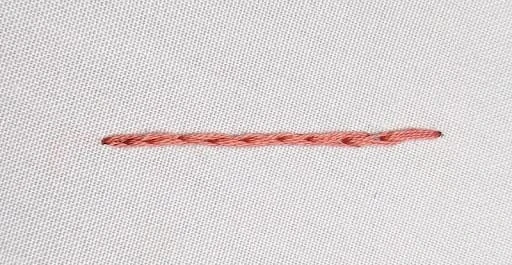 Image Source
The split stitch creates a textured line, adding more depth to your designs. It’s good for outlines or creating flower stems.
How to do it: Begin with a straight stitch, then bring the needle up through the middle of the previous stitch to “split” it. This stitch takes a little practice and gives amazing results.
4. Stem Stitch
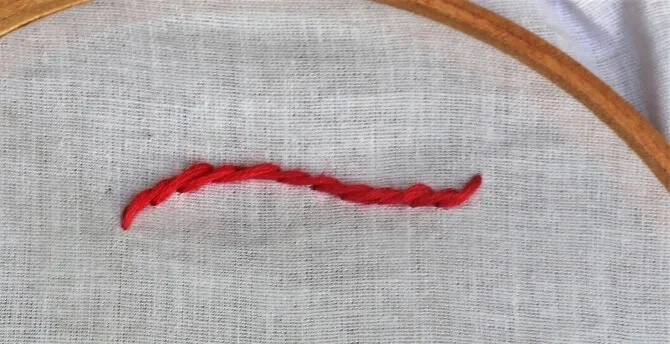 Image Source
The stem stitch, as the name suggests, is commonly used to stitch stems and vines. It creates a rope-like texture and looks great on curves.
How to do it: Make a stitch, then bring the needle up slightly off-center from the middle of the previous stitch, forming a slight overlap. This stitch has a flowing look that’s perfect for natural elements.
5. Chain Stitch
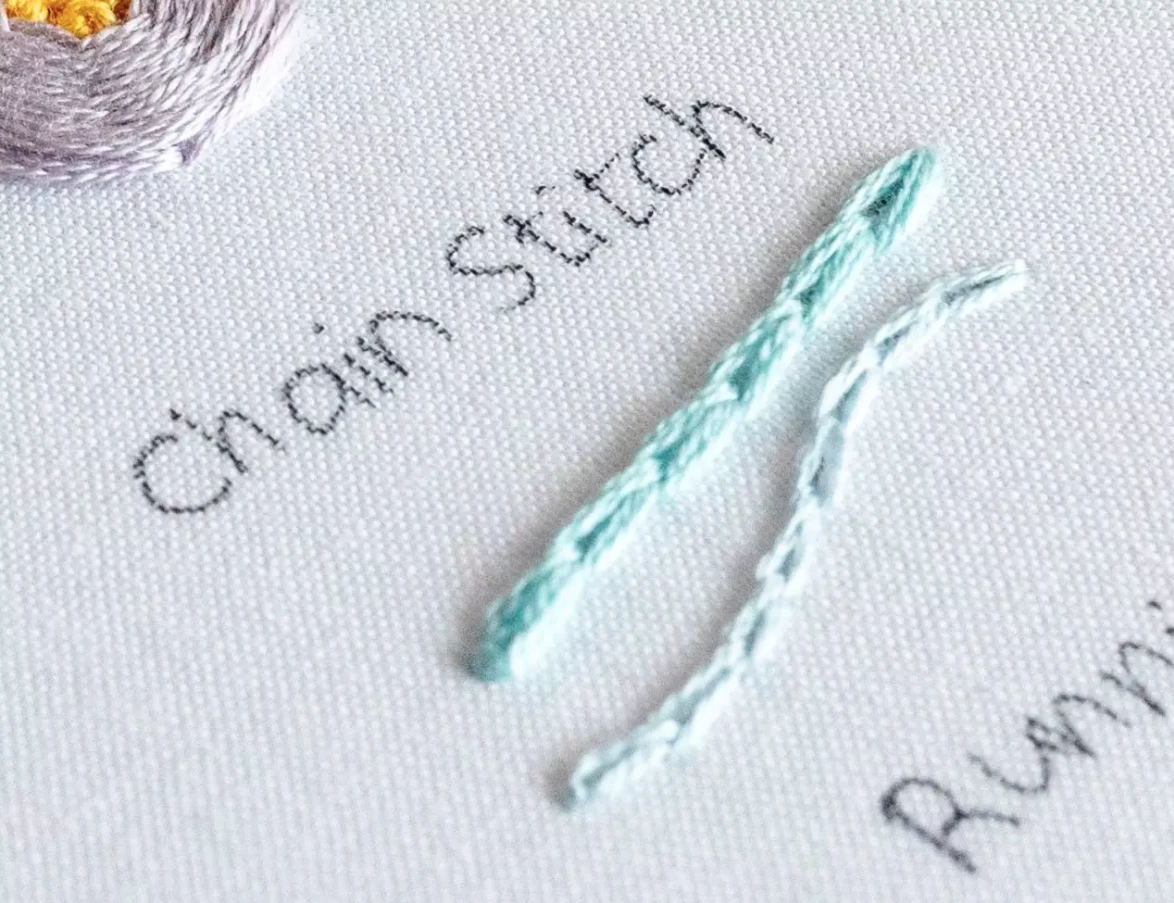 Image Source
The chain stitch is decorative, forming loops that resemble a chain. It adds texture and looks lovely on floral patterns or borders.
How to do it: Move the needle up, create a small loop with the thread, and bring the needle down close to the starting point. Pull the needle back up through the loop to fix it. Practice will help you make even loops.
6. Satin Stitch
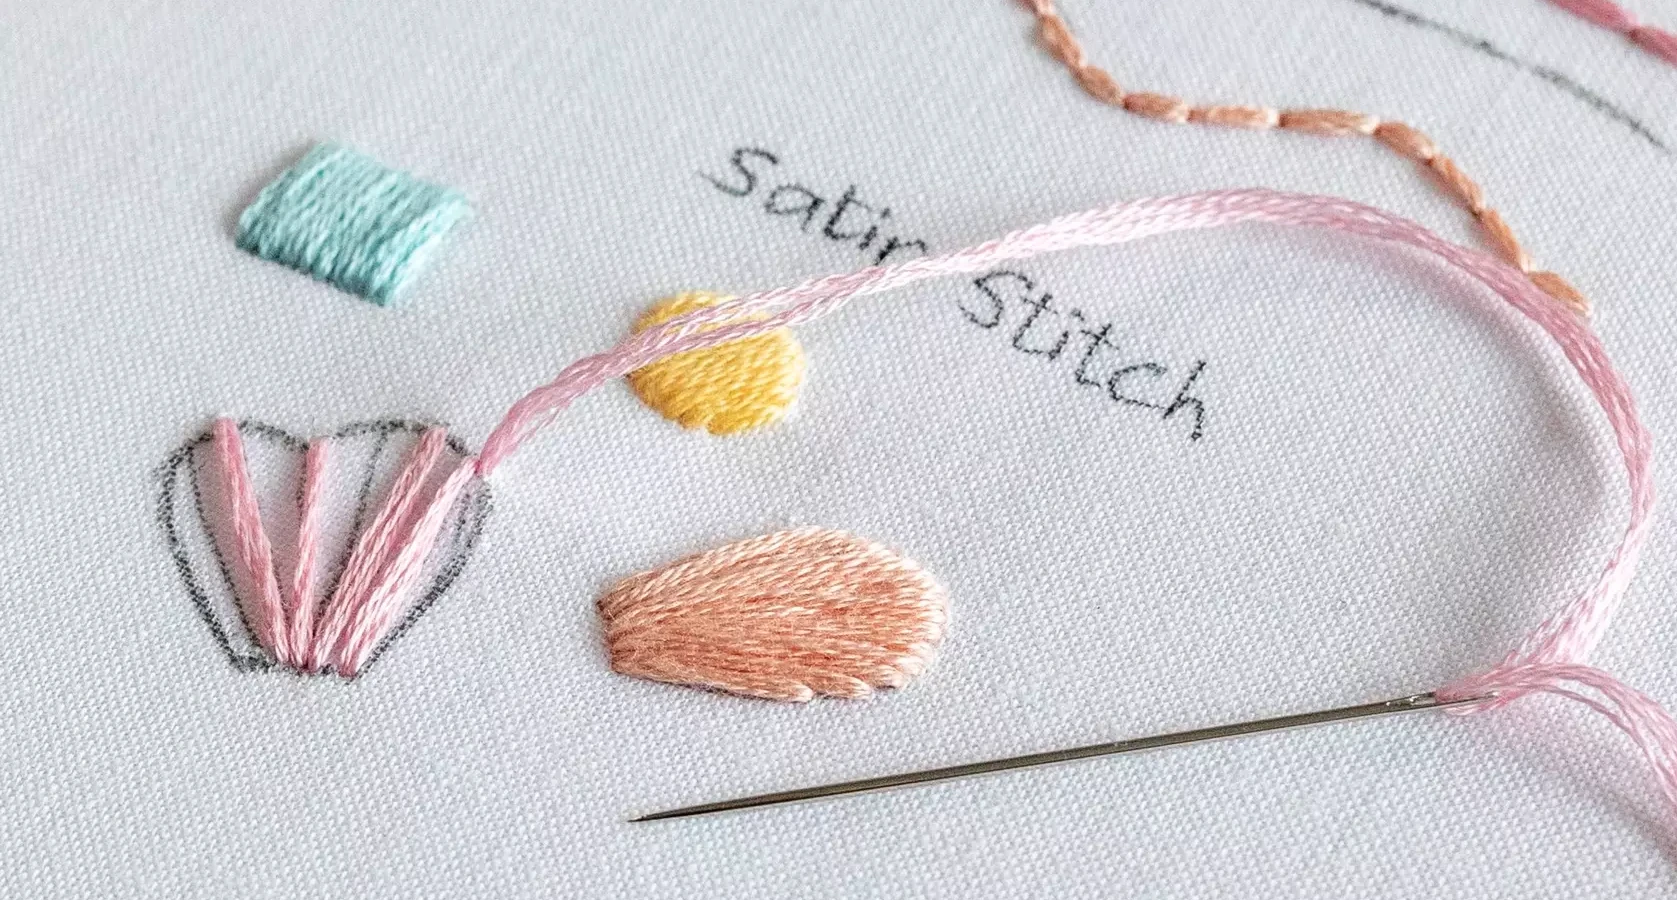 Image Source
The satin stitch fills in shapes with a smooth, solid texture. It is great for filling circles, leaves, and other shapes with color.
How to do it: Outline the shape, then make closely spaced stitches side-by-side, covering the area fully. Keep stitches smooth and consistent for the best result.
Want to learn more about the types of embroidery stitches? Click here.
Which is the Most Basic Stitch That Beginners Should Start With?
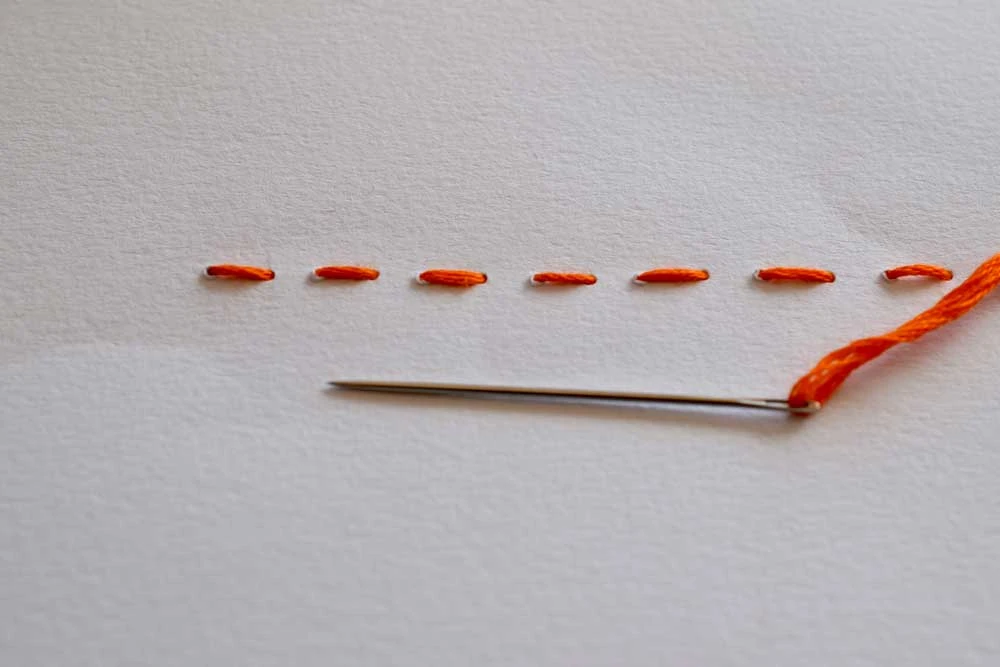 Image Source
For most beginners, the running stitch is the best starting point. It’s a simple, and easy way to get comfortable with handling the fabric and thread. Once you’ve mastered the running stitch, the back stitch is a natural next step, as it builds on the same motion but allows for a more polished line.
How Many Types of Hand Embroidery Stitches Are There?
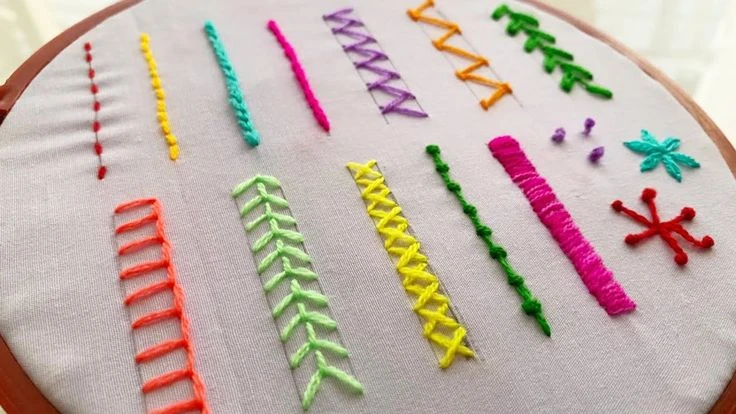 Image Source
There are over 300 different hand embroidery stitches. However, you only need to know some essential ones to get started. Mastering the basics, like those listed above, will give you a solid base. As you grow in your embroidery journey, you can add more complex stitches to your designs.
Watch this video If you want to learn more about hand embroidery for beginners


