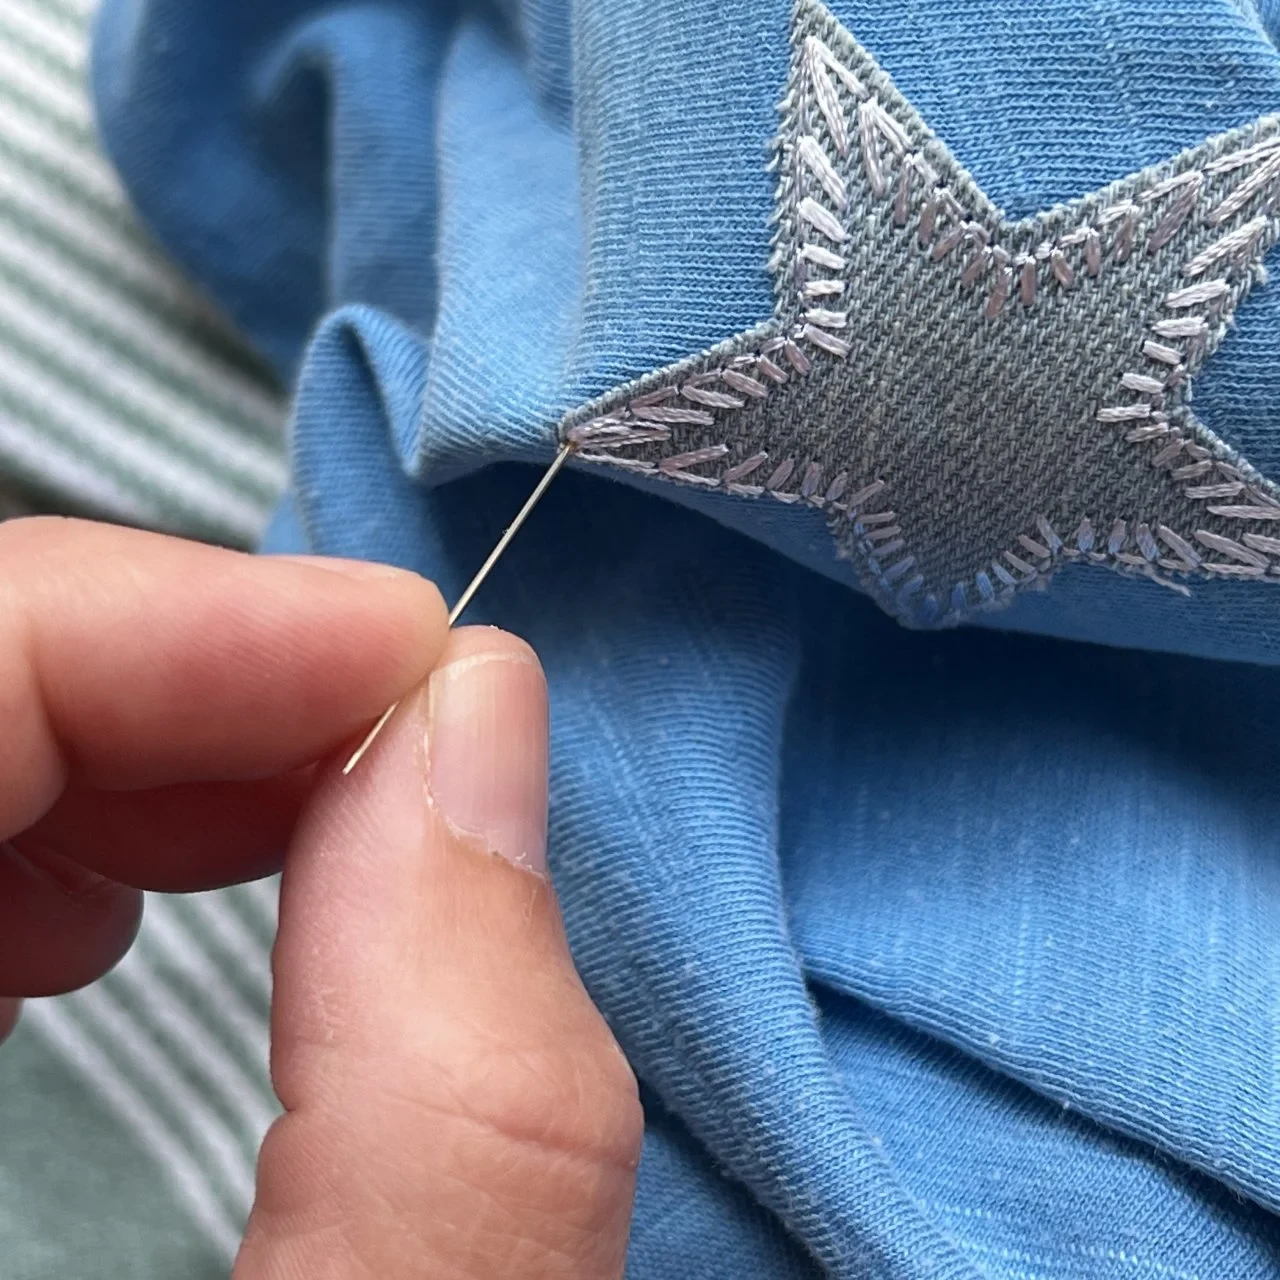
Embroidered patches play an important role in the vibrant world of embroidery. Whether you’re customizing appeal, adding flair to your clothing and accessories, or replacing the torn fabric, choosing between iron-on and sew-on patches can be difficult.
In this blog post, we will cover all you need to know about these types of patches, giving insights based on years of expertise in the embroidery digitizing industry.
Patches have advanced from being decorative elements to essential accessories that express uniqueness. Iron-on and sew-on patches have distinctive qualities and benefits that appeal to various applications. Understanding their differences might help you choose your next project smartly.
Iron-on patches consist of a heat-activated glue on the back, which allows them to bond with fabric when heated. They are good for easy changes and do not require any sewing skills.
Sew-on patches, as the name suggests, are attached using needle and thread. They require a sewing skill level that ranges from basic to advanced, depending on the design and material.
Iron-on patches have a heat-activated glue on the back. When applied with a hot iron, the glue melts and sticks the patch to the fabric, making it a good choice for swift fixes and decorating purposes.
Collect Your Materials: You will require an iron, a clean cloth, and an iron-on patch.
Prepare the fabric. Ensure that the place is neat and dry.
Position the Patch: Place the patch to the chosen area, sticky side down.
Cover with a Cloth: To protect both the patch and the fabric, cover them with a fine cloth.
Iron the Patch: Preheat your iron to the right temperature (typically medium to high) and push down firmly for around 30 seconds.
Let it cool: Leave the patch to cool before using.
The normal temperature range for placing iron-on patches is 250°F to 350°F (120°C to 180°C). However, always check the patch's rules to get specific help, since various materials may require different settings.
Quick and simple application.
Perfect for lightweight materials.
No sewing expertise is necessary.
May not allow repeated washing.
Less sturdy than sew-on options.
Can peel off if not applied properly.
If you want a successful application, follow the step-by-step instructions provided earlier.

Step-by-Step Guide on How to Apply a Sew-on Patch
Gather Your Materials: You will require a patch, a needle, thread (that matches the fabric's color), and scissors.
Position the Patch: Set the patch where you want it on the fabric.
Pin the Patch: Using pins, keep the patch in place to avoid movement during stitching.
Start sewing: Use a basic thread or a whip stitch across the patch's corners, making sure to it tightly.
Final Touch: Once you've sewed all around the patch, tie the thread and cut any excess.
Very durable and long-lasting.
Perfect for thick fabrics.
Can bear repeated washing
It takes time to apply.
Needs basic sewing skills.
Not done neatly might make it less attractive.
To sew on patches smoothly, follow the step-by-step process above. To achieve the best results, ensure that your stitches are even and secure.
Nick William has been immersed in the world of embroidery digitizing for over 20 years, earning 25 industry awards throughout his career. As a 3rd generation embroidery expert, Nick’s journey started in his family’s workshop, where he learned the art of digitizing before the rise of modern software. He has worked with leading commercial embroidery businesses and has shared his expertise with over 75,000 home and professional embroiderers. As an author at True Digitizing, Nick is passionate about teaching others how to create beautiful, precise designs through easy-to-follow tutorials and expert advice.
Categories

6 Popular Types of Vector Files 2025
16-04-2025

How To Create A Vector File: Step-by-Step Guide
15-04-2025

What Is A Vector File? Everything You Need To Know
14-04-2025

Best Janome Embroidery Machines You Need to Check Out in 2025
11-04-2025

Custom Embroidery Digitized Designs For Hoodie Lovers
10-04-2025

Best Embroidery Patches For Your Clothes
10-04-2025

Professional Online Photo Digitizing Services Provided by True Digitizing
09-04-2025

Best Babylock Embroidery Machines For You
09-04-2025

Barudan Embroidery Machines: From Beginners to Professionals
04-04-2025

Custom Sweatshirt Embroidery Digitized Designs By True Digitizing
03-04-2025